


MONITOR OPERATION
Power ON/OFF
Use the volume and ON/OFF switch (fig. 7) on the side of the unit to turn On
and Off. To adjust the volume use the ON/OFF switch to scroll to the desired
level.
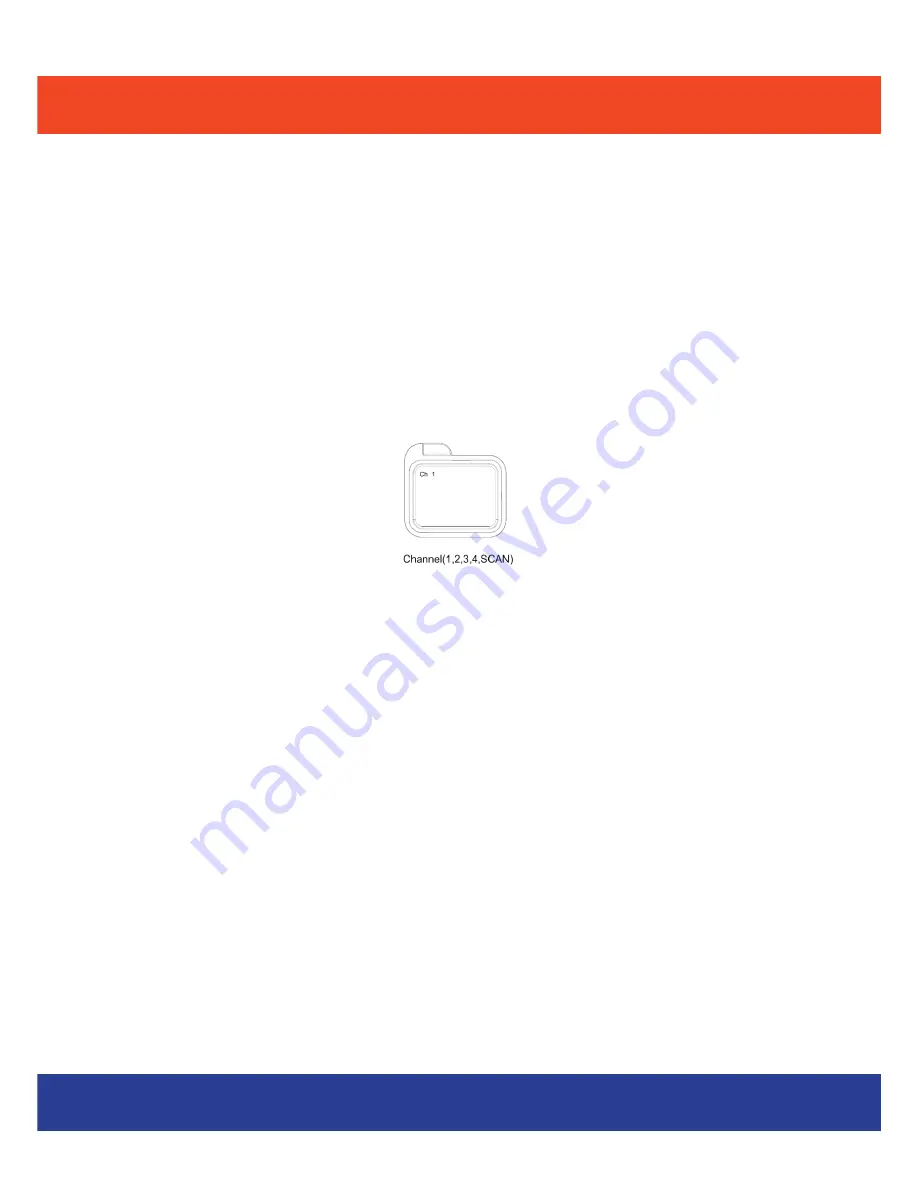
Channel Selection
Press the Mode Button on the front of the monitor 1 time to enter the channel
selector mode, use the side “+” and “-” control buttons (see fig. 2) to change
the Channel or to set your monitor to Scan mode. The display will indicate the
selected channel during the channel selection process on the bottom of the
screen.
Automatic Channel Scan
This option allows the Monitor to scan through all 4 channels automatically and
stops at each channel for approximately 5 seconds in order to monitor multiple
locations.
“Scan Select Mode”- Selecting which camera to Scan
To set your monitor to scan certain channels while in scan mode, press the
Mode Button 4 times until the Scan Select menu appears. Use the Mode button
to scroll through the available channels and the “+” and “-” control buttons (see
fig. 2) to select and deselect the desired channel(s).
“Camera Selection”- Add or Remove Cameras
To remove paired cameras, press the Mode button 8 times until the Paired
Select menu appears. Use the Mode button to scroll through the available chan-
nels and the “+” and “-” controls (see fig. 2) to select or remove the camera.
Note: You must re-link your camera once it has been removed in order to be able to view
the camera again (see page 12 for linking instructions).
9
Meijer.com


