background image

English


|


5

•  The "TIN" can be adjusted when NTSC video signal is 

input.

•  The screen select can be set for each source.
•  If you make no operation for 15 seconds, this mode 

is automatically canceled.

Picture Quality setting 

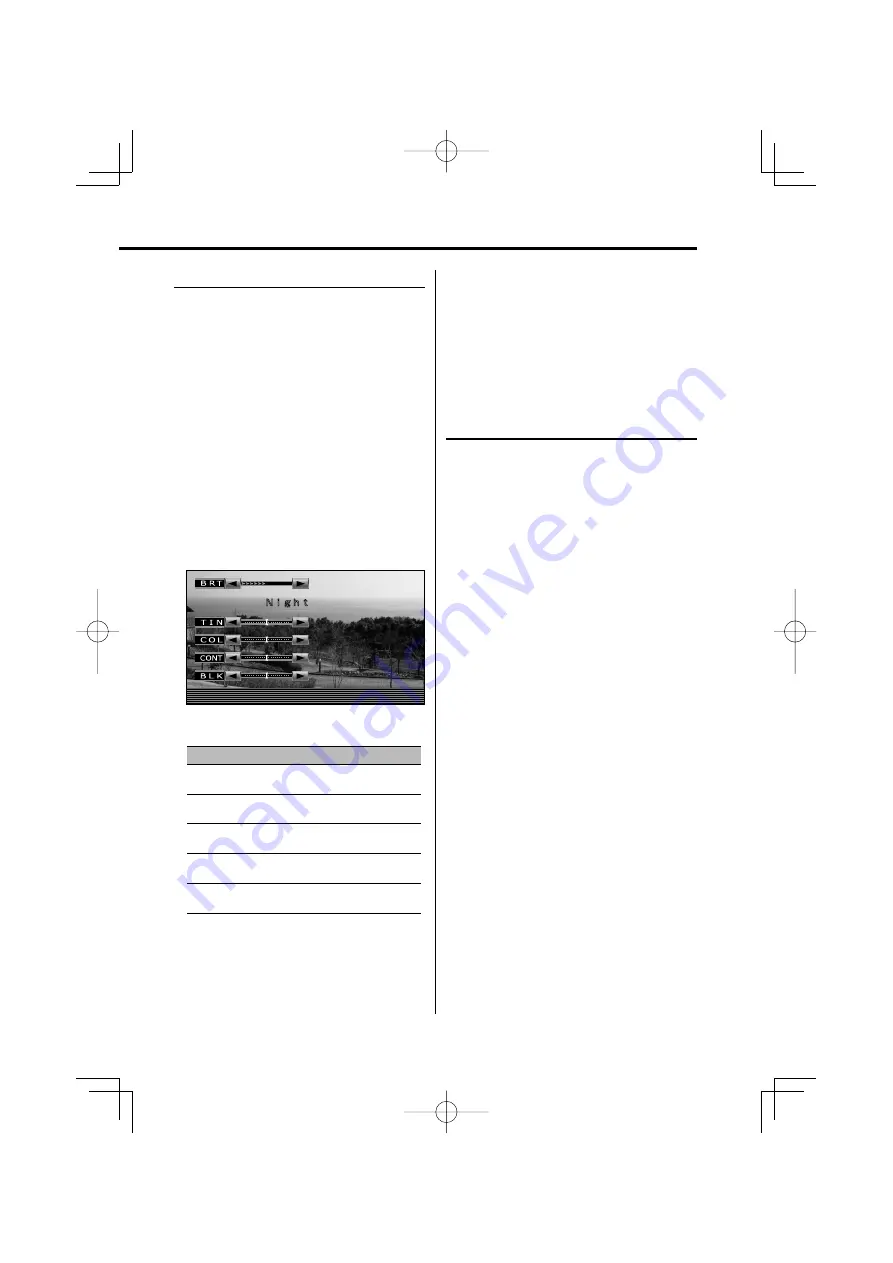
You can adjust the picture quality control of the 
monitor.

1

  Enter Picture Quality setting mode

Press the [MENU] button for at least 2 
seconds.

2

  Select the screen for brightness ("BRT") 

setting

Press the [SCRN] or [DIM] button for at least 
2 seconds.

Pressing the button for at least 2 seconds 
toggles between the "Day" screen (for daytime 
brightness setting) and the "Night" screen (for 
nighttime brightness setting).

3

  Select the adjusting item

Press the [MENU] button.  

Each time the button is pressed, the adjusting 
item switches.

Screen Control

Night

4

  Adjust the item

Press the [

2

] or [

3

] button. 

Item

Button

Setting

"BRT"

[

3

]

[

2

]

Brighter screen
Darker screen

"TIN"

[

3

]

[

2

]

Stronger red level
Stronger green level

"COL"

[

3

]

[

2

]

Deeper color 
Paler color

"CONT"

[

3

]

[

2

]

Stronger contrast 
Less contrast

"BLK"

[

3

]

[

2

]

Less black level 
Stronger black level

5

  Exit Picture Quality setting mode

Press the [MENU] button for at least 2 
seconds.

Selection of Screen Brightness 
Setting

You can switch between the daytime screen 
brightness and nighttime screen brightness 
adjusted in the Picture Quality setting mode. 

Press the [DIM] button.

Pressing the [DIM] button toggles between the 
daytime screen brightness and nighttime screen 
brightness adjusted in the Picture Quality setting 
mode. 

LZH-80̲Eng̲r1.indd   5

LZH-80̲Eng̲r1.indd   5

07.2.26   5:06:39 PM

07.2.26   5:06:39 PM

Summary of Contents for MZ360229EX

Page 1: ...MZ360229EX LZH 80WM4 OVERHEAD CONSOLE WITH 8 LCD SCREEN INSTRUCTION MANUAL B64 3764 00 00 WW LZH 80 Eng r1 indd 1 LZH 80 Eng r1 indd 1 07 2 26 5 06 36 PM 07 2 26 5 06 36 PM...

Page 2: ...return after using the monitor for a while 2 WARNING To prevent injury or fire take the following precautions To prevent a short circuit never put or leave any metallic objects such as coins or metal...

Page 3: ...re input to the Audio Visual input 2 terminal can be displayed by selecting AV IN2 as described in Video Source Selection page 4 Open the monitor Monitor release knob 1 Unlock the motor Press the moni...

Page 4: ...ect the AV2 INPUT source Power Turns power ON or OFF Press the POWER button Display information When you press the INPUT button the status of the monitor is displayed Mode Full I R 2 MHz AV IN2 1 3 2...

Page 5: ...the MENU button Each time the button is pressed the adjusting item switches 4 Adjust the item Press the 2 or 3 button Item Button Setting BRT 3 2 Brighter screen Darker screen TIN 3 2 Stronger red le...

Page 6: ...ing 2 MHz The output frequency of IR Headphones is set to 2 MHz 3 MHz The output frequency of IR Headphones is set to 3 MHz Switching Screen mode Press the SCRN button Each time the button is pressed...

Page 7: ...io input level RCA jacks 1 V 100 K Audio output level RCA jacks 1 V 1 K Specifications subject to change without notice General Operating voltage 14 4 V DC 11 16 V Current consumption 1500 mA Consumed...

Page 8: ...LZH 80 Eng r1 indd 8 LZH 80 Eng r1 indd 8 07 2 26 5 06 41 PM 07 2 26 5 06 41 PM...

Reviews: