S y s t e m D r i v e s
2/8 LS/VS550 OWNER’S HANDBOOK
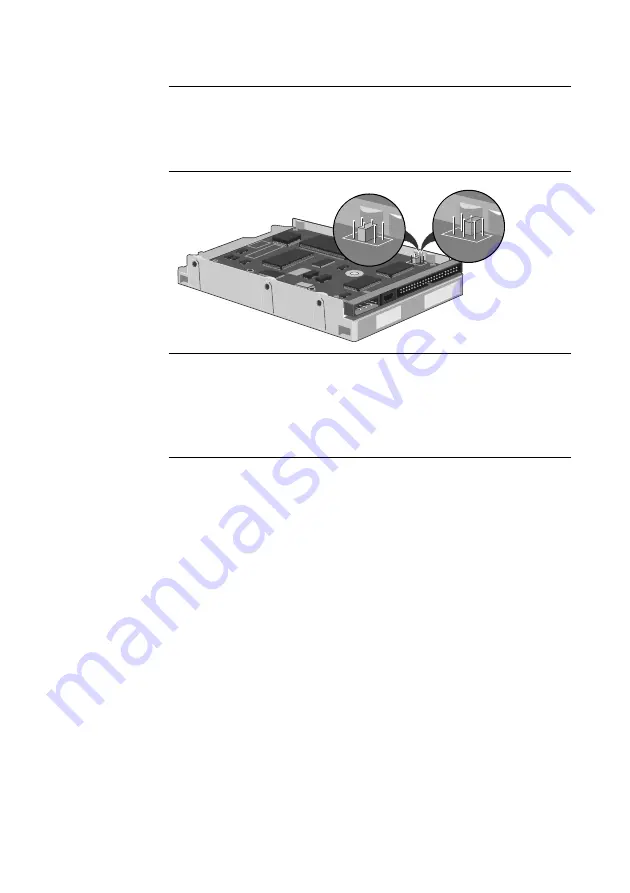
IDE drive
IDE drive
The master, or first drive, should have a link across
DS
. On a slave, or
second drive,
remove
the link, but retain it by placing it onto
one
of the
two pins as shown in the following illustration.
MASTER
SLAVE
SCSI drive
SCSI drive
A new SCSI drive will need its ID link set. Read carefully the
documentation supplied with the drive. Note that the boot SCSI drive is
usually ‘device 0’ and the CD-ROM (if a SCSI type is fitted) may be
‘device 1’ or ‘device 2’.
Fit the new hard drive in the available position using the special
screws provided taking care not to touch the exposed control board,
then refit the assembly to the baseplate.
Fit an appropriate power connector to the new drive and connect
up its signal/ribbon cable. The ribbon cable is ‘striped’ to indicate
pin 1. Correct orientation
must
be observed. (Pin 1 is usually at the
end nearest the power connector.)
Refit the CD-ROM drive assembly followed by the floppy drive
assembly. Tighten all the screws as you fit the assemblies and
reconnect any cables, including earth wires, that had been removed,
taking care to reconnect them to their original state.
Refit the system cover carefully, checking first that no other cables
or connections have become dislodged or trapped during the work.
You will now need to partition and format the new drive.
Information on this topic can be found either in Windows ‘help’ or
in your software guide.


