background image

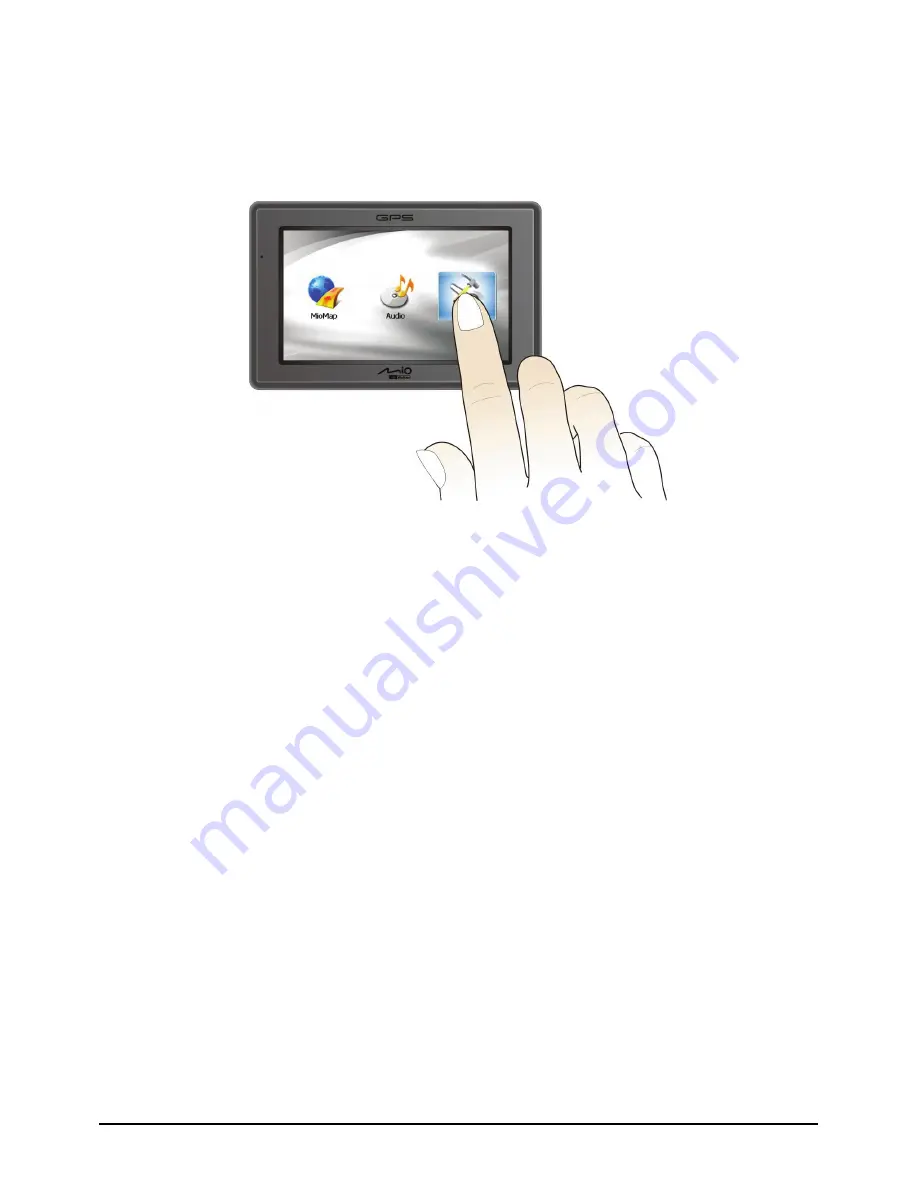
Navigating on the Screen 

To operate your device, touch the screen with your fingertip. You can perform the 
following actions: 


z


Tap


Touch the screen once with your fingertip to open items or select onscreen 
buttons or options. 

z


Drag


Hold your fingertip on the screen and drag up/down/left/right or across the 
screen. 

z


Tap and hold


Tap and hold your fingertip until an action is complete, or a result or menu is 
shown. 

Home Screen 

The first time you initialize your device, the 

Home 

screen appears. The 

Home 

screen


is your starting place for various tasks. Tap a button to start a program or 

open another menu. When you exit a program, you are back to the 

Home 

screen. 

Summary of Contents for C320b

Page 1: ...User s Manual...

Page 2: ...ed trademarks of their respective companies Disclaimer Specifications and manuals are subject to change without notice Mio Technology assumes no liability for damage incurred directly or indirectly fr...

Page 3: ...g the Device Holder 7 Connecting the Car Charger 7 1 5 Operating Basics 8 Turning On and Off 8 Navigating on the Screen 9 Home Screen 9 1 6 Inserting a SD SDHC MMC Card 10 2 Audio 11 2 1 Starting and...

Page 4: ...dia Files to Your Device 31 Managing Files 33 5 Troubleshooting and Maintenance 35 5 1 Restart and Shut Down 35 Restarting Your Device 35 Shutting Down Your Device 35 5 2 Troubleshooting 36 Power Prob...

Page 5: ...of the battery can cause malfunction and or danger z GPS is operated by the United States government which is solely responsible for the performance of GPS Any change to the GPS system can affect the...

Page 6: ...ce in an appropriate place so as not to obstruct the driver s view or deployment of airbags Do not mount where the driver s field of vision is blocked Do not place unsecured on the dashboard Do not mo...

Page 7: ...match the device shown in this manual Front Components Ref Component Description Displays the output of your device Tap the screen with yo n Touch Screen ur fingertip to select menu commands or enter...

Page 8: ...r This connector under rubber dust cover allows use of an optional external GPS antenna with magnetic mount which may be positioned on top of the car for better signal reception in areas with poor rec...

Page 9: ...headphones Top Components Ref Component Description n Power Button Turns on and off the device Pressing briefly or for a long duration makes a difference See Sections 1 6 and 5 1 for information Botto...

Page 10: ...e power button to turn on and off your device 2 Your device turns on Immediately charge your device as described in the next section 3 The Switch Language screen appears Tap the arrow button to select...

Page 11: ...5 The Home screen appears You can now use your device 5...

Page 12: ...t on your computer 3 If your device is on the screen as shown below appears Whenever your device is connected to a computer you will not be able to use it 4 The charge indicator glows amber when charg...

Page 13: ...e location for mounting the device in a vehicle Never place the device where the driver s field of vision is blocked Make sure that the GPS antenna has a clear view of the sky z If the car s windshiel...

Page 14: ...resumes You will either be back to where you left off or see the Home screen NOTE z The screen you see after resuming depends on the program you were using when you suspended the device Some programs...

Page 15: ...Hold your fingertip on the screen and drag up down left right or across the screen z Tap and hold Tap and hold your fingertip until an action is complete or a result or menu is shown Home Screen The...

Page 16: ...d Your device has a slot where you can insert an optional SD SDHC MMC storage card To use a card insert it into the slot with the connector pointing to the slot and its label facing the front of the d...

Page 17: ...ack of MP3 WAV WMA files Basic playback controls such as play pause stop next and previous Playback includes single selection playback repeat single repeat sampling playback normal sequence and random...

Page 18: ...py the files from your computer to the correct location See section 4 3 for information 2 3 Playing Audio Files 1 If your files are in a storage card insert the card into your device 2 Tap Audio on th...

Page 19: ...you press the power button or when the playback of the current play list has ended z If the total length of a song exceeds 99 minutes and 59 seconds the information area cannot correctly display the...

Page 20: ...the current play list in sequence Lyrics Opens the lyrics display Available only if the current song is with lyrics See Section 2 5 for more information Minimize Minimizes the control panel and play t...

Page 21: ...sfer to copy the lyrics to the correct location of your device See section 4 3 for information When copying a lyric file to your device be sure to use the same filename as the audio file For example i...

Page 22: ...open the play list screen The screen shows the current play list Back Add song Remove the selected song from the list or from the storage media Save the play list Open the list of play lists Clear al...

Page 23: ...ard screen appears where you can change the default name of the play list Rename the play list if you want Tap when finished 6 To return to the control panel tap Opening a Play List To open one of the...

Page 24: ...ay list Open the selected play list Delete all play lists 4 To return to the control panel tap 2 7 Equalizer The program provides 11 preset audio profiles Tap to open the equalizer panel Tap or to cyc...

Page 25: ...ne on the right side of the screen Tap the check box to turn on the power saving mode Tap the up down button to set the timer to 10 seconds 30 seconds 1 minute or 5 minutes During the playback the scr...

Page 26: ......

Page 27: ...customize the system settings such as backlight brightness volume an language Once you change the settings the new settings will remain until you change them again d Settings Tap the button on the Hom...

Page 28: ...Tap the Settings button on the Home screen 2 Tap the Backli 3 2 Backlight ght button Move the knob along the trac 3 k bar to adjust the brightness of the backlight To light m darken the backlight move...

Page 29: ...utton on the Home screen 2 Tap the Volume button 3 Move the knob along the track bar to adjust the volume To decrease the volume move the knob to the left To increase the volume move the knob to the r...

Page 30: ...p the Settings button on the Home screen 2 Tap the Screen button 3 Tap to start the calibration 4 Tap and hold the centre of the target 5 When the target moves to another position tap and hold the cen...

Page 31: ...he Settings button on the Home screen 2 Tap the Power button 3 The screen shows the remaining power of your battery You can set a timer to automatically turn off your device when it is idle for a set...

Page 32: ...the date tap the down arrow in the Date item A calendar pops up Tap the left arrow on the calendar to go to the earlier month and year or the right arrow to the later month and year Alternatively you...

Page 33: ...Time item and then tap the up arrow to increase or down arrow to decrease the value 6 Tap to save the changes 3 7 Language 1 Tap the Settings button on the Home screen 2 Tap the Language button 3 Tap...

Page 34: ...4 Tap to save the changes 3 8 Restore To restore the settings to factory default values 1 Tap the Settings button on the Home screen 2 Tap the Restore button 3 Tap 28...

Page 35: ...rs click the language that you wish mputer clicking 1 Turn on your computer and insert the supplied CD DVD into the CD DVD ROM drive of your computer When the langu to install from 3 Click Install Mio...

Page 36: ...ram The MioTransfer screen appears It provides the following tools z Audio Allows you to transfer the audio files between your device and your computer See section 4 3 for details z Mio Online Provide...

Page 37: ...he card to your device 2 Turn on your computer and your device 3 Connect the mini USB end of the USB cable to the bottom of your device and the other end to a USB port on your computer 4 Start MioTran...

Page 38: ...e left column Select the file you want to copy and tap The status bar will indicate the progress of file transfer and the selected file will be copied to the target device NOTE You can also copy files...

Page 39: ...ilable for you to manage the files z Rename Changes the name of the selected file z Delete Removes the selected file z Cancel Aborts the ongoing action of file transfer z New Folder Creates a new fold...

Page 40: ......

Page 41: ...Restarting Your Device To restart your device press the power button for 5 seconds until t een appears and then tap Restart 5 seconds until the Power down tware failure prevents the Power Off Shutting...

Page 42: ...istance Power Problems Power does not turn on z The remaining batte when using battery power ry power may be too low to run your device Charge the slowly device is not running out of battery power If...

Page 43: ...ception can be affected by 9 Bad weather 9 Dense overhead obstacles e g trees and tall buildings 9 Other wireless device in the car 9 Reflective car window tint and heated screens trying to establish...

Page 44: ...perty damage and will void any warranty z Do not store or carry flammable liquids gases or explosive materials in the same compartment as your device its parts or accessories z Keep your device away f...

Page 45: ...on of the European Community Compliance with these directives implies conformity to the following European Standards EN301489 1 Electronic compatibility and Radio spectrum Matters ERM ElectroMagnetic...

Page 46: ...rce and output rated 5 V dc 1 0 A z Use a specified battery in the equipment About the Charger z Do not use the charger in a high moisture environment Never touch the charger when your hands or feet a...

Page 47: ...ure or dispose of in fire or water z Important instructions for service personnel only 9 Caution Risk of explosion if battery is replaced by an incorrect type Dispose of used batteries according to th...

Reviews: