background image


18 


Menu Setting 

1. Main Menu 

In normal image condition, press “MENU” key to display the menu, using scroll arrow to point at or highlight 
the selected items. 


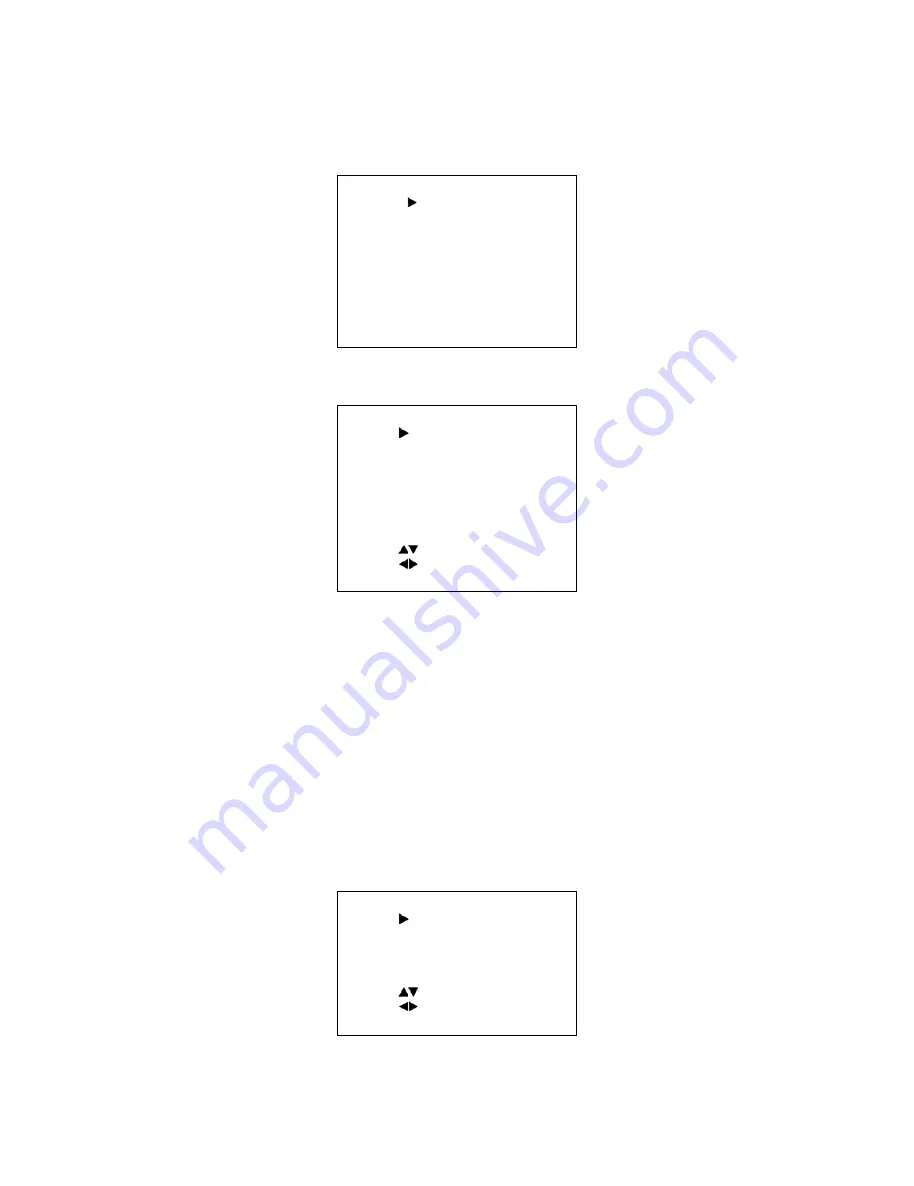
2. EXPOSURE 

Choose and enter the EXPOSURE item (by using “HOME” key) 


Mode: Exposure Mode, options available: Auto, Manual, AAE, SAE, Bright and WDR 
EV:      Exposure Value: Off, On 
EVLevel:    Exposure compensation levels: -7~+7 
BLC:      Back Light Compensation: Off, On 
G Limit:      Biggest gain limit: 0~ +F 
Flicker:    Anti-Flicker: Off, 50Hz, 60Hz 
Iris:    Iris  value,  we  have  F1.8,  F2.0,  F2.4,  F2.8,  F3.4,  F4.0,  F4.8,  F5.6,  F6.8,  F8.0,  F9.6,  and  F11.0  for 
options

˄

only available in the mode of Manual and AAE

˅


Shut:    Shutter  value:  1/30,  1/60,  1/90,  1/100,  1/125,  1/180,  1/250,  1/350,  1/500,  1/725,  1/1000,  1/1500, 
1/2000, 1/3000, 1/4000, 1/6000, 1/10000

˄

only available in the mode of Manual and SAE

˅


Stren:    WDR strength: 0~6

˄

only available in the mode of WDR

˅


Meter : meter model , Average , Center optional .   
Bright:: adjust the brightness, 

00~23


3. COLOR 

Choose and enter the COLOR item (by using HOME key) 

WB-Mode: White balance mode: Auto, Indoor, Outdoor, OnePush , Manual 

RG:    Red Gain: 0~255

˄

only available in the mode of Manual

˅


BG:    Blue Gain: 0~255

˄

only available in the mode of Manual

˅


Sat.:    Saturation: 60% ~ 200% 

MENU


Exposure 
Color 
Image 

P/T/Z 

Noise Reduction


Setup 
Restore Default 

 
[Home] Enter 
[Menu] Exit 

EXPOSURE 

Mode 


Auto 

EV                 

Off 

EVLevel   

BLC             

Off 

G.Limit 


Flicker 


Off 

Meter                Average 


  Select Item 
Change Value 

  [Menu] Back 

BACKLIGHT 

WB-Mode        Auto 
Sat.   


130% 

AWBSens  

Normal 

Hue                  0 


  Select Item 
Change Value 

[Menu] Back 

All manuals and user guides at all-guides.com

Summary of Contents for UV850

Page 1: ...0 HD Color Video Camera User Manual English All manuals and user guides at all guides com a l l g u i d e s c o m...

Page 2: ...emove the cover to reduce the risk of electric shock Refer servicing to qualified personnel Never operate the camera under unqualified temperature humidity and power supply Only use the replacement pa...

Page 3: ...4 CAMERA HIGHLIGHTS 5 CAMERA SPECIFICATIONS 5 CAMERA INTERFACE EXPLANATION 6 APPEARANCE DIMENSION 6 REMOTE CONTROLLER 7 USAGE OF IR REMOTE CONTROLLER 8 RS 232C INTERFACE PIN SPECS 10 COM CONTROL 11 ME...

Page 4: ...or platform and it can not be installed slantways If the camera is installed on TV or computer the base can be fixed by three double sided adhesive tray Don t apply in corrosive liquid gas or solid e...

Page 5: ...Rotary Switch setting for format setting selections Index 0 1080P60 1 1080P50 2 1080I60 3 1080I50 4 720P60 5 720P50 6 1080P30 7 1080P25 8 720P30 9 720P25 A 1080P59 94 B 1080I59 94 C 720P59 94 D 1080P2...

Page 6: ...sense of hierarchy With the most advanced CMOS sensor which support WDR the camera can capture all images clearly in the strong contrast between black and light environment such as backlight 6 support...

Page 7: ...on 1 Camera lens 2 IR Receiver 3 Power indicator light red 4 Standby indicator light 5 Bottom dial Switch 6 Tripod screw hole 7 Installation Orientation Hole 8 Rotary Switch video format optional 9 RS...

Page 8: ...ting is Auto BLC OFF close black light compensation Only available in the exposure mode effective for Auto 5 Focus control key Focus focus length far from near Focus focus length near from far Auto fo...

Page 9: ...lt Control Up press Down press Left press Right press Back to middle position press HOME Press and hold the up down left right key the pan tilt will keep running from slow to fast until it run to the...

Page 10: ...ition the user can press the CLEAR PRESET key first and then press the number key 0 9 to clear the relative preset Note press the key three times continually to cancel all the presets 6 Preset Running...

Page 11: ...0 RS 232C Interface Pin Specs Camera Windows DB98 VISCA OUT Function No Function 1 DTR 2 DSR 3 TXD 4 GND 5 RXD 6 GND 7 IR OUT 8 NC All manuals and user guides at all guides com a l l g u i d e s c o m...

Page 12: ...0 FF Tele Standard 8x 01 04 07 02 FF Wide Standard 8x 01 04 07 03 FF Tele Variable 8x 01 04 07 2p FF Wide Variable 8x 01 04 07 3p FF p 0 low 7 high CAM_Zoom Direct 8x 01 04 47 0p 0q 0r 0s FF pqrs Zoom...

Page 13: ...R 8x 01 04 39 21 FF WDR mode CAM_AE Low Light 8x 01 04 39 22 FF Low Light mode Reset 8x 01 04 0A 00 FF Up 8x 01 04 0A 02 FF Down 8x 01 04 0A 03 FF Shutter Setting CAM_Shutter Direct 8x 01 04 4A 00 00...

Page 14: ...rn Off 8x 01 7D 01 13 00 00 FF IR remote commander receive message via the VISCA communication ON OFF Up 8x 01 06 01 VV WW 03 01 FF Down 8x 01 06 01 VV WW 03 02 FF Left 8x 01 06 01 VV WW 01 03 FF Righ...

Page 15: ...x 09 04 44 FF y0 50 00 00 0p 0q FF pq B Gain y0 50 00 FF Full Auto y0 50 03 FF Manual y0 50 0A FF Shutter priority y0 50 0B FF Iris priority y0 50 21 FF WDR CAM_AEModeInq 8x 09 04 39 FF y0 50 22 FF Lo...

Page 16: ...e Pan tiltMaxSpeedInq 8x 09 06 11 FF y0 50 wwzz FF ww Pan Max Speed zz Tilt Max Speed Pan tiltPosInq 8x 09 06 12 FF y0 50 0w 0w0w0w 0z 0z0z0z FF wwww Pan Position zzzz Tilt Position y0 50 01 FF High y...

Page 17: ...Speed SUM Right 0xFF Address 0x00 0x02 Pan Speed Tilt Speed SUM Zoom In 0xFF Address 0x00 0x20 0x00 0x00 SUM Zoom Out 0xFF Address 0x00 0x40 0x00 0x00 SUM Focus Far 0xFF Address 0x00 0x80 0x00 0x00 S...

Page 18: ...Preset ID 0xAF XOR Clear Preset 0xA0 Address 0x00 0x05 0x00 Preset ID 0xAF XOR Call Preset 0xA0 Address 0x00 0x07 0x00 Preset ID 0xAF XOR Auto Focus 0xA0 Address 0x00 0x2B 0x00 0x01 0xAF XOR Manual F...

Page 19: ...180 1 250 1 350 1 500 1 725 1 1000 1 1500 1 2000 1 3000 1 4000 1 6000 1 10000 only available in the mode of Manual and SAE Stren WDR strength 0 6 only available in the mode of WDR Meter meter model Av...

Page 20: ...ions AF Sense Sensitivity of auto focus Low Normal and High for options 6 NOISE REDUCTION Choose and enter the Noise Reduction item by using HOME key NR2D Level 2D Noise Reduction Off 1 5 NR2D Level 3...

Page 21: ...ULT Choose and enter the RESTORE DEFAULT item by using HOME key Restore Yes No Press HOME key 3 seconds to restore Note Restore will recover all parameters including remote controller address and COM...

Reviews: