3
1. A NEW DIGITAL MAGNIFICATION FUNCTION
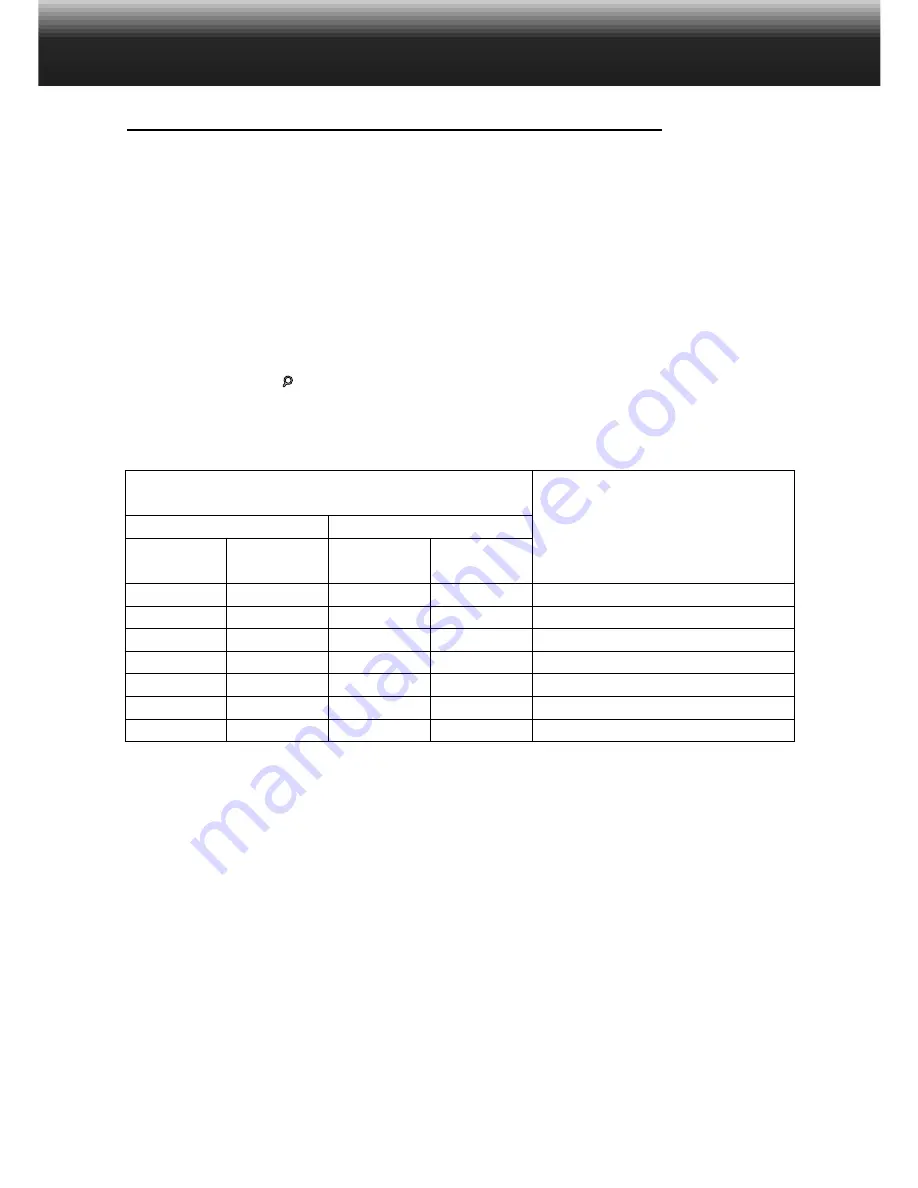
Trimmed area (displayed area)
with digital magnification
Magnification for
digitally magnified area.
Figures in brackets are for
1/4 size.
Full size
Width
(pixels)
Height
(pixels)
1344
1008
1120
840
1024
768
960
720
896
672
768
576
672
504
1/4 size
Width
(pixels)
Height
(pixels)
640
480
1.0X (1.0X)
1.2X (1.1X)
1.3X (1.3X)
1.4X (1.4X)
1.5X (1.7X)
1.8X (2.0X)
2.0X (2.2X)
576
432
512
384
448
336
384
288
320
240
288
216
• The digital magnification function operates only when the LCD monitor is switched ON. When digital
magnification has been selected it is cleared by pressing the LCD monitor ON/OFF button on the lens
unit to switch the monitor OFF.
• Digital magnification cannot be used when the wide-angle 1500 lens unit is fitted.
• When the PLAY or REVIEW mode is selected while digital magnification is selected, selecting the REC
mode again clears digital magnification.
• Motion in digitally magnified live images is slightly jerky with digital magnification selected, however this
has no effect on image quality.
• Images recorded from the digitally magnified area are trimmed in the vertical and horizontal directions as
shown above (they are not reconstructed to 1344x1008 pixels), and appear as smaller images when
displayed on the PC monitor screen or when printed.
After extending the optical zoom (telephoto) to 115mm, release the right button and then press it again to
select digital magnification. Press the right button once to increase the magnification of the live image on
the LCD monitor. The full size (2.0X) image is 672 pixels (horizontal) x 504 pixels (vertical)
(1/4 size (2.2X) image of 288 pixels (horizontal) x 216 pixels (vertical)).
Press the left button once to decrease the digital magnification of the image. After decreasing
magnification to the minimum size image of 1344 pixels (horizontal) x 1008 pixels (vertical) (1/4 size image
of 640 pixels (horizontal) x 480 pixels (vertical)), press the left button once to re-select the optical zoom
(telephoto).
A magnifying glass icon
appears at the top-right of the REC screen when digital magnification is
selected.


