


8.
menu settings
p18
8.
1.
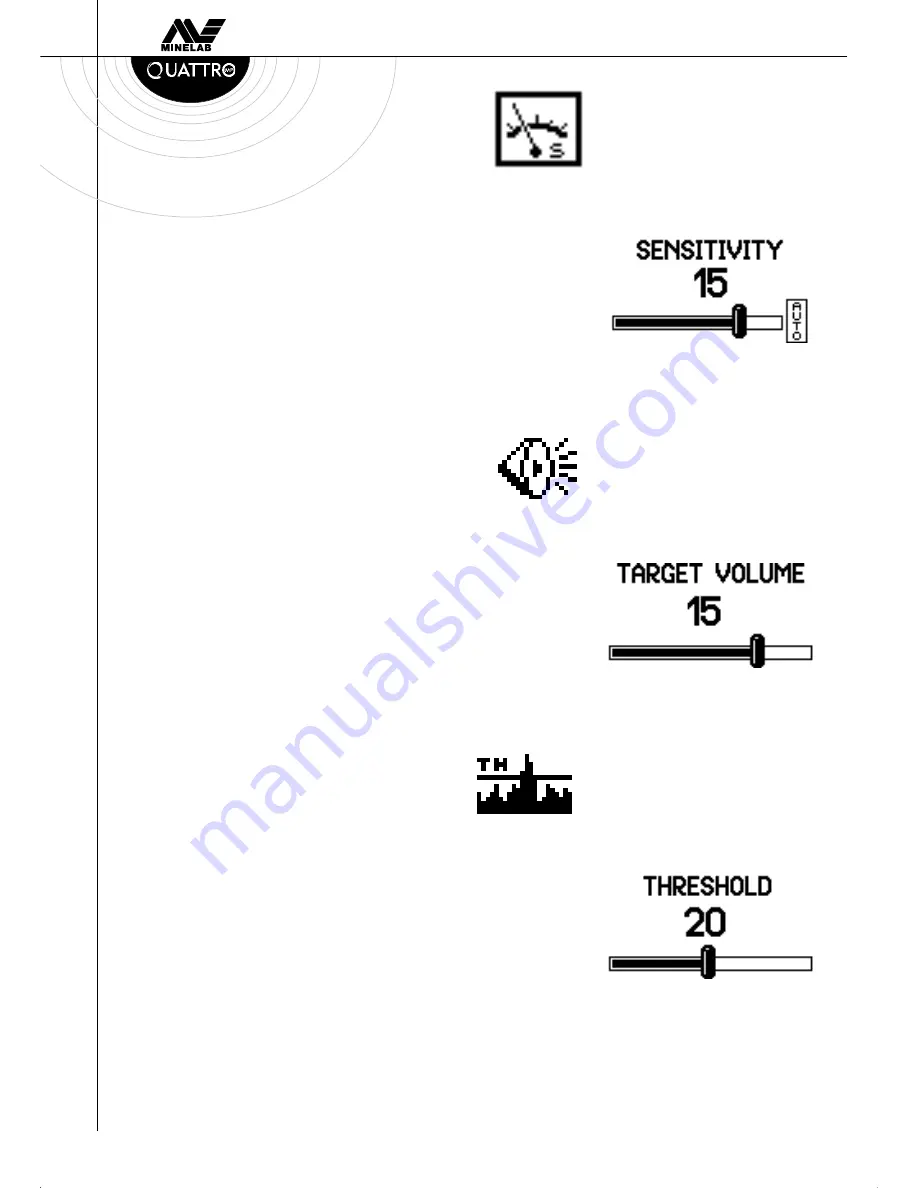
Sensitivity
The SENSITIVITY control is adjustable to set the best level of
sensitivity for the environment being detected. The factory
pre-set setting is in Auto, and this will self adjust to suit the
conditions you are detecting in. You can also lock the
sensitivity to suit a particular area by manually selecting a level
between 0 and 20.
A manual sensitivity setting can be used in areas with
blanket/constant soil mineralization, such as beaches, modern
parks etc. However, Auto sensitivity is the preferred setting when
detecting areas with changing soil conditions.
8.
2.
Volume
The VOLUME feature is used to adjust the maximum volume of
the target signal - not the overall volume of the Quattro MP. The
range of volume available is from 0 to 20 and the preset level is 20.
This is used to prevent signals from large and shallow items
producing very loud signals that are uncomfortable to one’s ears.
This should be adjusted to suit your individual hearing.
Note: The volume control sets the target volume only and does not
effect the detectors sensitivity or power.
8.
3.
Threshold
The THRESHOLD feature controls the audible level of sound
during detecting, or the "background hum". Most operators find
that detecting with a very low but still audible threshold is
preferred. A lower level may mask responses to smaller targets
and the higher levels will make targets difficult to hear. The level
preset by Minelab is 12, as it will emit responses to most large and
small targets.
The range of Threshold is from 0 to 40.
The use of headphones will normally allow the threshold to
be reduced.
www.minelab.com
Summary of Contents for Quattro MP
Page 1: ...MINELAB User Manual...
Page 28: ...notes p28 www minelab com...


