1. Getting Started
New Patient
1. Press
[Patient]
, fill in basic animal information.
2. Press
[Probe/Exam]
.
3. Use the
[Trackball]
and
[Set]
to choose probe and exam mode.
2. Scanning
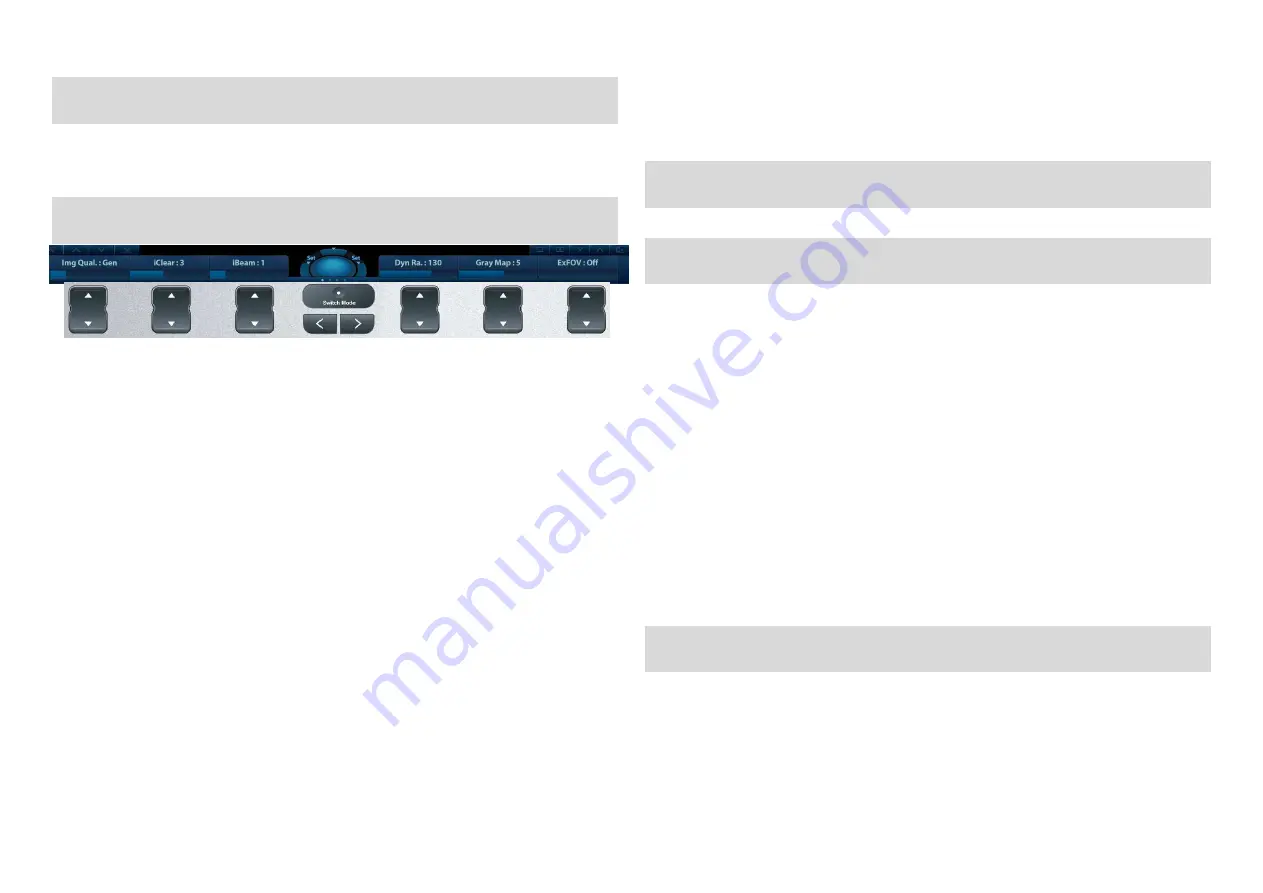
The function keys at the bottom of the screen are corresponding to the soft menu. Use
[Switch Mode]
Key
to switch the modes: press corresponding soft keys to adjust parameters; use
[Menu Page Turning]
keys
to turn pages up or down.
B Mode
1. Press
[B]
button to enter B mode. 2. Rotate
[Gain & iTouch]
knob to adjust gain.
CDFI/Power Mode
1. Press
[C]
button to enter Color mode. 2. Move
[Trackball]
to change the position of ROI.
3. Press
[Set]
, and then move
[Trackball]
to change the size of ROI, press
[Set]
.
PW/CW Mode
1. Press
[PW]
button to enter PW mode.
2. Move
[Trackball]
to change the position of sample volume.
3. Use soft menu to change the size and angle of sample volume, press
[Update]
or
[PW]
to get the
Pulse Wave Doppler.
Free Xros M mode (Anatomical M mode) [Option]
1. Under B mode, click [Free Xros M] on the menu in the top-left corner of the screen.
2. Use
[Trackball]
to set the position of the sample line, and rotate
[Angle]
to change the angle of the
sample line.
Tissue Doppler Imaging [Option]
1. Under B mode with phased array probe, press
[TDI]
button to enter TDI mode.
2. Use
[Trackball]
to change the position and size of the ROI.
3. Press
[M]
button to enter TVM mode; press
[PW]
button to enter TVD mode; press
[P]
to enter TEI
mode.
iScape View [Option]
1. Under B mode, click [iScape View] on the menu in the top-left corner of the screen.
2. Press
[Update]
to start acquisition, press
[Freeze]
to stop acquisition.
Elasto Imaging [Option]
1. Locate the region in B mode and then click [Elasto] on the menu in the top-left corner of the screen.
2. Adjust ROI according to the actual situation.
3. Adjust the image parameters to obtain optimized image and necessary information.
Contrast Imaging [Option]
1. Select probe C5-1s, and perform 2D imaging to obtain the target image, and then fix the probe.
2. Click [Contrast Imaging] on the menu in the top-left corner of the screen to enter the mode, inject
the contrast agent and set timer.
3. Observe the tissue image to find the target view.
3. Measurement
1. Press
[Measure]/[Caliper]
to enter the measurement status.
2. Move the cursor to choose the measurement tool, and then go to the desired position to measure.
4. Post Scanning
Comments and Body Marks
Comment
Press
[Comment]
to choose the comment setting position and then add the comment to the image.
Body Mark
1. Press
[Body Mark]
and use the
[Cursor]
and trackball to choose the desired one. Press
[Set]
to
confirm adding, the added one will be highlighted in green solid frame in the bottom-left of the image.
2. Move
[Trackball]
to place the probe marker, and rotate the
[Angle]
to adjust the orientation of the
probe.
Save Images or Cine
1. Press
[Save]
or
[P1]
according to hints under the soft menu to save a single-frame image or cine to
the system.
2. Press
[Review]
or select an exam of a animal in the
[iStation]
screen, and click
[Review]
to see the
image or cine.
Report and Print
1. Press
[Report]
, move the cursor to the comment text box and type the text.
2. Click [Add Picture] on the report page to add images, click [Preview] to preview the report, and then
click [Print] to print the report out.
End Exam
Press
[End Exam]
to end one examination. You may start a new exam by repeating the instructions
above.
5. Image Management
Image Transfer
1. Press
[iStation]
to enter the image management system and choose the images.
2. Click the send to button to send the images to USB or DICOM, etc.
Note: For detailed information, please refer to the operator’s manual.
P/N: 046-010560-00 (V1.0)


