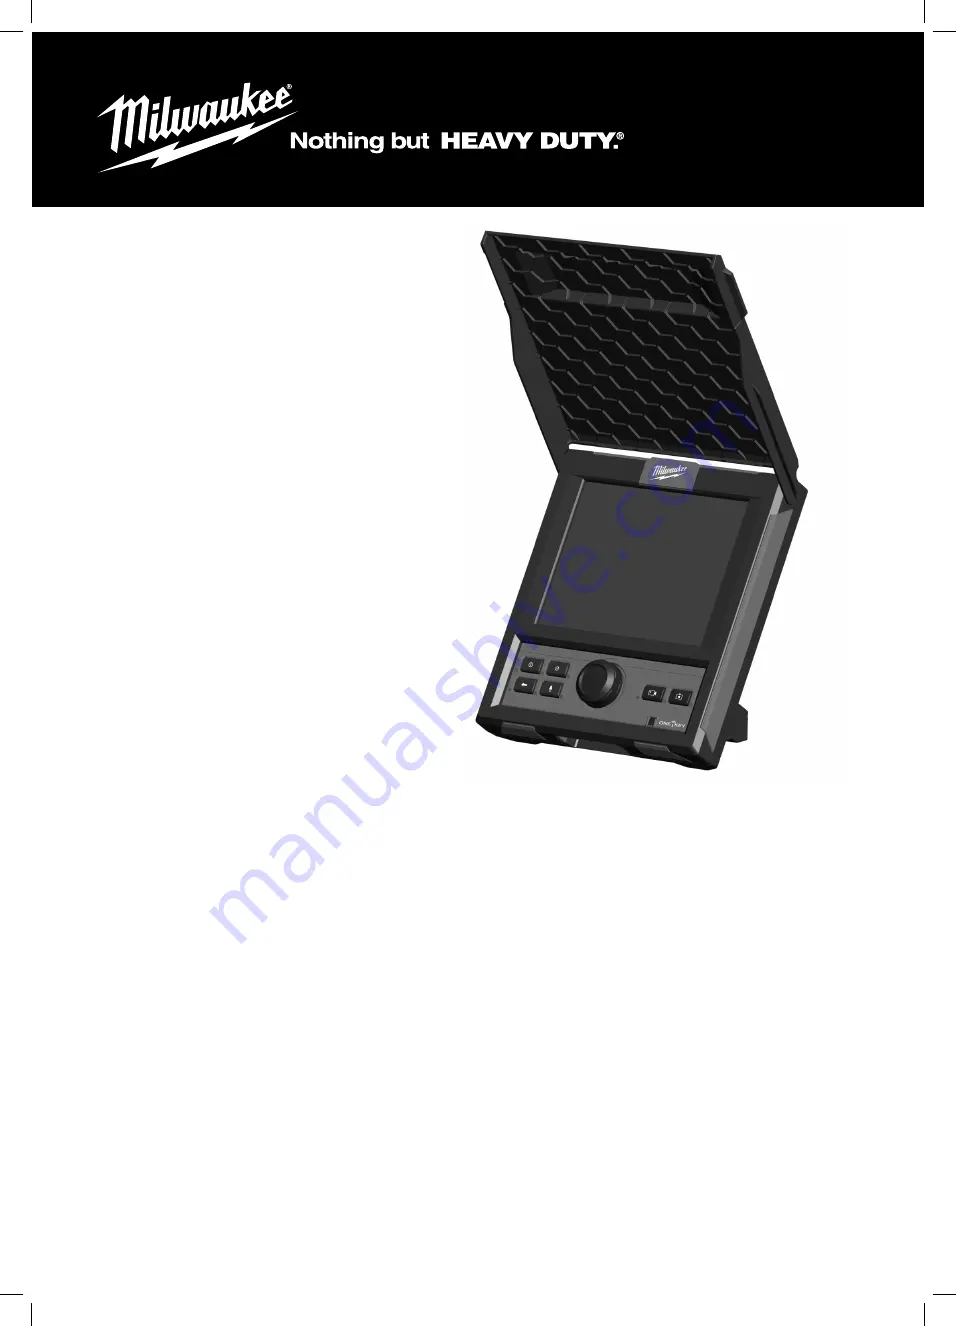
background image

M18 SIM

Original instructions
Originalbetriebsanleitung
Notice originale
Istruzioni originali
Manual original
Oorspronkelijke gebruiksaanwijzing
Original brugsanvisning
Original bruksanvisning
Bruksanvisning i original
Alkuperäiset ohjeet

Πρωτότυπο


οδηγιών


χρήσης

Orijinal i

ş

letme talimat

ı

P

ů

vodním návodem k používání

Pôvodný návod na použitie

Instrukcj

ą

 oryginaln

ą

Eredeti használati utasítás
Izvirna navodila
Originalne pogonske upute
Instrukcij

ā

m ori

ģ

in

ā

lvalod

ā

Originali instrukcija
Algupärane kasutusjuhend

Оригинальное


руководство


по


эксплуатации

Оригинално


ръководство


за


експлоатация

Instruc

ţ

iuni de folosire originale

Оригинален


прирачник


за


работа

Оригінал


інструкції


з


експлуатації

ﺔﯾﻠﺻﻷا


تﺎﻣﯾﻠﻌﺗﻟا

470 424 - M18SIM - GB Print.indd   1

470 424 - M18SIM - GB Print.indd   1

01.07.2020   06:40:42

01.07.2020   06:40:42

Summary of Contents for 4933471414

Page 1: ...m k používání Pôvodný návod na použitie Instrukcją oryginalną Eredeti használati utasítás Izvirna navodila Originalne pogonske upute Instrukcijām oriģinālvalodā Originali instrukcija Algupärane kasutusjuhend Оригинальное руководство по эксплуатации Оригинално ръководство за експлоатация Instrucţiuni de folosire originale Оригинален прирачник за работа Оригінал інструкції з експлуатації اﻷﺻﻠﯾﺔ اﻟﺗﻌ...

Page 2: ...tting the SONDE FREQUENCY 11 5 8 Setting the COMPANY NAME 11 5 9 VIDEO and IMAGE SETTINGS 12 5 10 CONNECTION SETTINGS 14 5 11 M18 BATTERY 16 5 12 Setting the LCD SCREEN SETTINGS 16 6 Using the WIRELESS MONITOR 17 6 1 Using JOBS 18 6 2 Creating a Video Recording and Image Capturing 19 6 3 EXPORT JOB 20 6 4 Adjusting the CAMERA LIGHT and IMAGE ENHANCE 21 6 5 ZOOM PAN 21 6 6 Screen ROTATE 22 6 7 LINE...

Page 3: ...en shall not use clean or play with this appliance which when not in use should be secured out of their reach Chemical Burn Hazard This device contains a lithium button coin cell battery A new or used battery can cause severe internal burns and lead to death in as little as 2 hours if swallowed or enters the body Always secure the battery cover If it does not close securely stop using the device r...

Page 4: ...or Google Play from your smart device Also when the product experiences ESD the Bluetooth communication will be disconnected It needs to be reset manually to recover We considered the results to be within our minimum acceptable performance level according to EN 55014 2 2015 EN 301489 1 V2 1 1 EN 301489 17 V3 1 1 One key indicator Solid Blue Wireless mode is active and ready to be configured via th...

Page 5: ... exploded view of the tool can be ordered Please state the machine type printed as well as the six digit No on the label and order the drawing at your local service agents or directly at Techtronic Industries GmbH Max Eyth Straße 10 71364 Winnenden Germany 1 10 Symbols CAUTION WARNING DANGER Remove the battery pack before starting any work on the machine Please read the instructions carefully befo...

Page 6: ...on 5 Power button 6 Back button 7 Microphone button 8 Navigation dial 9 Record video button 10 ONEKEY LED 11 Picture capture button 12 USB C port 13 USB A port 14 M18 BATTERY mounting area 15 ONEKEY battery compartment 470 424 M18SIM GB Print indd 6 470 424 M18SIM GB Print indd 6 01 07 2020 06 40 42 01 07 2020 06 40 42 ...

Page 7: ...7 ENGLISH 3 INSTALLING AND REMOVING BATTERY PACK 1 click 2 78 100 55 77 33 54 10 32 10 470 424 M18SIM GB Print indd 7 470 424 M18SIM GB Print indd 7 01 07 2020 06 40 43 01 07 2020 06 40 43 ...

Page 8: ...8 ENGLISH 4 CHANGE ONEKEY BATTERY 1 2 3 470 424 M18SIM GB Print indd 8 470 424 M18SIM GB Print indd 8 01 07 2020 06 40 45 01 07 2020 06 40 45 ...

Page 9: ...nd LANGUAGE These settings can also be performed through a tablet running the MILWAUKEE PIPELINE INSPECTION APP 5 3 Navigating through the settings menu Navigation dial Turn the navigation dial clockwise or counter clockwise to move through the menus While rotating the navigation dial the position menu items will be highlighted by the red cursor line Press the navigation dial to select and accept ...

Page 10: ...running the MILWAUKEE PIPELINE INSPECTION APP the DATE TIME are taken from the tablet 5 6 Setting the UNITS of Measure 1 Go to SETTINGS UNITS 2 Choose Feet or Meter The UNITS of measures are now set and you will be returned to the SETTINGS menu SETTINGS DATE FORMAT TIME FORMAT DATE SET TIME SET YYYY MM DD 24 HOUR 2019 10 23 16 04 35 SAVE SETTINGS 2019 05 10 6 FILES DATE TIME UNITS Feet FACTORY RES...

Page 11: ...on dial to navigate the on screen keyboard pressing the navigation dial to accept each keyboard character 3 When finished with the COMPANY NAME press the ENTER key 4 Select SAVE or CANCEL to continue SETTINGS 512Hz 640Hz 33kHz SETTINGS MANAGE JOBS 2019 05 10 6 FILES MANAGE JOBS SONDE FREQUENCY 640Hz IMAGE SETTINGS 1920x1080 CONNECTION SETTINGS MTCAM_02938B284 CAMERA SETTINGS LABEL SETTINGS FORMAT ...

Page 12: ... SETTINGS VIDEO SETTINGS 2 Choose 1080p 720p or 480p 3 After a resolution of 1080p 720p or 480p has been selected the next screen will require a selection of frames per second Choose 30FPS or 15FPS 4 After the frames per second choice is selected the system will return to the SETTINGS menu SETTINGS MANAGE JOBS 2019 05 10 6 FILES MANAGE JOBS SONDE FREQUENCY 640Hz IMAGE SETTINGS 1920x1080 CONNECTION...

Page 13: ... Choose 1920x1080 1280x720 or 640x480 3 After the IMAGE setting choice is selected the system will return to the SETTINGS menu SETTINGS MANAGE JOBS 2019 05 10 6 FILES MANAGE JOBS SONDE FREQUENCY 640Hz IMAGE SETTINGS 1920x1080 CONNECTION SETTINGS MTCAM_02938B284 CAMERA SETTINGS LABEL SETTINGS FORMAT DISK MILWAUKEE VIDEO SETTINGS 1080P 30FPS COMPANY NAME SETTINGS 1920x1080 1280x720 640x480 470 424 M...

Page 14: ...hen the capacity reaches 10 C Status checkmark indicates as connected D Signal strength of nearby CONTROL HUBs with active WI FI Cable Connected icon Shows the WIRELESS MONITOR and CONTROL HUB are connected by a USB C cable CONTROL HUB connection status and wireless signal strength This icon appears when the CONTROL HUB is connected to the WIRELESS MONITOR by WI FI PIPELINE INSPECTION REEL icon ap...

Page 15: ...the USB C connection by checking the icons in the status bar on the right When connected by USB C cable the WI FI icon is now replaced by the cable connect icon The WI FI icon is replaced by the cable connect icon and the WIRELESS MONITOR battery shows as empty SETTINGS Control Hub List MTCAM_02938B284 MTCAM_029384BEA MTCAM_02938ED7A MTCAM_029383A7E SETTINGS MANAGE JOBS 2019 05 10 6 FILES MANAGE J...

Page 16: ...d between the WIRELESS MONITOR and CONTROL HUB The USB C cable will now power the CONTROL HUB temporally Typical battery life WIRELESS MONITOR Nine hours on a fully charged battery CONTROL HUB Nine hours on a fully charged battery 5 12 Setting the LCD SCREEN SETTINGS This setting adjusts the WIRELESS MONITOR LCD screen settings 1 Go to SETTINGS SCREEN SETTINGS 2 Use the navigation dial to navigate...

Page 17: ...L HUB and WIRELESS MONITOR The status bar is always shown regardless of what mode or option is being used 3 Menu location 4 WI FI status 5 CONTROL HUB connection status icon 6 CONTROL HUB battery status 7 WIRELESS MONITOR connection status icon 8 WIRELESS MONITOR battery status 9 Distance out count 10 Main viewing area shows the raw video from the camera or videos being played back 11 Active JOB d...

Page 18: ...ia the on screen keyboard CONTINUE EXISTING JOB Sends the new files to an EXISTING JOB previously created EXPORT JOB Copies the JOB from the CONTROL HUB INTERNAL DRIVE to a CONTROL HUB THUMB DRIVE DELETE JOB Deletes the JOB from the CONTROL HUB INTERNAL DRIVE 2 Choose the desired sub menu The changes will be saved into memory and the system will return to the main viewing screen Creating a NEW JOB...

Page 19: ...rt the recording If this is the first recording of the day or if the WIRELESS MONITOR or CONTROL HUB was restarted when the record button is pressed the SELECT JOB dialog box will appear to route the recording record to the appropriate JOB folder 2 Choose the desired option and press the navigation dial 3 After the JOB option has been selected a flashing recording icon will appear in the upper lef...

Page 20: ... will appear showing the status 5 Wait for the progress indicator to run until completed EXPORT JOB from within the SETTINGS menu 1 Go to SETTINGS MANAGE JOBS EXPORT JOB 2 Select the JOB and choose CONTROL HUB THUMB DRIVE The progress indicator will show the status 3 Wait for the progress indicator to run until completed 2020 17 04 11 30 45 AM 3 3M 2019_10_23_SCREEN EXPORT EXIT PLAYBACK 00 00 00 4...

Page 21: ...r right will grow or shrink according to the ZOOM level ZOOM PAN 2020 04 17 11 30 45 AM 3 2M 2020_04_17_JOB1 2019 10 23 01 47 57 AM 9 3FT 2019_10_23_SCREEN ZOOM PAN ZOOM Min Max 2x Standard ZOOM ZOOM X 2 3 Press the navigation dial and go to HORIZ or VERT 2020 04 17 11 30 45 AM 3 2M 2019_10_23_SCREEN ZOOM PAN ZOOM HORIZ VERT EXIT 2020 04 17 11 30 45 AM 3 2M 2019_10_23_SCREEN ZOOM PAN ZOOM HORIZ VE...

Page 22: ... 90 Degree position ROTATE 2020 04 17 11 30 45 AM 3 2M 2020_04_17_JOB1 ROTATE 2019 10 23 01 47 57 AM 9 3FT 2019_10_23_SCREEN 180 degree position 270 degree position Note The screen will remain in a ROTATE position until it is adjusted back to the default in this setting 6 7 LINE TRACE LINE TRACE activates the internal transmitter to inject a locate signal onto the push cable The length of deployed...

Page 23: ...DE and press the dial The SONDE is now active and the SONDE icon will appear in the status bar along with the frequency To deactivate the SONDE press the navigation dial when it shows the SONDE icon selected 6 9 GALLERY Overview In the GALLERY all the videos and pictures are shown organized in folders and stored for reviewing editing exporting or deleting In the GALLERY view each JOB folder is sho...

Page 24: ...comments see section 6 14 Recording Audio are added to recording videos via the internal microphone these parts of the video where the label or audio was added are marked with a highlight marker in the video playback progress bar These highlight markers are shown with a white bar in the playback progress bar This is extremely useful while reviewing videos as it shows a place of interest or comment...

Page 25: ...der and then the desired video 2 Select the TRIM menu option 3 Press CONTINUE at the Set desired beginning of clip message Turn the navigation dial clockwise while watching the advancement of the video to select the TRIM starting point press the navigation dial 4 Press CONTINUE at the Set desired end of clip message Turn the navigation dial counterclockwise while watching the advancement of the vi...

Page 26: ... spot to add the annotation Use the RW FF feature to reach highlighted parts of the video 3 Press the MICROPHONE button to activate the microphone the microphone button will glow red when active 4 Speak clearly facing the internal microphone located in the top left corner of the WIRELESS MONITOR and be in the range of 1 m from it 5 Press the MICROPHONE button to deactivate the microphone 6 Turn th...

Page 27: ...es from within the SETTINGS menu 1 Go to SETTINGS MANAGE JOBS DELETE JOB 2 Select the JOB to delete press the navigation dial 3 Accept the on screen message The JOB folder and files within it have been deleted and the system returns to the MANAGE JOBS sub menu Press the back button to return EXIT 2020 04 17 11 30 45 AM 3 2M 2020_04_17_JOB1 Are you sure you want to delete the file 201910230518c jpg...

Page 28: ...lows the creation of a new label Also shown on the screen is the list of FREQUENTLY USED and ALL LABELS After a label is used more than five times it will automatically be added to the frequently used list of labels Creating and saving a new label 1 Go to LABELS ADD CUSTOM 2 Use the on screen keyboard to enter the new label when finished navigate to ENTER and press the navigation dial 3 Accept the...

Page 29: ...nd save Delete Will delete the label from memory 3 Press the back button to return Reset the FREQUENTLY USED LABEL LIST This will remove previously used labels currently in the FREQUENTLY USED LABEL LIST 1 Go to SETTINGS LABEL SETTINGS RESET FREQUENTLY USED LABEL LIST 2 Accept the on screen message 3 Press the back button to return SETTINGS RESET FREQUENTLY USED LABELS LIST EDIT LABELS SETTINGS RE...

Page 30: ... USB port 2 Go to SETTINGS SYSTEM UPDATE WIRELESS MONITOR The filename of the update should be seen in this window Press the navigation dial when the update file is highlighted in red to begin the update 3 Accept the on screen message 4 A progress indicator will appear showing the progress of the update Do you want to factory reset the Wireless Monitor Cancel OK SETTINGS MANAGE JOBS 2019 05 10 6 F...

Page 31: ...system will reboot 6 Go to SETTINGS ABOUT to confirm that the firmware revision numbers have updated The Wireless Monitor will now restart in order to complete the firmware update OK 470 424 M18SIM GB Print indd 31 470 424 M18SIM GB Print indd 31 01 07 2020 06 42 02 01 07 2020 06 42 02 ...

Page 32: ...opyright 2020 Techtronic Industries GmbH Max Eyth Straße 10 71364 Winnenden Germany 49 0 7195 12 0 www milwaukeetool eu 470 424 M18SIM GB Print indd 32 470 424 M18SIM GB Print indd 32 01 07 2020 06 42 02 01 07 2020 06 42 02 ...

Reviews: