Midland BTNEXT PRO Instruction Manual Download Page 11

UK

www.midlandeurope.com 

29

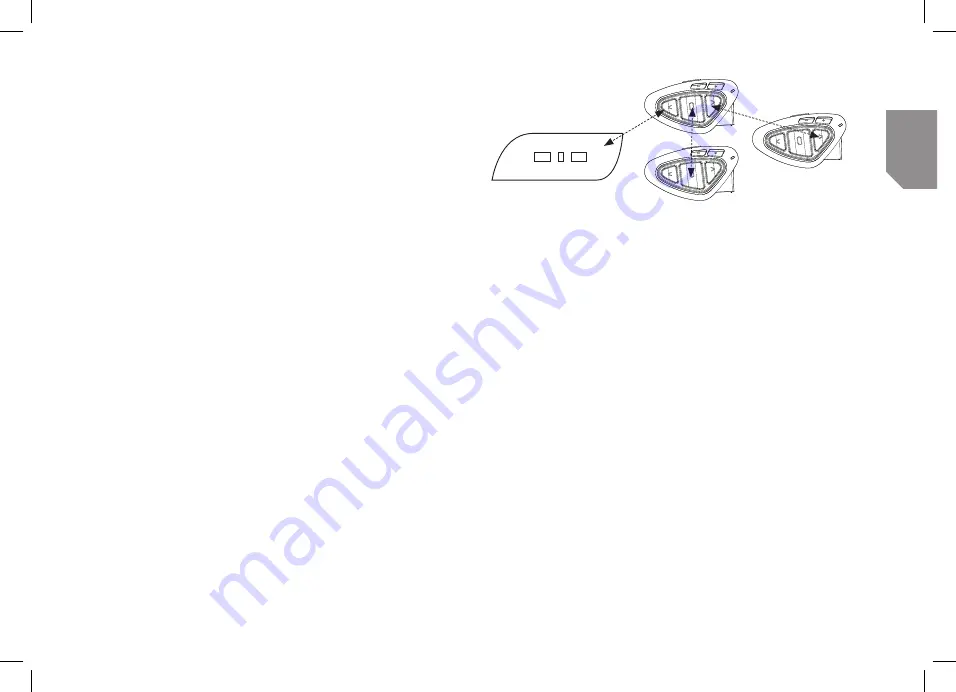
How to pair an Intercom device on the “VOL-” button:


On the BTNext Pro go in “Setup mode”, press the “VOL-” button for 3 sec. The Blue 

and Red Led lights will start flashing


On the other device, follow the procedure to pair  as an Universal Intercom

How to open the Conference for the “VOL-” unit 

To open the conference from the BTNext Pro to the unit connected to the “VOL-”, just 

press the FWD button long.

To open the conference from the other unit connected to the “VOL-”, just use the com-

mand to open the Universal intercom connection.

The maximum distance of the device connected to the VOL- button is 10 mt, this is why 

is suitable only for Passenger.

Talk 2 All - Universal Intercom with different brand unit.

Thanks to the “Talk2 All - Universal Intercom” feature it is now possible to pair your 

Midland BTNEXT PRO to a different brand intercom available on the market. 

You can pair a maximum of two not Midland Intercom devices, one on the “Forward” 

button and the other one on the Backward button.

• 

On the Midland BTNEXT PRO enter the setup mode: (with the unit OFF press 

and hold down  

the Middle button about 7 sec. until the Red light is on permanently). 

• 

Keep pressed the “Forward” button or “Backward” button for 7 seconds: the 

Red and Blu LED light will start flashing fast, then (while you still keep the button 

pressed) the Red and Blu LED lights will change to slow flashing. Now you can 

release the button.

Talk2All - Universal Intercom 

Not Midland Unit

Talk2All - Universal Intercom 

Midland Unit paired as a phone

Passenger

On the other intercom (not Midland brand) follow the procedure to pair to a phone, 

because the BTNEXT PRO is paired as a Phone. 

If successfully paired  the red/blue lights will stop flashing and the blu light will slowly 

flash instead.

Attention: remember to switch OFF all the other Bluetooth devices during the pairing pro-

cedure, only the two devices involved in the pairing must be turned on.

To open the “Universal Intercom” communication on the Midland BTNEXT PRO while 

you are in “Intercom Mode”, press long (3 sec) the Forward button or “Backward” 

button (depending on wich button you used for pairing) . On the other intercom just 

press the phone redial or voice dial button. 

Maybe it will be necessary to press the redial button two times, depending on the model 

of the not Midland intercom.

Attention:  In order to use the “Talk2All-Universal Intercom” feature the pairing on the other 

unit must be done as a phone. The other intercom (not Midland brand) will be able to be paired 

to a phone only if two phones are supported.
You can pair also a Midland unit as Talk2All, that means the pairing must be done as a phone 

(one unit use the Talk2All procedure and the other unit use the pairing to “Phone” procedure).

Compatibility with Midland BT line units

The BTNEXT PRO is compatible with BTX1 PRO, BTX2 PRO, BT Next Conference, 

BTX2 FM and BTX1 FM. 

When paired the max distance of the intercom is defined from the lower possible.

Summary of Contents for BTNEXT PRO

Page 1: ...DUAL CORE INTERCOM SYSTEM BTNEXT PRO MANUALE D USO INSTRUCTION GUIDE BEDIENUNGSANLEITUNG MANUAL DE INSTRUCCIONES GUIDE D UTILISATION MANUAL DE INSTRU OES...

Page 2: ...O units 25 Set up of the AGC system 26 Conference mode with one Bluetooth device on VOL 28 Talk 2 All Universal Intercom with different brand unit 29 Compatibility with Midland BT line units 29 Pairin...

Page 3: ...d the package contains the following parts Midland BTNEXT PRO single 1 BTNEXT PRO communication unit 1 Slide in mounting kit with two stereo speakers 1 microphone with boom and 1 wired microphone 1 pl...

Page 4: ...rge you should turn the device on with the plug already inserted Unit and fixing system description BTNEXT PRO description The BTNEXT PRO has five buttons on the front the main three big button are mu...

Page 5: ...of the Slide in mounting kit The Midland BTNext PRO can be fixed onto the helmet installing the slide in mounting kit in two different ways By either using the plate with bi adhesive strip or the scre...

Page 6: ...ing clip and push the unit upwards A Unlock Lock Switching ON and OFF your Midland BTNEXT PRO Switching the unit on Press and hold Middle button for approximately 3 seconds until the BLUE indicator li...

Page 7: ...lied in the same Midland BTNEXT PRO box are already paired and ready to use this means you don t need to perform this procedure The units are already paired using the Middle button If the devices are...

Page 8: ...essing Volume and Volume togheter for 3 sec How to pair the Midland BTNEXT PRO to more than two units One Midland BTNEXT PRO unit can be paired to maximum five other BT units that means six in total 3...

Page 9: ...tion will be open see Table A Voice activation VOX The voice activation feature can open the intercom only to the unit paired to the Middle button Hint this feature is very useful when you have a spec...

Page 10: ...d BWD buttons to allow the full communication of the four units together One Click Talk function When the conference mode is active is possible to open the conference communication to all the 4 users...

Page 11: ...ow flashing Now you can release the button Talk2All Universal Intercom Not Midland Unit Talk2All Universal Intercom Midland Unit paired as a phone Passenger On the other intercom not Midland brand fol...

Page 12: ...r if it must be private private To share the audio from Vol with the intercom long press the Vol button the voice will tell you public To keep the audio from Vol private long press the Vol button agai...

Page 13: ...n for 3 seconds in order to redial the last number you will hear one audio confirmation tone To make a voice call Phone on Vol Briefly press Forward button If your mobile phone supports voice calls yo...

Page 14: ...uttons available Only Play Pause is available with double click on the Middle button Music Share Music Share is possible only from the phone paired on the VOL button To start sharing your A2DP music w...

Page 15: ...htothe FMRadio mode in order to use it Long press the middle button until you hear FM radio from the voice announcement Now all the three main buttons are dedicated to the FM Radio See Table C Press s...

Page 16: ...or enabling confirmation and two audio beep tones for disabling This setting is rembered also after turning On Off the unit Wired audio in background The audio from the wired connection can be in back...

Page 17: ...d light changes to a steady blue 5 Now press Volume or Volume to increase or reduce sensitivity Every time you press the Volume buttons the RED light will flash for confirmation When you reach the end...

Page 18: ...d Using this device at a high volume may result in permanent hearing loss If you experience ringing in your ear or any other hearing related pain reduce the volu me or discontinue using this device Wi...

Page 19: ...All articles displaying this symbol on the body packaging or instruction manual of same must not be thrown away into normal disposal bins but brought to specialised waste dispo sal centres Here the v...

Page 20: ...INTERNATIONAL srl Via R Sevardi 7 42124 Reggio Emilia Italy Read the instructions carefully before installation and use Vertrieb durch ALAN ELECTRONICS GmbH Daimlerstra e 1K D 63303 Dreieich Deutschl...

Page 21: ...www midlandeurope com...

Reviews: