
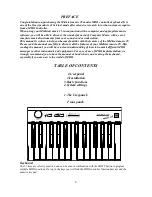
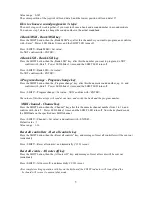
2-way-joystick
The joystick is part to control the pitch and/or modulation.Left/right sends Pitchbend, pressing the joystick
up sends Modulation. Pressing it down sends Aftertouch, or you can define for this way a different controller.
Power-LED
This is the power indicator LED.
SHIFT button
The SHIFT button is used in combination with other keys to program the functions.
DATA b/-
By default the DATA buttons are used for Octave function. If you hold the SHIFT button at the same time,
they will be assigned with Transpose. The default keyrange of the Midistart music 25 is from C2-C4. With
DATA +/- you can change it 3 octaves up or down.
Assignable slider
By default the slider is used for Volume control. This slider can be assigned with different CC-MIDI
controllers.
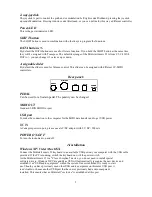
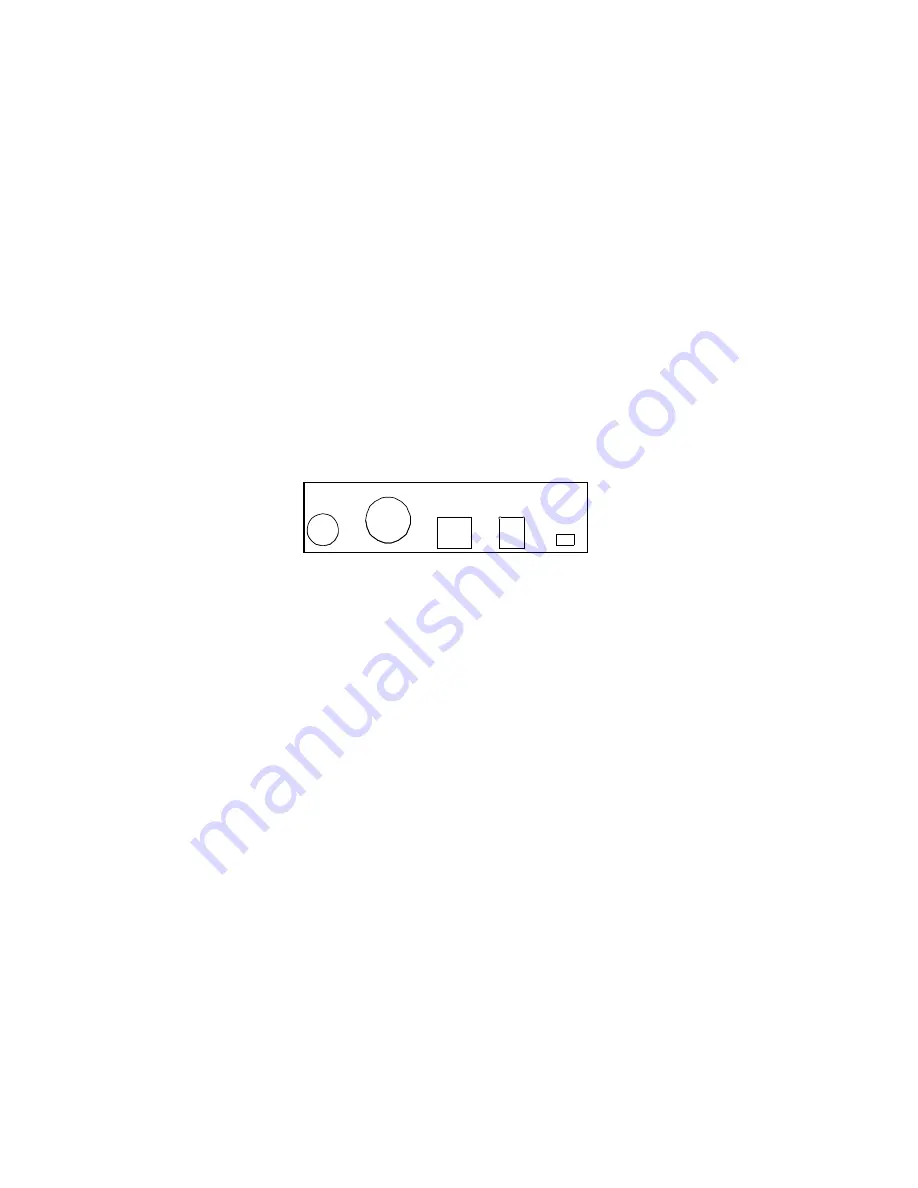
Rear panel:
PEDAL
Can be used for a Sustain pedal. The polarity can be changed.
MIDI OUT
Standard 5-DIN MIDI Out port
USB port
To make the connection to the computer for the MIDI data transfer and to get USB power
DC IN
AC adaptor power in port, please use a AC/DC adaptor with 9 V DC/ 500 mA.
POWER ON-OFF
To turn the instrument on and off.
2.Installation
Windows XP/ Vista/ Mac OSX
Connect the Midistart music 25 keyboard to an available USB port on your computer with the USB cable
provided. If the PC is running, switch the keyboard on with the power switch.
As the Midistart music 25 is a "Class Compliant" device, you do not need to install special
software drivers. Windows XP;Vista and Mac OSX will automatically recognize the new device and
establish it as "USB audio equipment" within the system. Once established it is ready to start
use. Should you have previously used other USB audio equipment on this same USB port, it
is advisable to choose another USB port that has never previously had audio equipment
installed. This ensures that an Midistart "exclusive" is established at this port.
3
POWER
ON - OFF
DC IN
USB
MIDI OUT
PEDAL


