background image

Getting to Know Your Bio-6000

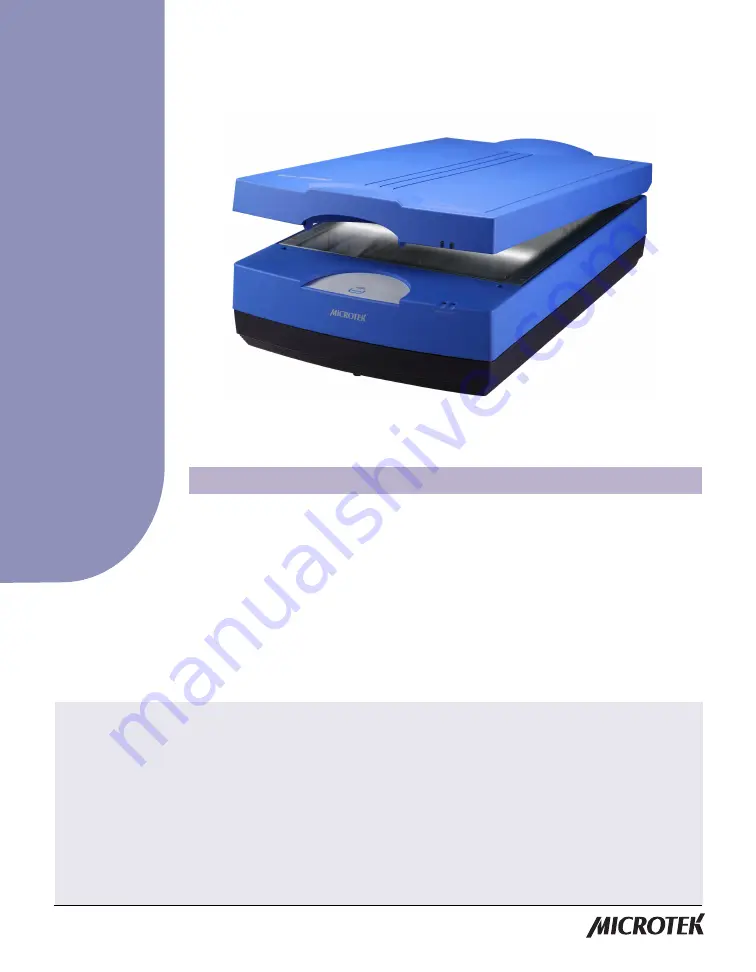
The Bio-6000 is a professional gel scanner specially designed and optimized for image
capture of biological samples from gels or transparent film. It features an A3-sized
scan bed, 48-bit color depth, 3200 x 6400-dpi optical resolution, and one Smart-Touch
button on the front panel for an easy access to the scan function. With a Dmin of
0.05D and a Dmax of 3.77D,  the Bio-6000 can deliver a wide dynamic range to
enhance the image quality in both bright and dark areas of the image.  Additionally,
the Bio-6000 also lets you scan reflectives and prints up to 11.6" x 16.9" in size,
convenient for  any biological laboratory use.

Copyright © 2014   Microtek International, Inc.   http://www.microtek.com
I49-004826 E, January 2014

Contents

Getting to Know Your Bio-6000 ....................................................................... 1
Features of the Bio-6000 .................................................................................. 2

Taking a Closer Look ........................................................................................ 3
Initial Setup ...................................................................................................... 4

Step 1:  Unpacking Package Contents ................................................... 4
Step 2:  Installing the Software .............................................................. 5
Step 3:  Unlocking the Scanner .............................................................. 6

Step 4:  Installing the TMA ...................................................................... 7
Step 5:  Connecting the Scanner ............................................................ 8

Using the U-Shaped Ruler (Calibration Ruler) ............................................... 9

Positioning Electrophoresis Gels/Film or  Transparent Film ....................... 10
Positioning Reflective Materials ................................................................... 10

The Black Plate ................................................................................... 11

Your First Scan ............................................................................................... 12
Scanning Scenarios ....................................................................................... 14

Scanning Electrophoresis Gels or Film ................................................ 15

Scanning Reflective Materials ............................................................... 17

Specifications / System Requirements ........................................................ 19
FCC Compliance Statement .......................................................................... 20

Bio-60

0

0

 f

e

a

tu

re

s

scenarios, and inf

ormation

User Guide

Summary of Contents for Bio-6000

Page 1: ...convenient for any biological laboratory use Copyright 2014 Microtek International Inc http www microtek com I49 004826 E January 2014 Contents Getting to KnowYour Bio 6000 1 Features of the Bio 6000...

Page 2: ...hat can be automatically saved as files or sent to another application for further processing later Energy saving LED light source Adopting LEDs as the light source when the scanner is detected by the...

Page 3: ...ser Look TMA Scanner Glass surface Scan bed Vertical ruler READY indicator Green POWER indicator Orange Power connector Accessory port or with TMA s connector securely connected Hi Speed USB port 1 Po...

Page 4: ...our scanner package please check for the major components listed below 1 Bio 6000 lower base 2 USB Cable 3 Power Cord 4 Software CDs 5 TMA Transparent Media Adapter 6 Black Plate for scanning reflecti...

Page 5: ...the on screen instructions to install the driver and software NOTE If the Microtek Software Installer screen does not come up automatically double click the following in succession My Computer the CD...

Page 6: ...ng use a screwdriver and then push and turn the locking screw clockwise to the locked position When the screw has been tightened this indicates that your scanner is locked 3 Turn off your scanner Lock...

Page 7: ...f the scanner if your scanner is on 2 Turn the scanner back on The TMA s carriage will move to the standby position in a few moments 3 When the indicators on the front of your TMA and scanner stop bli...

Page 8: ...cord into a power source To the Hi Speed USB cable 3 Connect one end of the cable to your computer 4 Connect the other end of the cable to the scanner 5 Press the power switch at the back of your scan...

Page 9: ...make sure the scanner is turned off To use the U shaped Ruler 1 Peel the protective film from the back side of the ruler before using it to calibrate the scanner Silicone Rings U shaped Ruler 2 Then p...

Page 10: ...e on the top of the reflective to cover it with the side of the Black Plate that reads This side up facing up Positioning Electrophoresis Gels Film or Transparent Film To scan the electrophoresis gels...

Page 11: ...eld unwanted light out Take note of the following before using the Black Plate 1 The Black Plate may become dirty over time and with prolonged use To clean the plate use a white cotton cloth dipped in...

Page 12: ...o perform a preliminary scan of the image which will appear in the Preview window 5 Select the Scan Frame tool from the Toolbar in the Preview window and choose the area to be scanned by dragging a re...

Page 13: ...the scanned image after the Scan or Scan to button is pressed such as entering the file name specifying a folder name of your own etc When you have completed the settings press the Done Save button a...

Page 14: ...for scanning with the Bio 6000 including the following Scanning electrophoresis gels or film This scenario details the steps for scanning electrophoresis gels or film Scanning reflective originals Thi...

Page 15: ...d image area selected via the Scan Frame tool A thumbnail of the image appears as well in the Scan Job Queue window 7 Specify your scanning requirements in the Settings window a Select a desired image...

Page 16: ...16 Bio 6000 User Guide Preview window Settings window Scan Job window...

Page 17: ...o display a detailed image area selected via the Scan Frame tool A thumbnail of the image appears as well in the Scan Job Queue window 7 Specify your scanning requirements in the Settings window a Sel...

Page 18: ...18 Bio 6000 User Guide Preview window Settings window Scan Job window...

Page 19: ...ayscale approx 65 536 shades of gray Light Source LED Scanning Area Reflective 11 6 x16 9 294 6mmx429 3mm Transparent 11 6 x 16 294 6mmx406 4mm Resolution Optical 3200 H dpi x 6400 V dpi Dynamic Range...

Page 20: ...d on the user is encouraged to try to correct the interference by one or more of the following measures Reorient or relocate the receiving antenna Increase the separation between the equipment and rec...

Reviews: