


11
OSD
Main
Menu
Function Control button to access the OSD main menu, press the
OSD Menu button (the first Function button on your LCD Monitor).
To scroll between the OSD main menu options, use the second
Function Control button on your LCD Monitor. The highlighted option
is the one that is currently selected. Analog or digital mode is
automatically detected by the Monitor.
A. Analog Mode
Each main menu and submenu item is covered below.
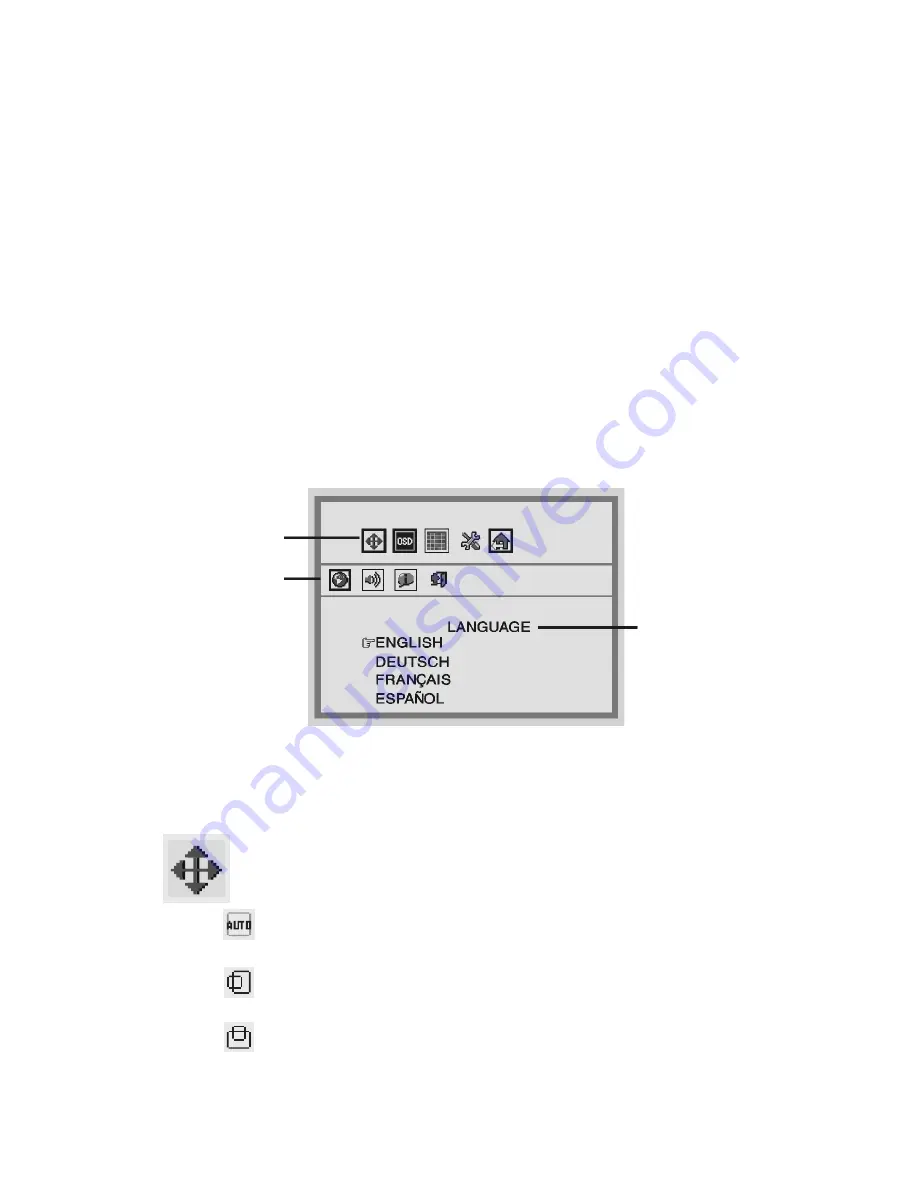
Pressing the OSD Menu button causes the following screen to
appear (an example):
Figure 2-1: The OSD Main Menu
The Monitor Control Option
The Monitor Control option allows you to adjust the display
characteristics of the LCD Monitor.
AUTO-ADJUST:
Use this option to apply automatic monitor
settings.
H-POSITION:
Use this option to move the LCD monitor’s
display left or right on a horizontal plane.
V- POSITION:
Use this option to move the LCD monitor’s
display up or down on a vertical plane.
Submenu
Main menu
Description