S e r i e s
Quick Start Guide
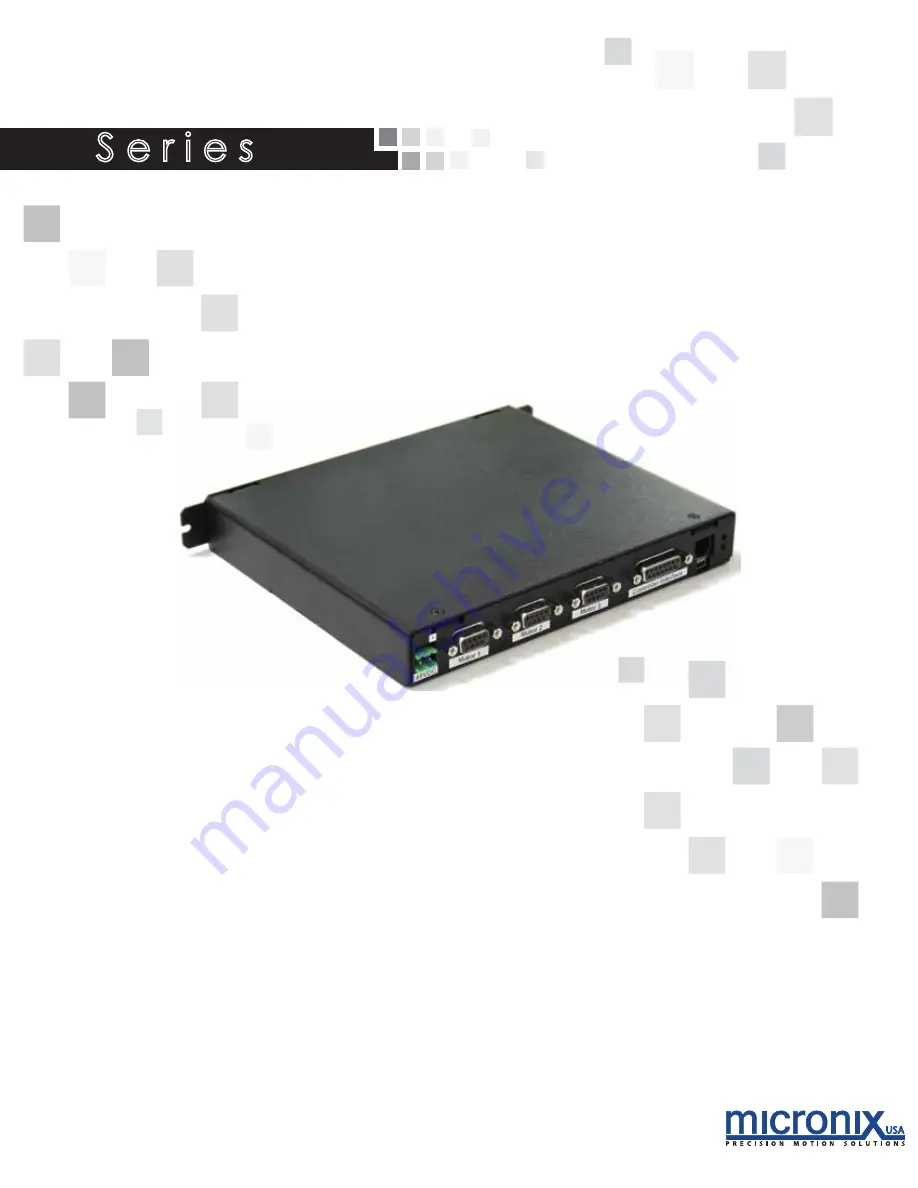
3-Axis Piezo Motor Controller
MMC-103
USA
Page 1: ...S e r i e s Quick Start Guide 3 Axis Piezo Motor Controller MMC 103 USA...
Page 2: ...Package Contents 2 2 Quick Start Guide 2 2 1 Quick Start Guide Overview 2 2 2 Quick Start MMC 103 Motion Controller Platform 4 2 3 Using the MMC 103 Motion Controller Platform 5 2 4 Functionality Quic...
Page 3: ...a standalone three axis unit The MMC 103 is capable of driving a piezo motor with a resolution as fine as 1 nm in open loop motor dependent The closed loop resolution is dependent on the resolution of...
Page 4: ...Start Guide is intended to provide a basic set up of the MMC 103 in the least amount of time The following paragraphs will provide a walkthrough of the steps needed to set up the controller and verify...
Page 5: ...t d The other side of that cable to the interpolator module or encoder head 3 Connect Module Stack to PC a Use the supplied Mini USB to USB cable to connect the MMC 103 controller to the communicating...
Page 6: ...ram 2 2 Quick Start MMC 103 Motion Controller Platform The MMC 103 MCP GUI can be used with the MMC 103 piezo controller The following Quick Start Guide is intended to provide a basic set up of the MM...
Page 7: ...hort cut to the MMC 103 MCP program Make sure that your MMC 103 is connected to your computer powered on and connected to a valid COM port as discussed in section 2 1 b Open the start menu or windows...
Page 8: ...change giving you the option to close the port c The Port field should change to indicate the Port is Open You will see the progress bar fill and the adjacent field change with information regarding t...
Page 9: ...e blank field ii This button appends a on the end of the command making it a read function iii This button sends the command to the MMC 103 b Command List This is a list of commands available to the M...
Page 10: ...inal This field shows the responses from the MMC 103 1 The clear button will delete all entries in the Terminal ii Information This field will show some information about the selected command from the...
Page 11: ...a Position i Zero This button will set the current position to zero for both the calculated and encoder reading ii Cal This is the calculated position based on the number of steps taken value in mill...
Page 12: ...i Vel This field indicates the controllers current set velocity ii Accel This field indicates the controllers current set value for acceleration iii Decel This field indicates the controllers current...
Page 13: ...ocity ii Max Acceleration Maximum Allowed Acceleration iii Jog Acceleration Setting for Jog Acceleration iv Travel Limit The soft travel limit in the negative direction The controller will not allow t...
Page 14: ...tage to execute upon start up h Control This frame allows you to change options regarding feedback control i Loop Here you can choose between 4 different modes of control 1 Open Loop This mode will no...
Page 15: ...the above terminal k PID Parameters this field allows you to change the parameters for closed loop operation i Kp Proportional Gain ii Ki Integral Gain iii Kd Differential Gain l Store Parameters Thi...
Page 16: ...EPL1 How do I get my settings like velocity acceleration and limits to remain when I power down the controller Use the nSAV command This command writes all current settings to non volatile RAM which w...