Microframe Corporation Visual-Pager 4600 Series Installation And Specification Manual Download Page 7


Microframe Corporation 


7


604 South 12

th

 Street 

Broken Arrow, OK  74012 
800-635-3811 
www.microframecorp.com 


Series 4600 

Mounting the Display 


This  product  comes  with  tilt-mount  brackets.   To mount the 
display, connect the 24-volt AC power adapter wire to the back 
of the display.  Plug in the Ethernet cable and make sure it 
won’t get pinched.  Use two drywall screws per side to mount 
the display to the wall.  Plug the adapter into the wall and you 
are ready to go.


Operation 
 

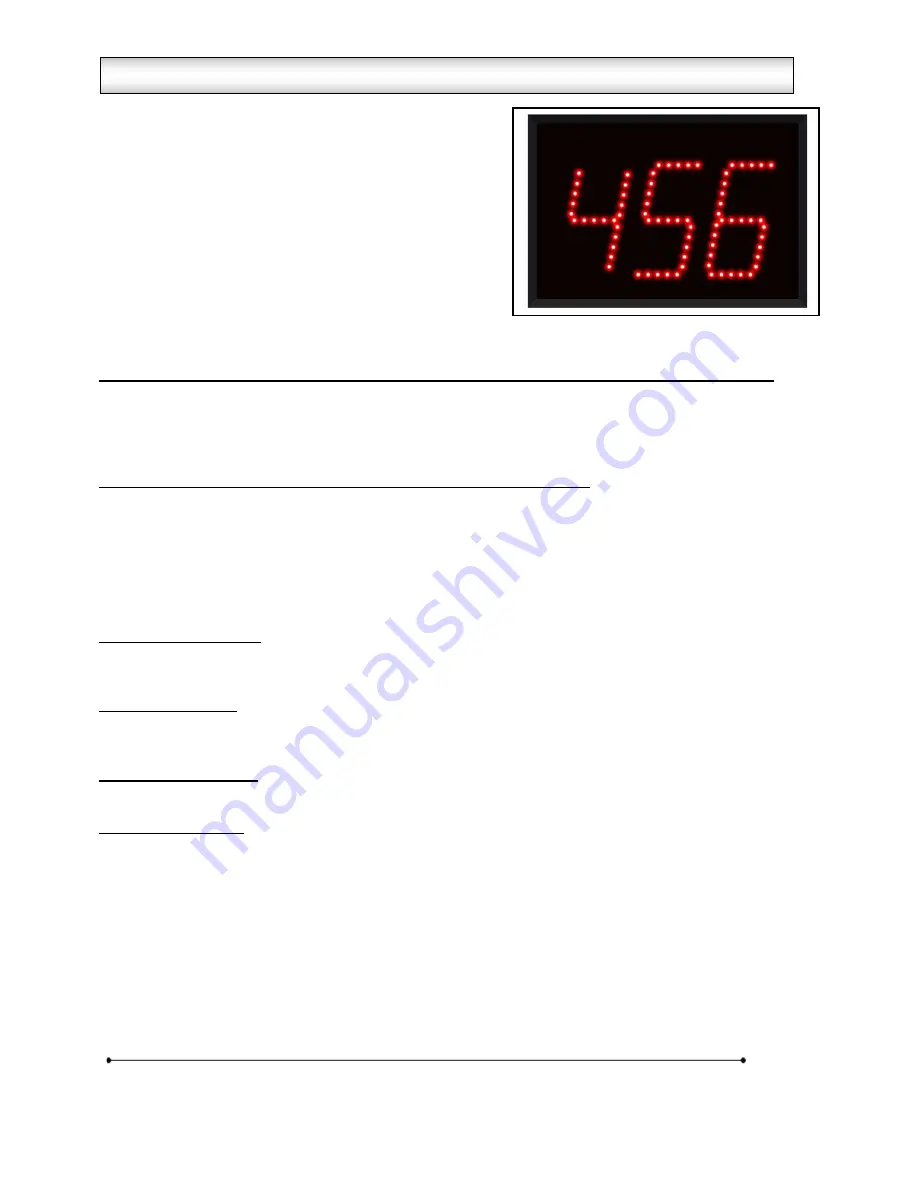
The Visual-Pager® Display’s primary operation is to display 
numbers that are sent to it via the computer or mobile apps. 
 

Sending Numbers to Visual-Pager® Displays from the Smart Phone App (also see Section 5.1): 

  To send a number to a display from the app, simply type the number that you want to display, i.e. 

“1234” and then tap [Add]. 

  To delete a number from the display from the app, tap the number to delete and tap [Delete]. 

  To clear all displays connected to the network tap [Clear All]. 


Sending Numbers to Visual-Pager® Displays from the computer app: 

  To send a number to a display using the app, simply type the number that you want to display, i.e. 

“1234” and then click [Send]. 

  To delete a number from the display using the app, click on the number to delete and click [Delete]. 

  To clear all displays connected to the network click [Delete All]. 


Programmable Configurations 
 

Roll-Over Time Setting 

The Roll-Over Time is the time each number in the display’s memory is shown before changing to the next number. 
This time can be set from 1 to 9 seconds.  
 

Auto Delete Setting 

The display can be set to automatically delete a number from its memory after a preset time from 0 to 42 
minutes. When set to 0 the display will not auto-delete. 
 

Chime Volume Setting 

The chime volume can be set from 0 to 9. Setting to 0 will turn off the chime, while 9 is the loudest setting. 
 

Chime Cycle Setting 

The chime can be set to Off, a Single Chime, or a Double Chime. Setting this option to 0 turns off the chime. 
Setting this option to 1 will make the display chime once every time it receives a new number. Setting this 
option to 2 will make the display chime twice every time it receives a new number.   


3.0 Installation / Operation / Options


Summary of Contents for Visual-Pager 4600 Series

Page 1: ...ON and SPECIFICATION GUIDE D4600 7010 Microframe Corporation 604 South 12th Street Broken Arrow OK 74012 Local 918 258 4839 Toll Free 800 635 3811 Website www microframecorp com E mail support microframecorp com Manual No D4600 7010 Revision Date 08 2016 Control 1 0 ...

Page 2: ...ust use plenum rated cable The cable supplied from Microframe is rated CL2 and is approved for indoor installation everywhere except plenum areas Life Support Policy Microframe s products are not authorized for use as components in life support devices or systems without the express written approval of the President of Microframe Corporation As used herein 1 Life support devices or systems are def...

Page 3: ...EthernetVisual Pager Display InstallationandSpecificationGuide Table of Contents 1 0 Display Overview 4 1 1 Quick Install 4 1 2 Getting Started 4 2 0 Display Config Utility Basic 5 2 1 Display Config Utility Advanced 6 3 0 Installation Operation Options 7 4 0 Using the App 8 5 0 General Troubleshooting Chart 9 Specifications 10 ...

Page 4: ...sual Pager iOS Apple Store search Microframe WiFi Visual Pager Kindle Amazon App Store search Microframe WiFi Visual Pager MAC https www microframecorp com download software D4500 Paging and Configuration Software for OS X PC https www microframecorp com download software D4500 Paging and Configuration Software for Windows Basic Configuration Mobile App Use the Setup mode under Display Settings Se...

Page 5: ...ays but it is also useful to set the Device Name and App Pin Details The only network that will show up for Ethernet displays is Ethernet The SSID must be selected but is not used Both the SSID and Password are ignored The Device Name is used in the app The App Pin must match the pin number set on your mobile app It is strongly recommended that you change this from the default of 0000 to prevent u...

Page 6: ...es and prints results to the log It will select the device found last Read All Reads back settings for all three panels of the utility Optionally you can read write individual panels using the respective buttons Scan Loads list of access points AP Connect Used to save settings if specific options are changed Generally this will turn green if a save is required AP Always returns Ethernet for Ethern...

Page 7: ...ger Displays from the computer app To send a number to a display using the app simply type the number that you want to display i e 1234 and then click Send To delete a number from the display using the app click on the number to delete and click Delete To clear all displays connected to the network click Delete All Programmable Configurations Roll Over Time Setting TheRoll OverTimeisthetimeeachnum...

Page 8: ... then show the next number in the list Displays Page This page contains a list of all the Visual Pager Displays that the app finds on the network This list shows the Name of the device and the IP address that is assigned to the display To edit a display tap the display in the list that you wish to edit The Display Settings page allows you to do the following Active When a display is active it will...

Page 9: ...between devices Guest networks often have client partitioning enabled which prevents devices from seeing each other 3 The display has one solid light and one blinking light If both lights are blinking the display is not connected to the network Check that the network cable is plugged in properly Reboot the display by momentarily unplugging power 4 Check that the display Ethernet settings are corre...

Page 10: ...USB A to B cable Model 4600 Specifications Voltage Input Requirements 14 24 VAC 16 28VDC Character Height 5 5 inches Character Viewing Distance 125 feet Temperature Parameters 20ºC to 40ºC 4ºF to 158ºF Casing Aluminum extrusion Color Black frame with dark red acrylic faceplate Environment Indoor use Ethernet 10 100Mbps Display Size 2 Digit 3 Digit 4 Digit 6 Digit Power Requirements 3 4 watts 4 wat...

Reviews: