PICDEM Touch Sense 2 Demo Board User’s Guide
DS51748A-page 8
©
2008 Microchip Technology Inc.
1.3
INITIAL BOARD SETUP
With its pre-installed demo application, the PICDEM Touch Sense 2 Demo Board is
designed to be used straight out of the box. Except for a single connection to a
computer, no additional hardware or configuration is necessary.
1.3.1
Installing the Software
Before connecting the demo board to any computer for the first time, it is important to
install the accompanying software on the accompanying CD first. This ensures that the
proper USB drivers for communicating with the demo board are installed and ready to
recognize the board.
To install the software and driver, insert the demo board CD into the CD-ROM drive.
The installation process starts automatically. The process pauses for user responses
to accept the Microchip software licenses and to confirm the installation directories;
respond appropriately.
1.3.2
Connecting the Hardware
Prior to connection, place the Touch Sense 2 Demo Board on a flat surface near the
computer. Check to make sure that there are no objects underneath the board. Once
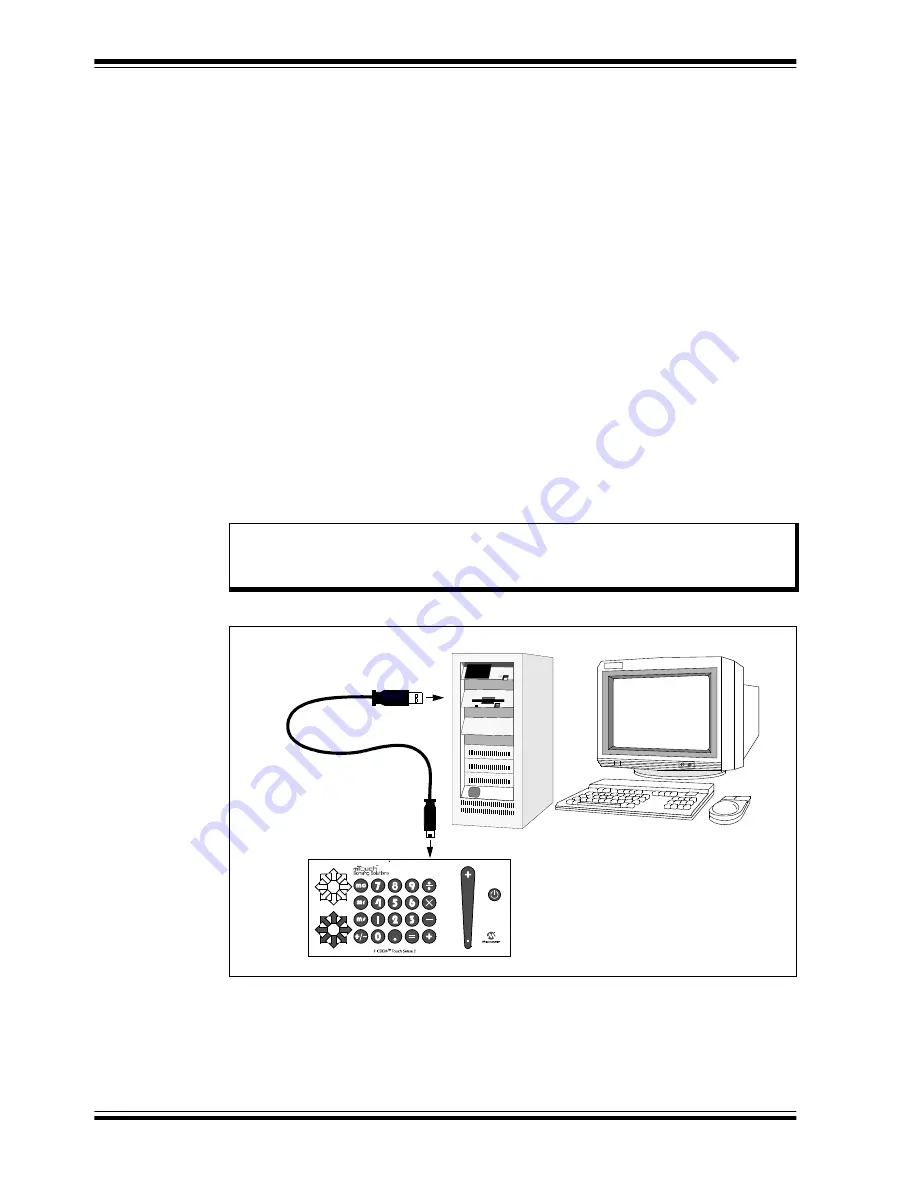
the demo board software is installed, connect the provided USB cable (A to mini-B) to
any available USB port on the PC or powered hub, then to the board at the mini-B
receptacle (Figure 1-1). The PC USB connection provides communication and power
to the board.
FIGURE 1-1:
DEMO BOARD SETUP
Note:
Do not touch the underside of the demo board, particularly while it is
connected to the computer. Doing so may introduce stray capacitance and
affect the board’s operation.
A to mini-B USB Cable
Programmer
USB
Demo Board


