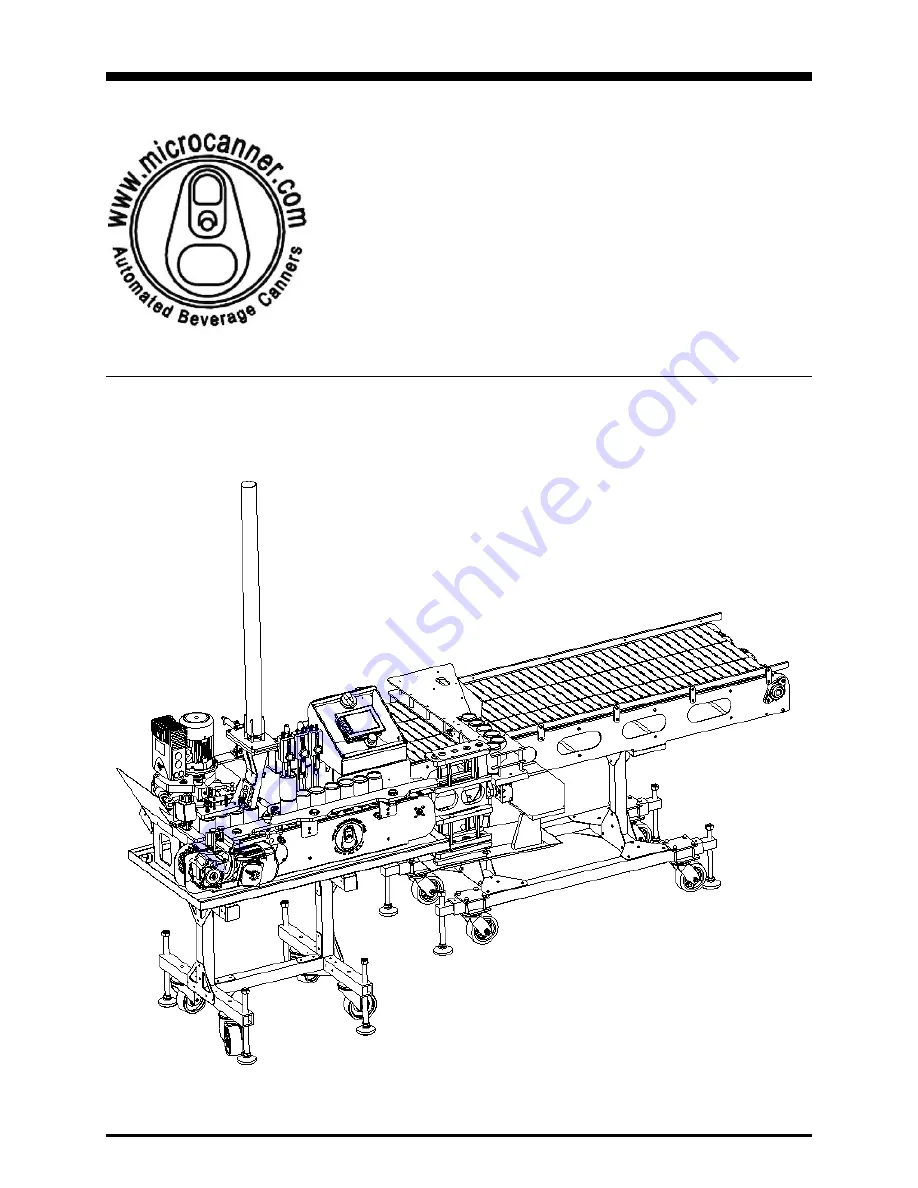
microcanner MC FLEX
OPERATING INSTRUCTION MANUAL
Version 1.0
Date 021618
Page 1: ...microcanner MC FLEX OPERATING INSTRUCTION MANUAL Version 1 0 Date 021618...
Page 2: ...costs Never place hands near or inside of a moving conveyor NEVER permit children or un trained operators anywhere near an operating machine In the event of an emergency hit the E stop Never preform...
Page 3: ...1 0 Page 3 of 19 TABLE OF CONTENTS 1 INTRODUCTION 4 2 MACHINE REQUIREMENTS 4 3 GENERAL MACHINE SERVICE 5 4 START UP PROCEDURE 7 5 SEAM SETUP GUIDE 10 6 CHANGE OVER PROCEDURE 12 7 HMI OPERATIONS 15 8 T...
Page 4: ...the motors use a V F D variable frequency drive to convert 110v single phase to 220 volt 3 phase power The type of GFCI commonly purchased in a big box store will not work A licensed electrician with...
Page 5: ...and take good care of it Prior to each use all screws and sensors should be checked for tightness During each use seams should be checked at least every 200 cans to assure that bad cans are not being...
Page 6: ...wheel drop from the grease contact Grease Shaft Zerc behind the cap in place sensor thoroughly between canning runs Prior to running the machine check to see if any water has accumulated in the catch...
Page 7: ...se feed system if applicable a Start by adjusting foot pads to adjust until rinse platform and print track are aligned b Connect the proximity cable sensor and the multi port manifold c Insert drive s...
Page 8: ...e fill station screen F3 on the HMI hit the on off button to open the valves and let the sanitizer flow completely through the fill lines a During this process leave 3 cans under the filling station s...
Page 9: ...be setup prior to shipment but you will want to verify that the seams are still in spec prior to every run and periodically while running 5 2 GENERAL SEAMING INFORMATION There are 3 main components to...
Page 10: ...comes loose or a bearing fails there is never any need to adjust it 4 When setting up the 1st and 2nd op form tools you want to have about a paper thickness of air gap 003 between the shoulder of the...
Page 11: ...p form tool you will need to first loosen the jam nut on the cylinder rod on the rear of the cylinder Then put a wrench on the rod of the cylinder and turn the wrench clockwise to increase depth and c...
Page 12: ...n and fill it with water to give it structural rigidity The can will get crushed without fluid in it running through the seaming station 4 Place an end on the can and place it on the conveyor prior to...
Page 13: ...are inside the cans 3 Loosen the knob on the switch plate Move the plate up or down until the sensor light is activated on the HMI screen Then tighten the knob 4 Use the HMI screen to raise the fill s...
Page 14: ...sembly 3 Once the rail height is set put a can with an end on it under the cap in place sensor This is the sensor directly above the next can waiting to go into the seam station 4 With a can and end d...
Page 15: ...see a red emergency stop button This E stop button will shut the entire machine off and is a vital piece of safety equipment Familiarize yourself with this button and its operations prior to running...
Page 16: ...on again to unpause the machine 5 Run Counter Reset This button resets the run counter You can reset this counter prior to each run 6 Run Counter Displays the amount of cans run per session 7 Hold Bac...
Page 17: ...t the bottom of the screen that will light up when the corresponding float valve on the filling station is activated This is a visual cue used to set the fill level in each can 7 5 F4 TOP OFF MODE Thi...
Page 18: ...ns and how they function 1 Lift Can Either lifts or lowers the lift puck depending on the position it is already in 2 Motor on off Turns the seam chuck motor on or off 3 Index Can Indexes the rotary a...
Page 19: ...dissolved oxygen levels is to have a perfect marshmallow of foam when the cans leave the fill head To achieve this tank pressure temperature and carbonation rates must be experimented with on each bee...