background image

5  Operating Instructions 

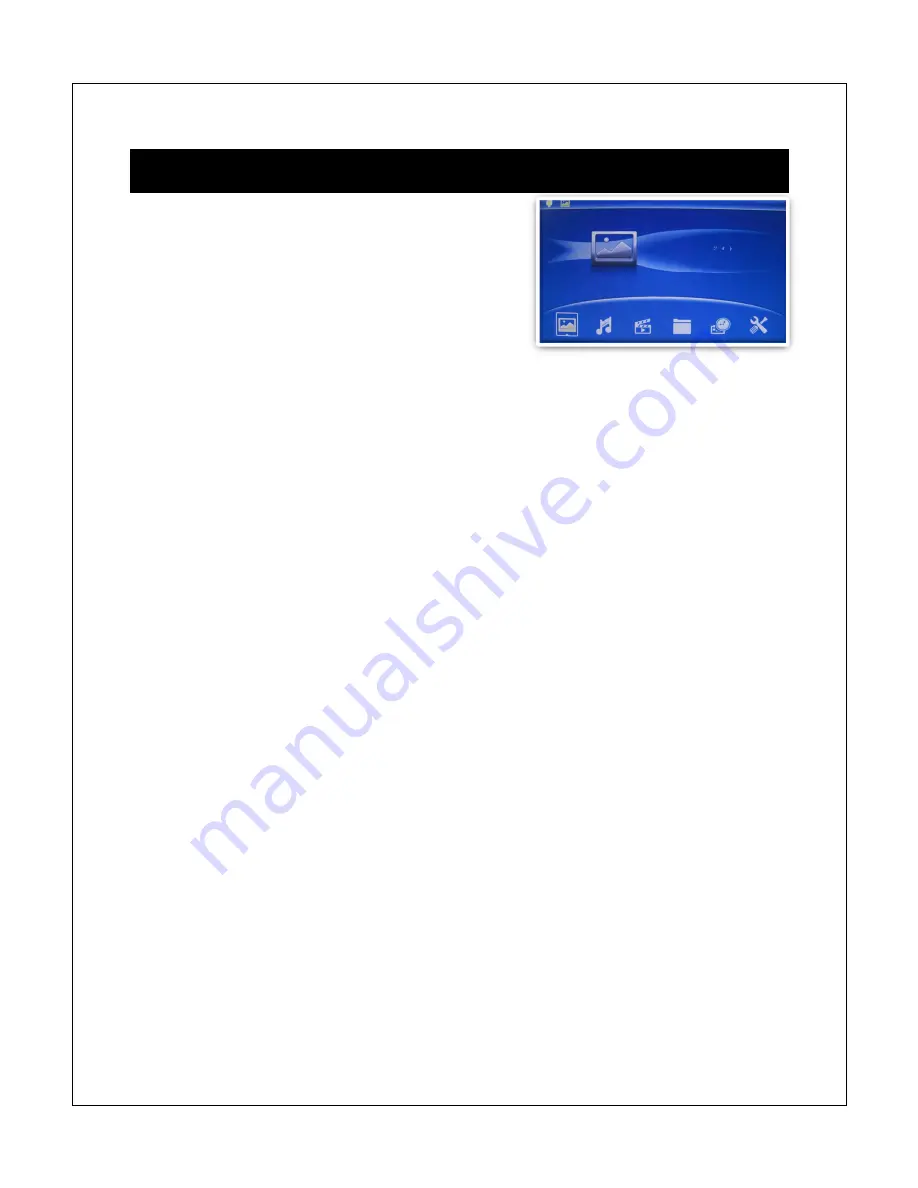
After turning on the photo frame, the main menu 

will display after a few seconds. If there is a flash 

memory card or USB flash drive inserted into the 

photo frame, a slideshow will automatically begin 

plain. To get back to the main menu, press the 

“Menu/Return” button on the back of the photo 

frame twice.  

The main menu contains icons for Photos, File Operations, Calendar, and Setup. The 

M707Z’s main menu also has icons for Music and Videos. 

5.1  Flash Memory Cards and USB Flash Drives 

The photo frame supports SD/SDHC flash memory cards and USB flash drives, both up 

to 32GB in size. While the photo frame can handle high resolution photos directly from a 

digital camera, it is strongly recommended to resize photos down to a lower resolution 

of about one megapixel in size. This allows more photos to be stored at one time and 

smaller files are more easily displayed by the photo frame. 

The photo frame has a very small amount of built-in internal memory. It can be used to 

hold a few small photos. 

5.2  Choosing Storage Device 

When more than one storage device is detected by the digital photo frame, it is 

necessary to select which storage device to use.  Once selected, all operations are on 

the selected storage device. To perform operations on another storage device, it is 

necessary to select it first. 

To select a storage device, press the “Menu/Return” button repeatedly until the storage 

selection screen is shown. Highlight the desired storage device and press 

“Play/Pause/Enter” to select it. 

5.3  Viewing Photos  

When a storage device loaded with photos is inserted, the digital photo frame will 

automatically start displaying a photo slideshow when it is turned on. The user can also 

manually start a slideshow through the “Photo” icon from the main menu. 

On the M707Z, background music will also begin playing if music files are found. To 

change this behavior, refer to detailed settings in Chapter 6. 

Summary of Contents for M707

Page 1: ...echnical support team before contacting the store for assistance email support miccastore com Most common questions and answers regarding this product can be found at the following FAQ http content mi...

Page 2: ...supports SD SDHC cards Automatic slideshow at power on and when inserting memory card or USB drive Adjustable slideshow sequence speed and transition effects Clock and calendar with slideshow Adjusta...

Page 3: ...viceable parts inside Disassembling the digital photo frame will void its warranty 2 2 Cleaning the LCD Screen Treat the screen gently and carefully The screen of the digital photo frame has a glass c...

Page 4: ...uttons are named in accordance of their function when the user is looking at the photo frame Thus pressing the Left button will move the cursor to the left and the Right button will move the cursor to...

Page 5: ...depending on context either brings up an operations menu or displays the main menu 5 Up Move cursor up 6 Return Go back to the previous step 7 Left Move cursor left 8 Right Move cursor right 9 Down Mo...

Page 6: ...and stable surface to place the photo frame Swing out the built in stand fully to prop up the photo frame make sure the stand is fully extended or else it will collapse during use Plug the AC adapter...

Page 7: ...les are more easily displayed by the photo frame The photo frame has a very small amount of built in internal memory It can be used to hold a few small photos 5 2 Choosing Storage Device When more tha...

Page 8: ...to view photo thumbnails 3 Scroll to find photos you wish to copy Highlight a photo and press the Play Pause Enter button to display it full screen 4 On the M707 long press the Menu Return button to...

Page 9: ...ile Down Go to the next music file Menu Return Stop the playback and return to the main menu 5 7 Playing Videos On The M707Z To begin playing videos select the Video icon from the main menu All video...

Page 10: ...file types are not displayed It is possible to copy or delete files using the same methods as described in previous sections 5 9 Calendar To view the calendar select the Calendar icon from the main me...

Page 11: ...sequence alpha numerically based on file name Random Photos will be displayed in random sequence Slide Mode Changes the number of photos displayed at the same time during a slideshow The higher the s...

Page 12: ...op and bottom cut to fit the screen Photos that are two wide will have the sides cut to fit the screen Full The photo will be stretched or squeezed to fit the full screen Display Changes the display p...

Page 13: ...as the following settings Start Up Mode Sets the operation mode of the photo frame when it is turned on Setting Description Slideshow Play a photo slide show with background music Music Play music fil...

Page 14: ...slots each can be configured independently Setting Description Status Turn the alarm on or off Number Switch to alarm slot 1 or 2 Hour Set the hour of the alarm Minute Set the minute of the alarm Mod...

Page 15: ...Cannot Copy A Photo To Internal Memory The internal memory is very small and can only hold about 3 4 photos at a time It may be necessary to delete some older photos before there is enough space to h...

Reviews: