1
14
4 U
Us
si
in
ng
g
t
th
he
e
O
Op
pt
ti
iE
EC
C
P
Pr
ro
o
P
Pr
ri
in
nt
te
er
r
6
6
w
wi
it
th
h
W
Wi
in
nd
do
ow
ws
s
1. Click
the
Start
button, then click
Printers and Faxes
(also
found under Control Panel on XP Home or Windows
2000). Right click on the OptiEC Pro Printer 6 Icon and
select Printing Preferences.
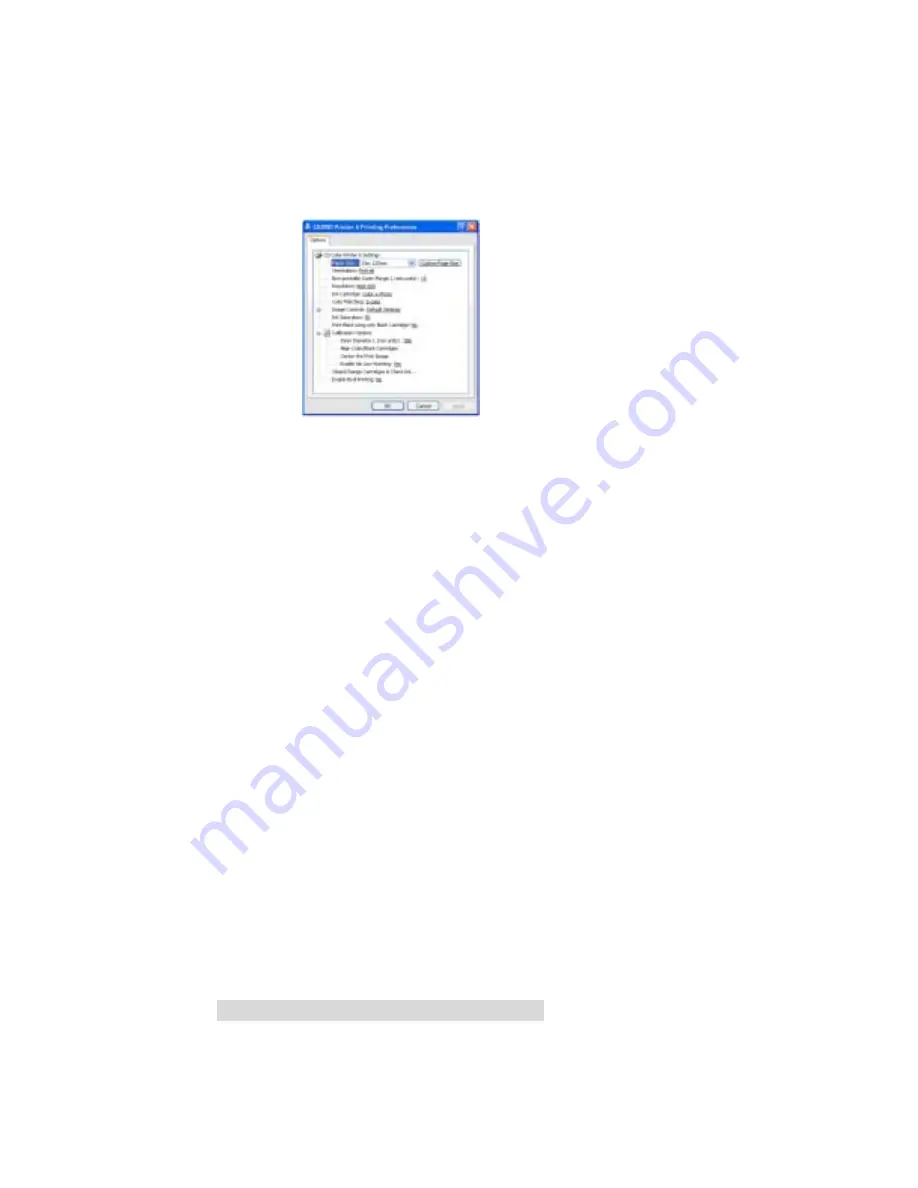
2. Click on the
Advanced
button for more driver settings.
NOTE: Most applications allow you to change these same printer
driver options from their “Print” and/or “Printer Setup” screens.
This means that you don’t have to go back to the main printer
setup window each time you want to change a setting or
option in the printer driver. These applications will usually give
you the same choices and options, but in a slightly altered
format. Most applications do not save your printer driver
option changes, but instead only use your changes for the
current image.
3. In this window you will see all of the driver options. Refer
to the remainder of this section for a description of each
printer driver option.
Paper Size
The Paper Size option will be set to Disc 120mm for printing
onto printable surface CDs, DVDs. When sizing your images
for printing, keep in mind that media has the maximum
printable area of 119.7 mm. In the drop down Media Type
menu you can also select Custom, which allows you to
increase or decrease your imaging area.
Summary of Contents for OptiEC Pro 6
Page 4: ...i i v v...
Page 35: ...Printed in the United States of America P N 510901...


