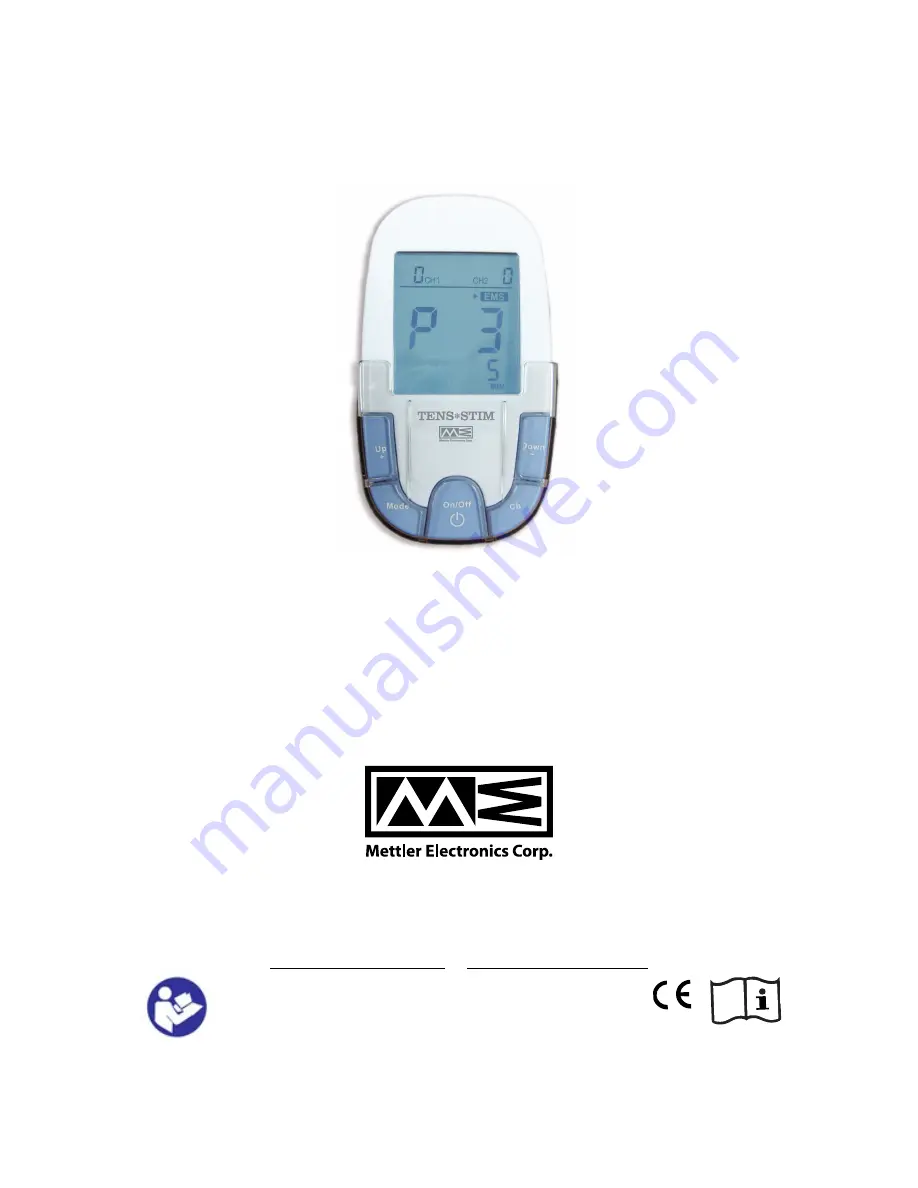
background image

Instruction Manual 


Distributed by:


Mettler Electronics Corp. 

1333 South Claudina Street 

Anaheim, CA 92805 U.S.A. 

800.854.9305  

  1.714.533.2221  

  Fax:  1.714.635.7539 

www.mettlerelectronics.com  

  [email protected] 


Copyright © 2016 by Mettler Electronics Corp.—Anaheim, CA 
IR9-85   


       Rev.B_06/07/16 

0120

Summary of Contents for Tens-Stim 211

Page 1: ...ctronics Corp 1333 South Claudina Street Anaheim CA 92805 U S A 800 854 9305 1 714 533 2221 Fax 1 714 635 7539 www mettlerelectronics com mail mettlerelectronics com Copyright 2016 by Mettler Electronics Corp Anaheim CA IR9 85 Rev B_06 07 16 0120 ...

Page 2: ...hoose TENS Mode P8 for use by healthy adults for the stimulation of healthy muscles in order to improve or facilitate muscle performance Choose EMS Modes P1 through P6 Read Before Using Table of Contents Indications and Contraindications 1 Warnings and Precautions 2 Package Contents 6 About this Device 6 Step by Step Operation Guide for Treatment 7 Preparing Skin for Running a Session Inserting 3 ...

Page 3: ...he upper and lower extremities arm and or leg due to strain from exercise or normal household and work activities Choose TENS Modes P1 through P7 for symptomatic relief and management of chronic intractable pain and relief of pain associated with arthritis Choose TENS Mode P8 for use by healthy adults for the stimulation of healthy muscles in order to improve or facilitate muscle performance Choos...

Page 4: ... muscles and organs Do not place the pads over any recent scars broken or inflamed areas of infection or susceptibility to acne thrombosis or other vascular problems e g varicose veins or any part of the body where feeling is limited Do not place the pads over areas of injury or restricted movement e g fractures or sprains Do not use the TENS STIM while sleeping Do not use over insensitive areas D...

Page 5: ...eatment of any medical condition or for any permanent physical changes Contact Mettler Electronics if your unit is not working correctly Do not use in the meantime Replace batteries An effective session should not cause discomfort For first time users muscle stimulation can be an unusual sensation We recommend that you begin in a seated position with low stimulation intensity settings to familiari...

Page 6: ...me time as any other device which transfers an electrical current into the body e g another muscle stimulator Cease using your unit if you are feeling light headed or faint Consult doctor if this happens Do not touch the pads or metal studs while the unit is switched on Do not use unit if you are wearing a belly button ring Remove ring before session Note If you are in any doubt about using device...

Page 7: ... you experience adverse reactions from the device Conditions that may affect your TENS STIM Since the stimulator is a battery operated electronic system its output performance and safety may be affected greatly in extreme humidity Therefore it is very important to keep the TENS STIM dry to ensure the safety and performance of the stimulator ...

Page 8: ...4 2 lead wires 5 Holder About the Device 1 Power On Off key 2 CH key 3 Mode key 4 Up key 5 Down key 6 Therapy Mode 7 Program number 8 Therapy time remaining 9 CH1 intensity level 10 CH2 intensity level 11 Lock status indicator 12 Battery status indicator 13 Battery compartment 14 Battery cover 15 Output Socket ...

Page 9: ...e the electrode by pulling on the lead wire 5 It may be helpful to apply skin lotion on treatment area after treatment Inserting Changing the Batteries 1 Open the battery compartment at the back of the device by pushing the battery cover labelled Open downward this area features raised marks for easy identification 2 Insert 3 AAA 1 5 V batteries in the battery compartment make sure to match up the...

Page 10: ...ement of the Electrode Pads for TENS Treatment of Pain Note 1 Recommended Electrodes 2 in x 4 in V Trode 2704 or larger e g leg muscles lower back and 2 inch V Trode 2702 or 2705 for smaller areas such as forearm muscles etc 2 You may need help placing the Electrode Pads on hard to reach areas lower upper back ...

Page 11: ...before applying them to the skin Use the large Electrode Pads for EMS 2 The pad placement chart hereafter illustrates the correct placement of the pads for a selection of target muscles Note Always start with a low intensity level increase gradually You may use any of the modes for EMS ...

Page 12: ...d Note In an emergency you may also pull the connector s from the device and then remove the electrodes Note To prevent unpleasant electric shocks never remove the device or electrodes while it is still turned on Selecting TENS EMS Treatment Mode 1 Press MODE the preset default therapy mode TENS EMS will display on the screen 2 Use the button Up or Down for choice of therapy mode 3 Press Mode agai...

Page 13: ...0 μs 2 45 245 Hz Cycle All electrical specifications 20 Program mode Benefits You should feel P1 for temporary relief of pain associated with sore and aching muscles in the lower back due to strain from exercise or normal household and work activities for temporary relief of pain associated with sore and aching muscles in the upper and lower extremities arm and or leg due to strain from exercise o...

Page 14: ...th reduced stiffness Use it after intense exercise to promote recovery and relaxation 30 min duration P3 Active Recovery This program is similar to P2 except that the muscle twitch rate slows down during the session It feels like a tapping massage but softer than P2 Use it after intense exercise to promote recovery and relaxation 20 min duration P4 Active Recovery This program activates the muscle...

Page 15: ...play 3 Press MODE again to save your selection The treatment time you selected will appear in the display the next time you turn on the device Note If you change programs during the course of a therapy session the treatment time will not reset unless you manually reset it by performing the steps described above Selecting the Therapy Intensity Level This device offers a maximum of 25 intensity leve...

Page 16: ...eached continue to progressively increase the current intensity making the session more effective 1 Intensity is adjustable according to the channel selected Select the channel you wish to adjust by pressing CH1 or CH2 CH1 or CH2 will flash on the display 2 To increase or decrease the intensity press ON to increase or OFF to decrease repeatedly until the desired intensity level flashes on the disp...

Page 17: ...he program Lock Function Press and hold the ON and OFF keys simultaneously for 1 second to lock unlock the device The Lock Function prevents accidental intensity changes when buttons are bumped Automatic Shut off If a treatment has not been started the device will automatically turn off when no button is pressed for 60 seconds The device automatically turns off when the time for your therapy sessi...

Page 18: ...ectrodes Do not pull on the cables but on the connectors attached to the ends of the cables Store the stimulator with the cables in a clean dry place Electrode The electrode pads are disposable and use an adhesive that will dry after prolonged usage or storage Pads should be replaced when they lose their adhesive quality or you sense a change in stimulation sensation If you re in doubt about the i...

Page 19: ... manner described below Symptom Cause Remedy The device does not turn on No battery or bad batteries Replace batteries The device turns on and then off again Batteries not inserted properly Insert batteries again Replace batteries Battery life expired Replace batteries The device turns on but does not generate electric pulses Cable broken Replace cable Cable not connected Properly Connect cable pr...

Page 20: ...tive humidity Transportation Storage Condition 14 F 10 C to 140 60 C 30 95 max Relative humidity Weight 75 g batteries included Dimensions 90 x 52 5x19 38 mm Power Source 3 x AAA 1 5 V batteries for a total of 4 5 V i There are a number of technical symbols on your unit explained as follows Ser No This symbols means Serial number This symbols means Attention consult the accompanying documents This...

Page 21: ...PATIBILITY INFORMATION Guidance and manufacturer s declaration electromagnetic emissions The ME 211 is intended for use in the electromagnetic environment specified below The customer or the user of the ME 211 should assure that it is used in such an environment Emissions Compliance Electromagnetic environment guidance RF emissions CISPR 11 Group 1 The ME 211 uses RF energy only for its internal f...

Page 22: ...vironment Surge IEC 61000 4 5 1 kV line s and neutral 1 kV line s and neutral Mains power quality should be that of a typical commercial or hospital environment Voltage dips short interruptions and voltage variations on power supply input lines IEC 61000 4 11 5 UT 95 dip in UT for 0 5 cycle 40 UT 60 dip in UT for 5 cycles 70 UT 30 dip in UT for 25 cycles 5 UT 95 dip in UT for 5s 5 UT 95 dip in UT ...

Page 23: ... electromagnetic site survey a should be less than the compliance level in each frequency range b Interference may occur in the vicinity of equipment marked with the following symbol NOTE 1 At 80 MHz and 800 MHz the higher frequency range applies NOTE 2 These guidelines may not apply in all situations Electromagnetic propagation is affected by absorption and reflection from structures objects and ...

Page 24: ... maximum output power rating of the transmitter in watts W according to the transmitter manufacturer NOTE 1 At 80 MHz and 800 MHz the separation distance for the higher frequency range applies NOTE 2 These guidelines may not apply in all situations Electromagnetic propagation is affected by absorption and reflection from structures objects and people WARRANTY This Mettler Electronics TENS STIM Mod...

Reviews: