ULN-8 Quick Start Guide
7
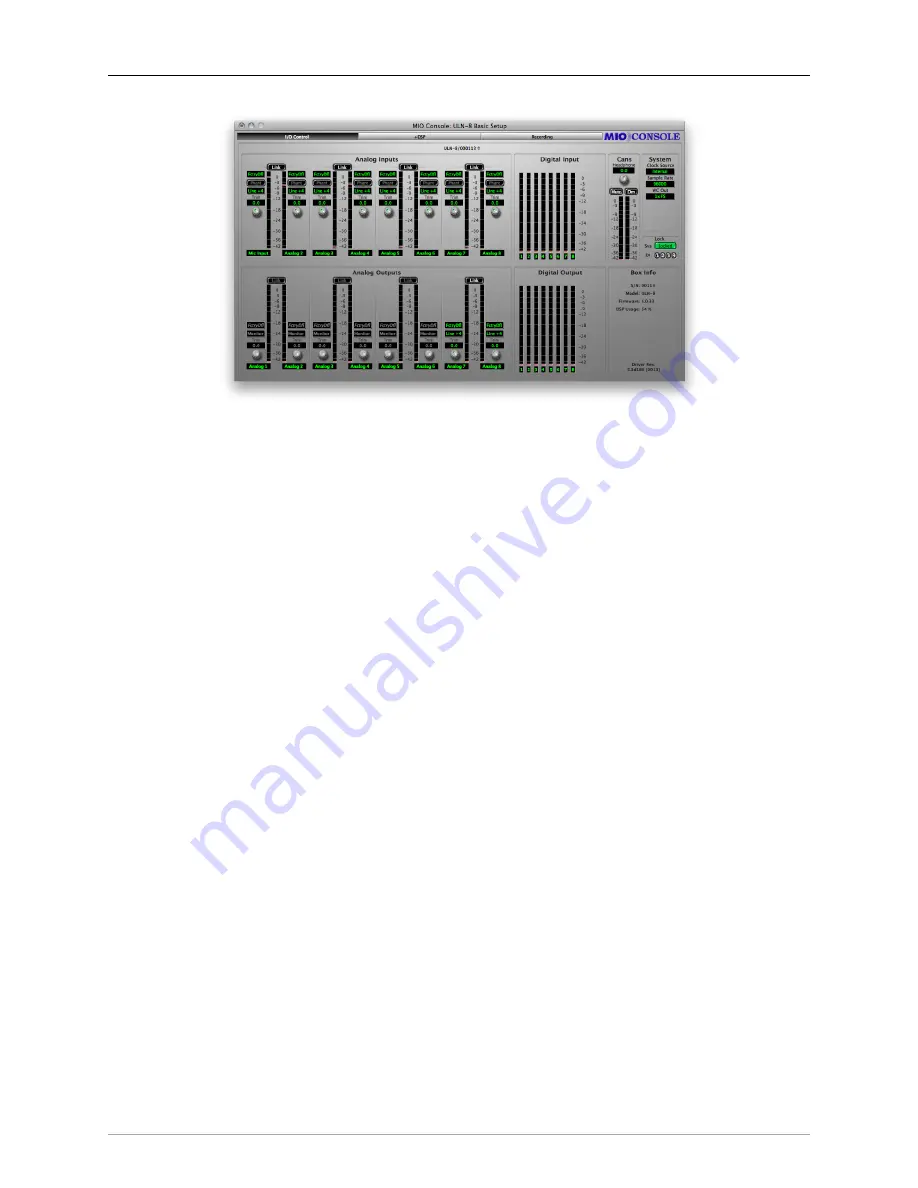
Figure 1.3: Console window
Next open the application’s preferences. Turn off “Legacy Support” (this is for older boxes), and turn on “Use
Open GL for rendering” if your computer supports it. Hit OK, then quit and relaunch MIO Console.
You’re now presented with the Mixer window. We’ll come back to this in a bit; for now go to the “Window”
menu and select “MIO Console: ULN-8 Basic Setup”. There are a few important things to look at here. To
the right, the “System” column lets you set the clock source, sample rate and whether the wordclock output
is 1x or 256x rate. In the “Lock” column you can see if the ULN-8 is receiving a valid clock on the selected
source and use the “DI” buttons to select which AES input pair should be used as a clock source if you are
clocking via “Digital”.
Toward the top of the window you will see the text “ULN-8/xxx” where “xxx” is the serial number of the box.
By clicking on this you will get a menu of options, including “Front Panel Prefs”. If you select this you will
bring up a pane that will let you tailor the front panel to your liking. You can also remove offline boxes (you
shouldn’t have any at this point).
The I/O Control tab has metering and control for the analog I/O. You can link stereo pairs, set operating levels
and gain. The I/O Control tab is synchronized with the Front Panel; changes in one place are reflected in the
other. There is also metering for digital I/O. If you click on the +DSP tab, you have access to a “Virtual” DSP
area. Next is the “Recording” tab. Any channel that is assigned to a “FW” channel via a direct out or bus
output is available for recording via MIO Console’s record engine. Since the template you loaded has these
assignments made, they are shown here. More detailed instructions on the Record Panel are available in the
documentation. You can find the documentation on the CD, and it is also accessible directly from the
Help
menu in MIO Console.
Summary of Contents for ULN-8
Page 1: ......


