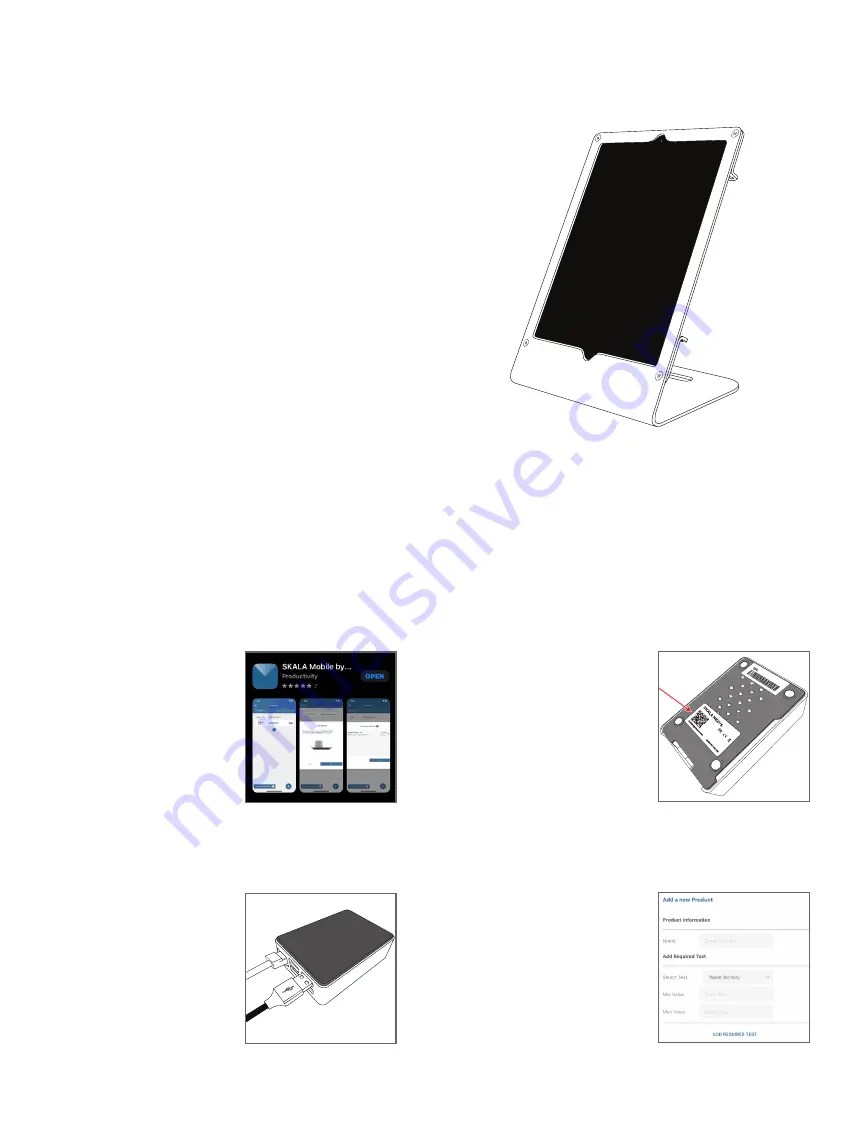
Installation
AQUALAB 3 QUICK START
Preparation
Connect the Apple
®
iPad
®
mobile digital device to the Wi-Fi
®
network. If the iPad is new, it must be set up and associated with
an Apple ID. Please refer to the AQUALAB 3 help file (
) for additional setup configurations,
if needed.
NOTE: The iPad must use a Wi-Fi or Ethernet (not cellular) connection, and the NEXUS
and the iPad must be able to communicate with each other on the same internal
network and with METER cloud servers.
Install
Follow the steps below to set up the AQUALAB 3. If there is already a
registered NEXUS with fewer than four devices connected, proceed
to installation
step 3
.
Connecting to the SKALA Mobile App
To start collecting data with the AQUALAB 3 and the SKALA
®
Mobile
app, visit
metergroup.com/aqualab3-training
.
18232-02
8.1.2020
3. Connect the AQUALAB 3.
Plug the AQUALAB 3 into a power
source and connect to the NEXUS
using the USB A to B cable.
A message should be briefly
displayed on the iPad confirming
that the AQUALAB 3 has been
connected to the NEXUS.
1. Download and Launch the
SKALA Mobile App.
To download the SKALA mobile
app to the iPad, use the iPad
camera to scan the QR code
on the back of the NEXUS. The
application can also be found by
searching for SKALA Mobile by
METER in the Apple App Store.
In the SKALA Mobile app, create
a company account, main
administrative username, and
password.
F
CC
ID
: 2
ABCB
-R
PI32
IC
: 2095
3-R
PI32
POWER:
5
VD
C
KEY
: FxXVHRm
ONwGG
SKN
0000150
0
2. Register NEXUS and
Connect to Power.
Select the plus symbol on the
Register NEXUS screen and scan
the
. Repeat this for each
NEXUS purchased.
Connect the NEXUS to power
and Ethernet. The NEXUS MAC
address can be found on the
bottom of the device.
NOTE: Please refer to the AQUALAB 3
help file (
) for additional setup
configurations, if needed.
4. Enter Products and
Specifications.
Create the first batch and take
the first reading.
For more information on the
AQUALAB 3 including training
videos and information, visit


