1
Step 2: Carefully slot in a SATA HDD into position making sure it
seats properly into the board.
Step 3: Replace the cover and slide it back until it clicks in place.
Hardware Setup
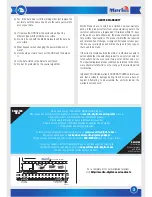
A) The LED behaviors
1. The blue LED continuous light up when the board has power,
and will blink when data is being accessed.
2. The green LED will blink once when a button is pressed. It will
continuous be lit when the disk is unlocked.
3. The orange LED be on continuously when in user mode for
creating password or changing the password. It will turn off
when the new password is entered or if the old password is
pressed correctly.
4. The red LED blinks when the password or operation is
incorrect. It’s lit continuously when in lock mode, and turns off
after the Datasafe is unlocked.
B)Password set-up
Step 1: Install a hard disk drive with no data on it.
Please note: All the data in a used HDD will be lost after set-up.
Step 2: Press and hold buttons ’1’ and ’3’ at the same time while
connecting the Datasafe to a computer. Wait for 10 seconds
until the blue and red LED’s light up continuously.
Step 3: Press and hold the ‘Lock’ button for 10 seconds until the
orange LED lights up continuously.
Step 4: Type in your password (1 - 12 digits), then press the
‘unlock’ botton to confirm it.
Step 5: Re-enter your password again and press the ‘unlock’
button to confirm. At this stage the red LED will go off and
the green LED will light up. This mean the password was
entered successfully.
Step 6: Open the computer disk management tool, and the disk
convert wizard will pop
‐
up automatically.
Thank you for purchasing this Merlin Product. Please read the instruction
manual carefully before using the product.
The documentation provided will allow you to fully enjoy all the features
this unit has to offer.
Please save this manual for future reference.
Instructions
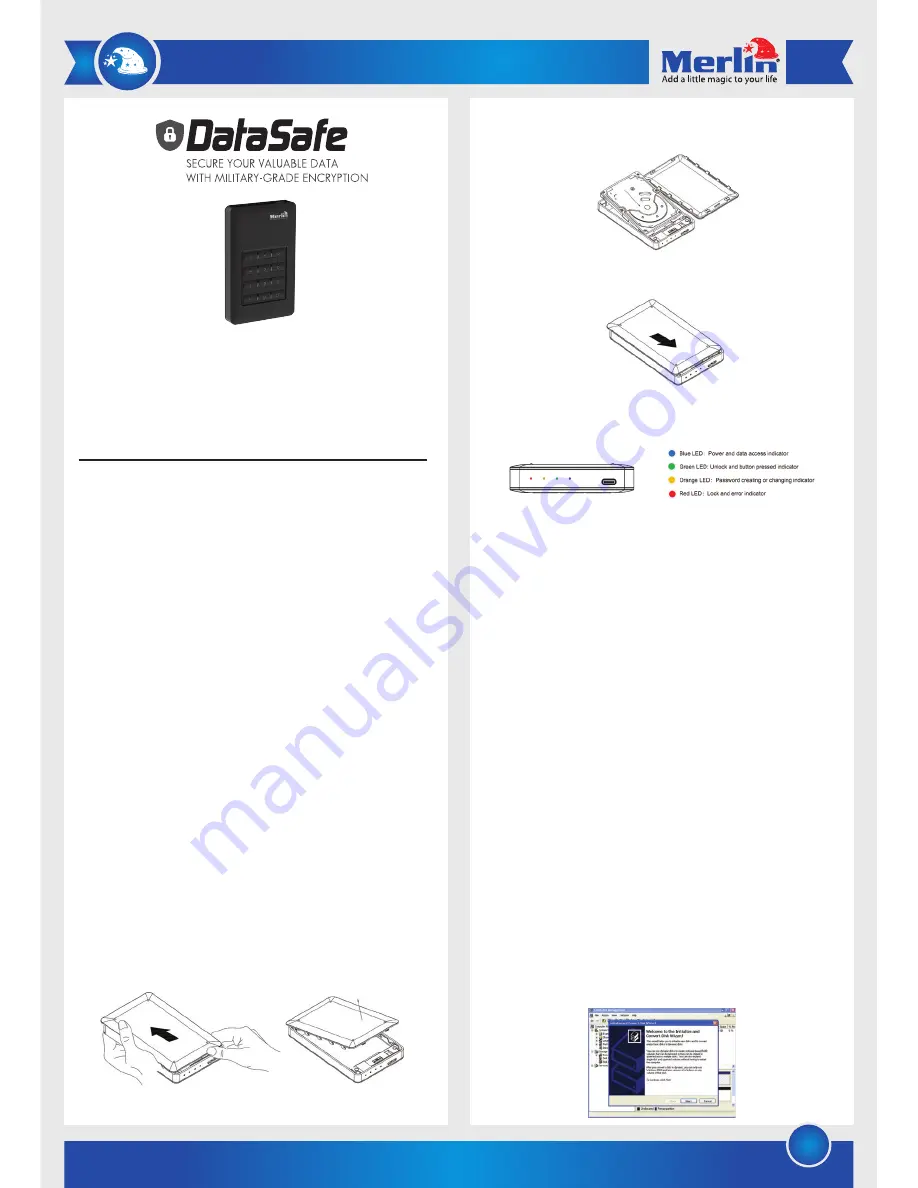
The Datasafe is a Plug & Play Hard disk enclosure that enables
you to use a SATA hard disk drive and provides a High-speed
USB 3.0 connection. The product uses a USB Type-C interface to
make is easier to connect and use the 256-bit AES encryption.
Supported Operating Systems:
- Windows 2000 / XP / Vista / 7 / 8 / 10
- Mac Os 9.x and above
- Linux 2.4.x and above
Supports a 2,5” HDD operating in SATA I/II/III and sizes up to 2TB
Minimum system requirement
PC Requirements:
·Minimum Intel Processor Pentium II/50MHz, 64MB RAM
·Windows 2000 / XP / VISTA/7/8
·Active USB port
MAC Requirements
·Minimum Apple G processor, 64MB RAM
·Mac OS 9.1, 9.2, 10.1.5, 10.2, 10.3
·Active USB port
Hard disk installation:
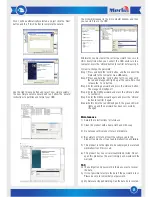
Step 1:Firmly hold the Datasafe with both hands. Using your
thumbs push the cover open with a sliding motion.


