D Heater Unit Assembly Re-
placement:
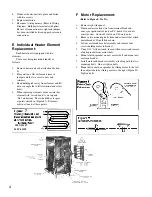
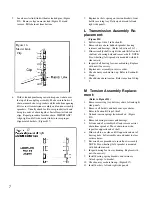
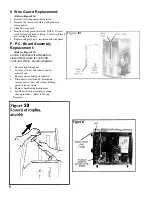
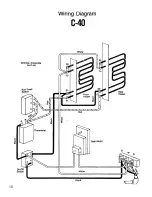
(Refer to Figure #5)
1. Remove right panel.
2. Holding the heater connections with pliers to
prevent bending, remove the three screws
retaining the wiring harness on the heater
connections of the unit being replaced.
(Figure #4)
3. Remove insulation.
4. Remove the two screws holding heater
element to inside panel.
5. Slide heater unit out the side.
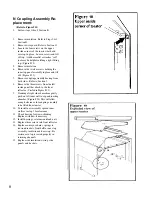
NOTE:
Because of air space required in some
heating elements they may not easily pass thru the
opening. If element does not slide out completely,
remove left side panel, insulation and wire guard.
(Refer to Section O). Use a suitable “flat” tool
such as a yardstick or 24” ruler and insert through
wire guard opening. Gently pry heating element at
curvature so it can clear opening and slide out.
(Figure #6)
Figure 6
15. Install new thermostat with two screws and replace knob.
16. Position the balance of tube so it runs from bottom of
thermostat along inside of front panel. Coil excess parallel to
and under shelf. Make certain tube is away from all electrical
connections.
17. Check tube positioning before replacing panel to be sure the
tube will clear all electrical connections.
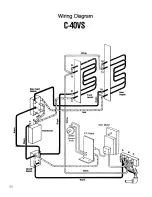
18. Replace heater element, wire guard, insulation, heater wires,
(refer to wiring diagram) and side panels.
Figure 5
3

