background image


Phone

: (216) 265-2315  

Fax

:  (216) 267-2915 

www.mentorradio.com 


18 


Wireless Solutions for Advancing Communications 


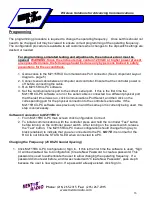
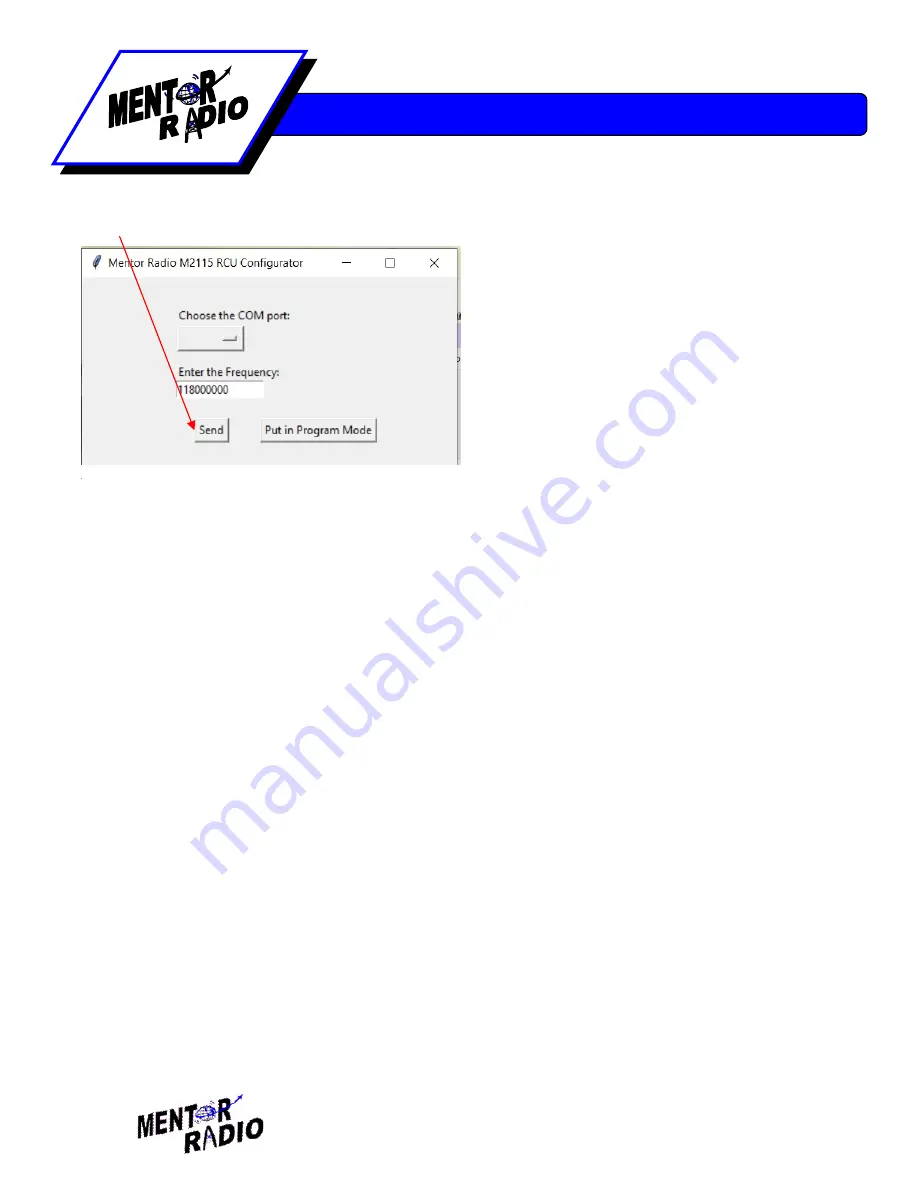
8.   Press the “Send” button.  (Figure 4) 


The M2115RCU will change frequency right after the ”Send” button is pressed.  Multiple frequencies 
can be entered, but only the last one entered before the M2115RCU is turned off will be remembered. 


9.   Turn the power to the M2115RCU off.  The frequency is now programmed. 

 
The table below, figure 5, shows all the frequencies that are allowable in the range of between every 
100 kHz in the total frequency range of 118MHz to 137MHz.  


Figure 5 


The frequency that can be entered takes the format of: 

1XXX + one number in table. 

For example, a valid frequency would be 124583333.  Where 1245 is the 1XXX part and the 8333 Hz 
is a frequency in the table.  


Frequencies available between 'Kilohertz' 


08333  

16667  

25000 

33333  

41667  

50000 

58333  

66667  

75000 

83333  

91667


Figure 4 


Summary of Contents for M2115RCU Series

Page 1: ...Phone 216 265 2315 Fax 216 267 2915 www mentorradio com 1 Wireless Solutions for Advancing Communications M2115RCU RADIO CONTROLLER OWNER S MANUAL ...

Page 2: ...eration from many different power sources 10 to 30 VDC or 115 VAC or 230 VAC Depending on the individual installation dangerous voltages may be present inside the unit s printed circuit board mounting case It is the user s responsibility to operate the unit safely for a particular installation 1 High Voltage may be present inside the case when opened 2 If installed outside do not operate test or p...

Page 3: ...2 2 Component Layout 4 3 Controls Layout 5 4 Basic Features 6 5 Theory of Operation 7 6 General System Operation 7 7 Dip Switch Configuration Options 8 8 Installation 9 9 Testing Programming and Adjustments 13 10 Periodic Maintenance 20 11 Troubleshooting 22 12 Schematics 25 13 Board Layout 30 14 Optional Accessories 31 15 Limited Warranty 32 ...

Page 4: ... Solutions for Advancing Communications Component Layout Includes optional items AC Line Lightning Protector opt Antenna Lightning Protector opt Sensitivity Pot DIN Rail with AC power plug and CB s opt Reset Switch Test Switch Communications Port NEMA 4 Enclosure opt ...

Page 5: ...orradio com 5 Wireless Solutions for Advancing Communications Controls Layout Antenna Input BNC 6 Sensitivity Potentiometer 5 Reset Button 1 Power Switch 4 Test Button 2 3 Click Relay 9 5 Click Relay 8 7 Click Relay 7 Communications Port 3 GND 10 ...

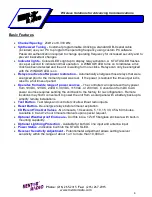
Page 6: ...stored the timeout period is reset to a full timeout period Operates from wide range of power sources The controller can operate with any power from 10VDC 12VDC 24VDC 30VDC 115VAC or 230VAC Conversion from DC to AC power sources requires sending the unit back to the factory for re configuration Remote locations may find it convenient to power the unit from a solar panel with a battery back up to s...

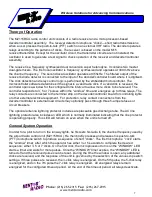
Page 7: ... The relay contacts are connected to the terminal strip on the decoder controller board for controlling lights or other external electrical equipment For protection relay contact connections from the decoder controller to external load circuits may optionally pass through three 5 ampere fuses or circuit breakers The optional antenna lightning protector includes a replaceable gas discharge tube The...

Page 8: ...g the switches that are set and the interpretation of their behavior The testing of this behavior can be performed from either the controller or the PC Timeout Period Dipswitch 1 2 and 3 The following chart determines the switch settings for the corresponding time out period Timeout Period SW 1 SW 2 SW 3 No Timeout ON ON ON 10 Second OFF ON ON 5 Minute ON OFF ON 10 Minute OFF OFF ON 15 Minute ON O...

Page 9: ...ber of relays energizes without de energizing any other relays For example the 3 click relay stays energized upon the receipt of the 5th new click at which time the 5 click relay energizes Click Off Function Configuration Dipswitch 7 On 8 Off 5 Click Off Enabled Configuration Dipswitch 7 Off 8 Off This configuration is primarily suited for customers who only want to turn one set of lights or equip...

Page 10: ...er to change the operating frequency NOTE only authorized persons are allowed to change the operating frequency in the computer program Access to this functionality is password protected The PC software also allows the user to test the new dip switch settings before physically changing the switches on the radio control unit Once the relay performance is verified the new switch settings are to be m...

Page 11: ...so that the unit is secure before connecting wires 2 Connect control relay wires to 9 terminal strip as follows Pin 1 K1 NO Pin 2 K1 C Pin 3 K1 NC Pin 4 K2 NO Pin 5 K2 C Pin 6 K2 NC Pin 7 K3 NO Pin 8 K3 C Pin 9 K3 NC 3 Connect power wires to 3 pin terminal strip If connecting M2115RCU ALC to 10 30VDC Pin 1 DC pos Pin 2 DC minus Pin 3 GND earth ground If connecting M2115RCU ALC to 115VAC Pin 1 AC L...

Page 12: ...C See above procedure Connections Antenna Connector Standard UHF coaxial antenna Power and Control The electrical connections for power and control are normally made via two 7 8 holes in the enclosure Wiring may be connected through conduits or as required by local electrical codes The contacts of the relays on the decoder assembly are rated for 5 amperes at 120 VAC or 2 5A at 240VAC Follow manufa...

Page 13: ...s or performing a simulated energizing of the relays to test logic and timing To test the actual energizing of the relays the test may be performed with or without the aid of a PC or radio In order to test the receiver portion of the controller any aviation band transceiver may be used to produce the necessary microphone clicks Customers may also test the physical energizing of the relays and the ...

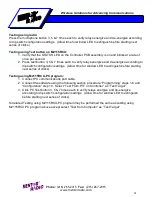
Page 14: ...ize and de energize according to dip switch configuration settings Allow time for window LED to extinguish before starting next series of clicks Testing using M2115RCU PC program 1 Connect PC communications port cable 2 Connect the software using the following section procedure Programming steps 1 6 and Configuration step 10 Select Test From PTT on Controller as Test Target 3 Click PC Test button ...

Page 15: ...is connected to a different physical port that the last time it was run click Communications Port Select and then click on the corresponding port for the physical connection to the controller serial cable If the M2115RCU PC software was previously run and the same port is currently being used this step is unnecessary Software Connection to M2115RCU 1 From M2115RCU PC main screen click Configuratio...

Page 16: ...NOTE the software will program any Mentor Radio RCU frequency and not only 8333Hz versions Make sure that the COM port is installed on the computer before running the programming software The program scans for COM ports upon running but will not detect them if they are installed after the program starts 1 Turn on the M2115RCU while holding down the test button this is the same as the other softwar...

Page 17: ...7 Wireless Solutions for Advancing Communications 6 Press the Put in Program Mode button Figure 2 7 Enter the desired frequency in the Frequency box Frequency must be entered in Hz format There should be 9 digits for each frequency Figure 3 Figure 3 Figure 2 ...

Page 18: ...the power to the M2115RCU off The frequency is now programmed The table below figure 5 shows all the frequencies that are allowable in the range of between every 100 kHz in the total frequency range of 118MHz to 137MHz Figure 5 The frequency that can be entered takes the format of 1XXX one number in table For example a valid frequency would be 124583333 Where 1245 is the 1XXX part and the 8333 Hz ...

Page 19: ...ting the Current Settings will be seen on both the controller and PC If the Current Config is desired as the normal controller configuration click on the Dipswitch Visual tab Use the image of the Current Dipswitch as a guide and set the controller dip switches 2 Verify your switch settings by clicking the Press to get your Physical Configuration button on the dipswitch visual tab The display for t...

Page 20: ...rify that the LED on the AC Line protector is ON CAUTION Failure to routinely inspect for and correct this condition may result in damage to the unit in the event of a lightning strike If at the time of inspection the green LED is blinking four times per second rather than the normal once per second the microprocessor s watchdog feature has detected an error in its operation but has corrected the ...

Page 21: ...stem cuts in and out or breaks up Certain lightning static patterns from in range electrical storms If pilots feel that the operating range is greater than necessary and that spurious operations are troublesome and may be caused by distant aircraft the sensitivity of the receiver can be reduced See the section on Adjustment It may be necessary to experiment with several settings before finding the...

Page 22: ...nit still fails send in repair for radio 4 Problem Relays de energize before expected timeout Solution Connect computer click Get Physical Dipswitch Settings Compare displayed timeout to expected timeout values Is timeout correct If yes Run test from computer and observe timeout box Change Dipswitch settings for expected timeout or return unit for repair 5 Problem Unit will not connect to PC Solut...

Page 23: ...ontroller to determine the general health of the unit Testing without computer Periodically test the controller system to ensure the unit is performing optimally 1 Remove enclosure cover 2 Observe the behavior of the LED indicators located on the printed circuit board assembly If the red Status LED is blinking then the decoder assembly is turned on power is properly applied to the unit and the ass...

Page 24: ...nfiguration Run Tests Ctrl T 6 Select where you want to run the test from on the PC Unit Configuration screen If from PC a Click Enter Test Mode b Click Test button 3 5 7 clicks to test response on both computer and controller The controller should respond with the window and relay led s activating at the corresponding clicks If from controller a Press the Test button on the controller b Observe t...

Page 25: ...Phone 216 265 2315 Fax 216 267 2915 www mentorradio com 25 Wireless Solutions for Advancing Communications ...

Page 26: ...Phone 216 265 2315 Fax 216 267 2915 www mentorradio com 26 Wireless Solutions for Advancing Communications ...

Page 27: ...Phone 216 265 2315 Fax 216 267 2915 www mentorradio com 27 Wireless Solutions for Advancing Communications ...

Page 28: ...Phone 216 265 2315 Fax 216 267 2915 www mentorradio com 28 Wireless Solutions for Advancing Communications ...

Page 29: ...Phone 216 265 2315 Fax 216 267 2915 www mentorradio com 29 Wireless Solutions for Advancing Communications ...

Page 30: ...Phone 216 265 2315 Fax 216 267 2915 www mentorradio com 30 Wireless Solutions for Advancing Communications ...

Page 31: ...ies 1 Enclosure Case a NEMA 4 outdoor use b Fiberglass enclosure c Steel enclosure d Aluminum case no DIM rail no lightning protector indoor use only 2 Antenna lightning protector 3 AC line lightning protector 4 DIN rail mounted components 5 AC power plug 6 Control relay in line fuses 7 Control relay in line circuit breakers ...

Page 32: ...o the address shown below We are not liable for defects or damages caused by the use of unauthorized replacement parts and or service ALL IMPLIED WARRANTIES INCLUDING THE IMPLIED WARRANTIES OF MERCHANTABILITY AND FITTNESS FOR A PARTICULAR PURPOSE ARE LIMITED IN DURATION TO ONE YEAR Some states do not allow limitations on how long an implied warranty lasts so the above limitations may not apply to ...

Reviews: