Memorex MVD2042 User Manual Download Page 21

20

BASIC OPERATION (GENERAL)

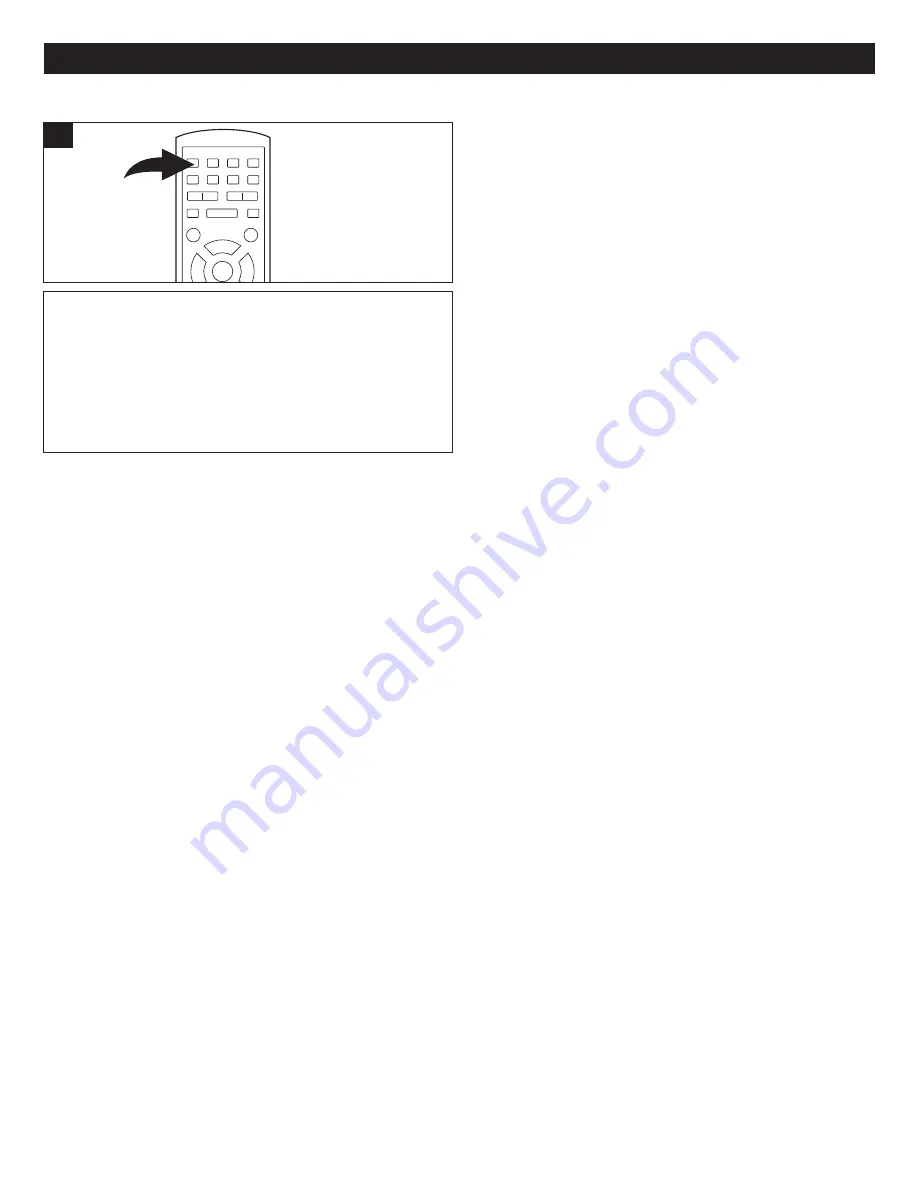
Press the MUTE button once to mute the sound, “MUTE”
will appear on the TV screen. Press the MUTE button
again to restore the sound; “DEMUTE” will appear on the
TV screen for three seconds.

1

MUTE

DISPLAY

Press DISPLAY button for 

DVD:

1 press show " TT (Title), CH(chapter) and the elapsed time of the chapter."
2 press show "Audio Language, Subtitle Language, Angle Setting"
3 press show " TT (Title), CH(chapter) and the remaining time of the chapter."
4 press show " TT (Title), CH(chapter) and the elapsed time of the title."
5 press show " TT (Title), CH(chapter) and the remaining time of the title."
6 press to turn off off the display.

Press DISPLAY button for 

VCD/CD,

1 press show "TRK (TRACK), MUTE/UNMUTE, PBC on/off, REPEAT function, tracks elapsed time."
2 press show "TRK (TRACK), MUTE/UNMUTE, PBC on/off, REPEAT function, tracks remaining time."
3 press show "TRK (TRACK), MUTE/UNMUTE, PBC on/off, REPEAT function, total elapsed time of disc."
4 press show "TRK (TRACK), MUTE/UNMUTE, PBC on/off, REPEAT function, total remaining time of disc."
5 press turns off the display.

for the MUTE/UNMUTE, the mute icon - light white is mute, light yellow is unmute.
for the PBC, PBC icon light yellow is PBC ON, light white is PBC OFF.
for CD playback, the PBC icon will not show when display is show on the TV screen.

Press DISPLAY button for 

MP3,

1 press show "TRK (TRACK),  MUTE/UNMUTE,  REPEAT function, tracks elapsed time."
2 press show "TRK (TRACK),  MUTE/UNMUTE,  REPEAT function, tracks remaining time."
3 press turn off the display.

Press Display button for Picture 

CD.

1 press show the playback picture's number, press the DISPLAY twice more to exit the display.


Summary of Contents for MVD2042

Page 1: ...Before operating this product please read these instructions completely User s Guide DVD VCD MP3 PHOTO CD Player MVD2042...

Page 2: ...Sound 19 Audio Mode 19 Mute 20 Display 20 DVD Basic Operation 21 Playback of a DVD 21 Skip 22 Search 22 Slow R and Slow F 22 Pause Step 22 Title Chapter Search 23 Title Time Search 23 Repeat Playback...

Page 3: ...able protection against harmful interference in a residential installation This equipment generates uses and can radiate radio frequency energy and if not installed and used in accordance with the ins...

Page 4: ...sofa rug or other similar surface This product should never be placed near or over a radiator or heat source This product should not be placed in a built in installation such as a bookcase or rack unl...

Page 5: ...determine that the product is in proper operating condition 21 WALL OR CEILING MOUNTING The product should be mounted to a wall or ceiling only as recommended by the manufacturer 22 DAMAGE REQUIRING...

Page 6: ...he unit follow that product s instructions Warning Cleaning and adjustment of lenses and or other components of playback mechanism should be performed by a qualified service technician NOTES ON MOISTU...

Page 7: ...STANDBY Indicator 9 STANDBY Button 6 LOCATION OF CONTROLS FRONT 1 2 3 4 6 5 7 8 9 1 AC Power Cord 2 Stereo Audio Left Right Output Jacks 3 Video Output Jack 4 S Video Output Jack 5 Coaxial Digital Au...

Page 8: ...n 16 DVD MENU Button 17 ANGLE Button 18 3D Button 19 PBC Button 20 SEARCH Button 21 Number 0 9 Buttons 22 OPEN CLOSE Button 23 STANDBY ON OFF Button 24 Repeat A B Button 25 PROGRAM Button 26 SEARCH Bu...

Page 9: ...alling the batteries as indicated next to the battery compartment Reversed batteries may cause damage to the device 3 Do not mix different types of batteries together e g Alkaline Rechargeable and Car...

Page 10: ...the TV s TV VIDEO button or switch to the VIDEO setting When connecting the DVD refer to the owner s manual of the TV as well as this manual When connecting the DVD to the TV make sure the power is of...

Page 11: ...ROGRESSIVE SCAN switch is in the ON position you will not be able to see any picture at all To regain the picture you must shut the unit off and set the PROGRESSIVE SCAN switch to the OFF position The...

Page 12: ...D player away from the tuner After connecting press the AUDIO MODE button to the desired audio setting Please refer to AUDIO MODE on page 19 Place the subwoofer front rear and center speakers in locat...

Page 13: ...ant that you read the manual that accompanies the DVD disc as there are features that are on the DVD player that cannot be used with certain DVDs There are also extra features on the DVD disc that are...

Page 14: ...ration and is intended for home and other limited viewing uses only unless otherwise authorized by Macrovision Corporation Reverse engineering or disassembly is prohibited Region Management Informatio...

Page 15: ...ns to select one of the setup options then press the Navigation button to select it 4 Use the Navigation buttons to select the desired setting then press the ENTER button to make the change Press the...

Page 16: ...n select change the setup option as described on page 14 TV TYPE SCREEN SAVER 4 3PS Select when the unit is connected to a conventional TV Video material formatted in the Pan Scan style is played back...

Page 17: ...ct LANGUAGE SETUP using the Navigation buttons then select change the setup option as described on page 14 OSD LANGUAGE AUDIO LANG Select the language the Subtitle OSD will be in ENGLISH GERMAN SPANIS...

Page 18: ...ption as described on page 14 DOWNMIX Sets the Audio Output mode SPDIF OFF Select to disable Digital Output SPDIF RAW Select to hear the Digital Output in RAW format SPDIF PCM Select to hear the Digit...

Page 19: ...be able to enter the Parental function 1 KIDSAFE Kidsafe 2 G All ages 3 PG Parental Guidance 4 PG13 Parental Guidance less than 13 years old 5 PGR Under 17 years old Parental Guidance suggested 6 R Un...

Page 20: ...he 3D button once 1 and the sound options will appear on the screen Press the button 2 to select BAND to view the band equalizer Press the 3D button once and the sound options will appear on the scree...

Page 21: ...C on off REPEAT function tracks elapsed time 2 press show TRK TRACK MUTE UNMUTE PBC on off REPEAT function tracks remaining time 3 press show TRK TRACK MUTE UNMUTE PBC on off REPEAT function total ela...

Page 22: ...se for additional information Resuming playback may not work on all discs PLAYBACK OF A DVD IMPORTANT NOTES After plugging in the unit will be in the Standby mode the Standby indicator will be lit Pre...

Page 23: ...eed until the PLAY button 3 is pressed again normal playback will resume at that point 1 3 2 1 SKIP Press the PAUSE STEP button 1 once to pause the picture Repeatedly press the PAUSE STEP button 1 to...

Page 24: ...time While in the Playback mode press the REPEAT button once REP OFF will appear briefly on the screen Within two seconds press again to repeatedly playback a chapter REP CHAPTER will appear briefly...

Page 25: ...tton once during Normal Search Slow or Still playback modes and the unit will zoom x2 Press a second or third time and the unit will zoom x3 x4 Press a fourth time and the until will zoom out 1 2 Pres...

Page 26: ...uttons and Navigation buttons 2 2 1 2 Repeat step 2 until all desired chapters have been programmed up to 16 You can repeat a chapter more than once if desired Press the PLAY button to begin programme...

Page 27: ...ding playback will start immediately Press the NAVIGATION button to select the desired track Press the ENTER button 3 to start the playback 2 1 2 3 3 To change select other folders press the NAVIGATIO...

Page 28: ...the TV screen 2 1 1 FORWARD REVERSE REPEAT PLAY MP3 FAQs Frequently Asked Questions Please read before playing an MP3 CD What is an MP3 file An MP3 file is a computer format that makes a usually large...

Page 29: ...ue to play all of the tracks that you programmed in the order in which you programmed them 3 Press the STOP button to stop programmed play 4 PROGRAMMED PLAYBACK The disc player in this unit has a 16 t...

Page 30: ...ll start automatically 3 To stop playback press the Stop button PRESS PLAY TO CONTINUE will appear on the TV screen Because the unit will remember where you stopped simply press the Play button to res...

Page 31: ...appears on the TV screen 2 1 1 FORWARD REVERSE REPEAT ONE ALL PLAY While playing back a CD this unit can repeatedly play back a specific section While in the Playback mode press the Repeat A B button...

Page 32: ...f resuming playback or press the STOP button to stop and clear the programmed memory 1 2 4 PROGRAMMED PLAYBACK The CD player in this unit has a 16 track programmable memory that allows you to program...

Page 33: ...tomatically show on the TV screen Press the Skip n or o button to select a picture 2 2 1 3 Press the STOP button 1 to show the demo pictures Press the Navigation button to select the desired picture t...

Page 34: ...n to auto set it Clean the disc This is normal on some discs Select the correct TV type 4 3PS 4 3LB 16 9 which matches the TV you are using Install fresh batteries Install batteries according to the d...

Page 35: ...ure should reappear POSSIBLE CAUSE Rating level set to block the DVD DVD not inserted or inserted upside down A non playback disc is inserted The disc is not placed in the guide The disc is dirty Some...

Page 36: ...to the outer edge of the disc Never wipe in circular motions Discs should be stored in their cases after each use to avoid damage Do not expose discs to direct sunlight high humidity high temperature...

Page 37: ...layer 12cm single sided dual layer 12cm double sided single layer 8cm single sided single layer 8cm single sided dual layer 8cm double sided single layer COMPACT DISC VIDEO CD 12cm disc 8cm disc Video...

Page 38: ...Memcorp Inc Weston FL Printed in Hong Kong Visit our website at www memorexelectronics com...

Reviews: