18
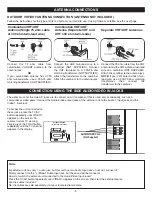
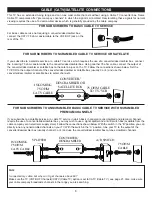
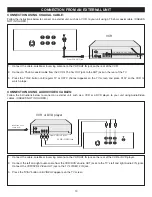
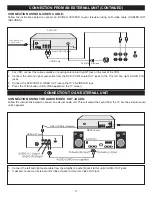
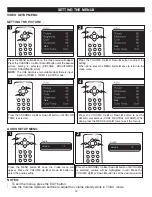
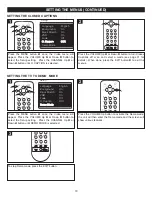
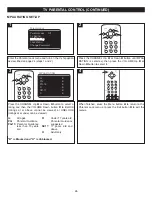
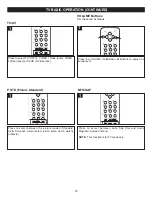
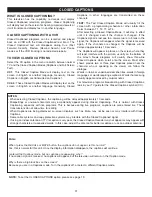
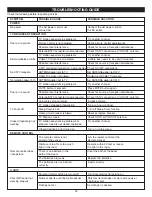
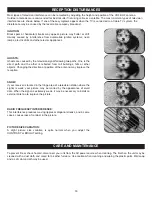
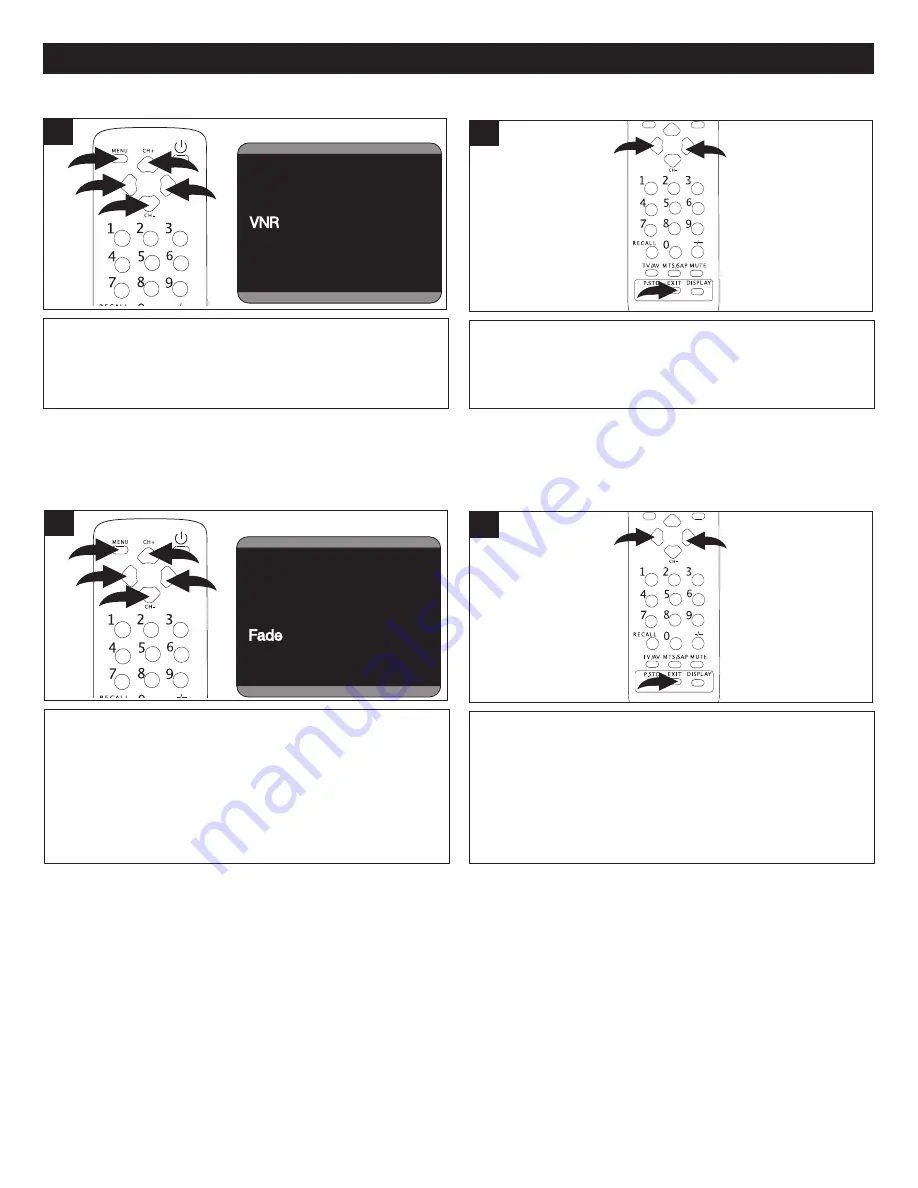
Press the VOLUME Up
1
or Down
2
button to turn the VNR
ON (this will allow the picture tube to warm up and gently
turn on, thus increasing the life of the picture tube) or OFF.
When done, press the EXIT button
3
to exit the menus.
3
1
2
2
Press the MENU button
1
once; the Video menu will
appear. Press the VOLUME Up
2
or Down
3
button to
select the Setup setting. Press the CHANNEL Up
4
or
Down
5
button until VNR is selected.
Fade Off
C. Caption
CC1
Demo Mode
S
Language English
Background On
Black Stretch
On
VNR
On
On
Fade Off
C. Caption
CC1
Demo Mode
Setup
Language English
Background On
Black Stretch
On
VNR On
Fade
Off
Off
C. Caption
CC1
Demo Mode
Setup
Language English
Background On
Black Stretch
On
VNR On
Fade Off
C. Caption
CC1
CC1
Demo Mode
Setup
Language English
Background On
Black Stretch
On
VNR On
Fade Off
C. Caption
CC1
Demo Mode
Demo Mode
Setup
1
5
2
3
1
4
SETTING THE VNR (VIDEO NOISE REDUCTION)
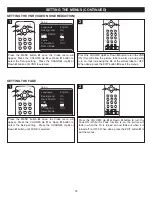
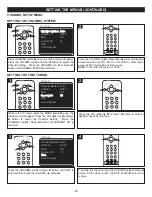
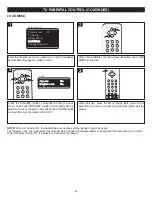
Press the VOLUME Up
1
or Down
2
button to turn the
Fade ON (While the Fade function is on, the picture will
fade in when the TV is turned on and fade out when it is
turned off.) or OFF. When done, press the EXIT button
3
to
exit the menus.
3
1
2
2
Press the MENU button
1
once; the Video menu will
appear. Press the VOLUME Up
2
or Down
3
button to
select the Setup setting. Press the CHANNEL Up
4
or
Down
5
button until FADE is selected.
Language English
Background On
Black Stretch
On
On
VNR On
Fade Off
C. Caption
CC1
Demo Mode
Setup
Language English
Background On
Black Stretch
On
VNR
On
On
Fade Off
C. Caption
CC1
Demo Mode
Setup
Language English
Background On
Black Stretch
On
VNR On
Fade
Off
Off
C. Caption
CC1
Demo Mode
Setup
Language English
Background On
Black Stretch
On
VNR On
Fade Off
C. Caption
CC1
CC1
Demo Mode
Setup
Language English
Background On
Black Stretch
On
VNR On
Fade Off
C. Caption
CC1
Demo Mode
Demo Mode
Setup
1
5
2
3
1
4
SETTING THE FADE
SETTING THE MENUS (CONTINUED)

