


6
Step 2 – Using Your Mega TravelDrive
(Continue)
c. Restart your PC now to ensure the driver installation and drive setup have been properly completed. The
reboot is only necessary for the first installation.
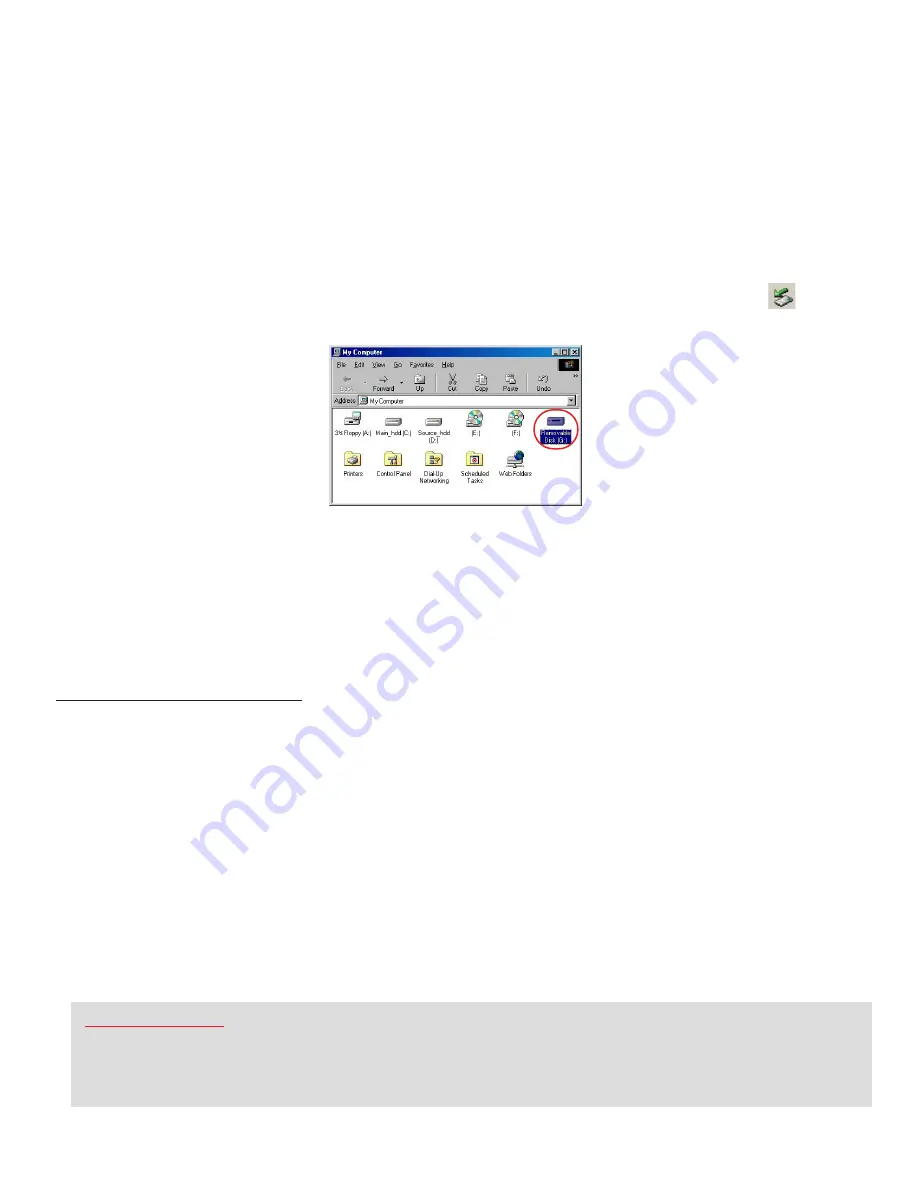
d. Locate and double click the “My Computer” icon (either on the desktop screen or in the Start menu.) The
Mega TravelDrive should appear as a “removable disk” icon with an assigned drive letter (Fig 3). The actual
drive letter will vary depending on how many drives are installed on your computer.
e. OPTIONAL: Right clicking on the icon brings up a dialogue box. Clicking PROPERTIES at the bottom of the
box opens another dialogue box that will allow you to name your Mega TravelDrive so that in Windows XP it
shows up under its own name.
f. Do NOT remove the Mega TravelDrive while the Status LED is flashing. Click on the green arrow in the
lower right panel of your desktop screen to stop the drive before removing it.
g. When your drive is not connected to the USB port of your PC, rotate the USB connector to the closed or stored
position. Be sure the USB connector is tucked securely within the housing and flush with the drive side. Insert
the drive into the carrying case and close the flap.
Congratulations! You may now use your Mega TravelDrive as you would any other hard disk drive on your
computer. You can drag and drop files to or from the drive in the same way as copying or saving files to your
main hard drive.
VII. STANDARD OPERATION:
A. MICROSOFT WINDOWS
®
CONNECTING YOUR DRIVE
1. Lift the pull-up tab at the top of the Mega TravelDrive to swing out the USB connector and insert the
connector into an available USB port on your computer. The blue Power and Activity LED will light up, briefly
flashing to confirm that the drive is powered.
2. For Windows XP users, your drive folder will appear in a separate window. If this does not happen or if you are
not prompted to select a function, follow Step 4.
3. If your drive does not appear, double-click on the “My Computer” icon on your desktop and locate the
“Removable Disk” icon. Double-click on that icon to access your TravelDrive.
4. You can now save, copy, or delete files to the Mega TravelDrive just as you would to a hard drive or a floppy
disk. The LED Power and Activity light will flash quickly when data are being transferred to or from your drive.
REMOVING YOUR DRIVE
IMPORTANT NOTE:
Do not remove the Mega TravelDrive while the LED is flashing!
Interrupting the data flow
while the LED is flashing may corrupt existing data that are being transferred as well as possibly other data stored
on the drive. You may also lose access to your drive and your ability to retrieve any files stored on the Mega
TravelDrive. Once the LED returns to a non-blinking state, the data transfer operation is complete; and it is save
to remove your drive.
Figure 3


