background image


9625762 

20 / 44 


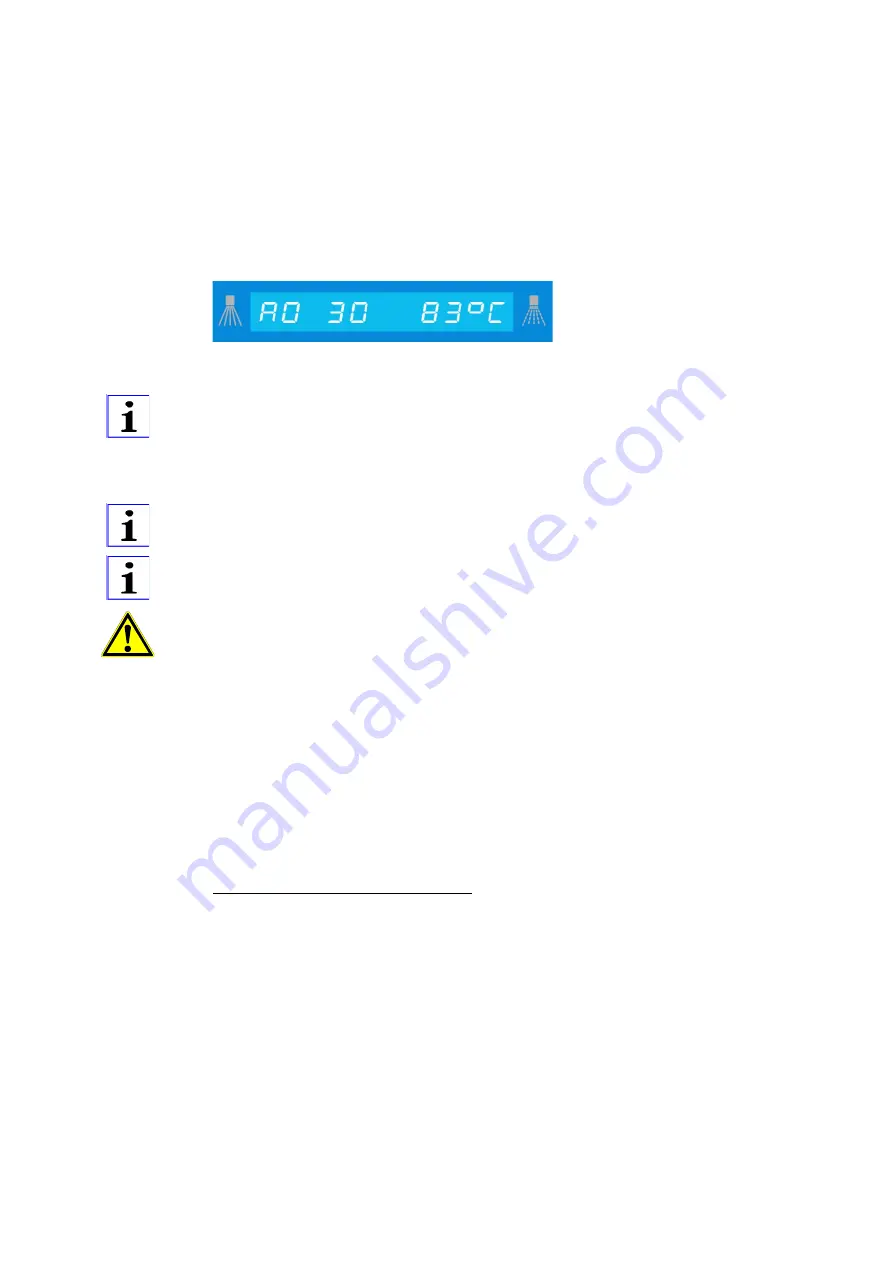
10.1.3  Disinfection machine with A0 control 

The standard factory setting is A0 = 30. 
The tank temperature for washing is 74 °C. Tank heating is active while washing. After 

every second as of 65° C in the wash tank the measured tank temperature is allocated 

one factor (the higher the temperature, the higher the factor). These factors are continu-

ally added until the desired hygiene value, e.g. A0 30, has been reached. The dripping 

phase and final rinse begin when the wash time set in the programme is reached or ex-

ceeded. 
The display indicates the A0 value. 


10.1.4  Disinfection machine with Thermolabel control 


Thermolabel = measuring tape that changes colour after 4 seconds at 71 °C and shows 

the required hygiene value. 

The tank water is heated up to 71 °C during washing. After a brief stop time the dripping 

pause and the final rinsing starts as long as the washing time set in the programme has 

been reached or exceeded. 


Both method makes it possible to achieve disinfection levels higher than the standard 

(e.g. in hospitals). 


The tank temperature falls when the programme begins, depending on the washware. 

The time needed to reach the set disinfection parameters could exceed the set pro-

gramme time. 


IMPORTANT!


High washing temperatures and long retention times in the wash tank can lead to glass 

corrosion and premature peeling of the decor. 

10.1.5  Water change programme 

(option)


The program pre-selection keys can be allocated to a water change programme. In the 

standard setting this applies only to button III.


After completing the wash programme, all the water is pumped out of the the tank. Flush-

ing with fresh water follows. This water remains in the wash tank and is used as the next 

tank filling. 


Then the programme ends and the programme start button light goes out. 
 
Now the following options are possible: 
1.  Open door, remove tray, close door; this makes the washer ready for operation (fill 

tank, heat) 

2.  Switch to programme 1 or 2; this makes the washer ready for operation (fill tank, 

heat) 

3.  After changing the tray, press the start button; this makes the washer ready for oper-

ation (fill tank, heat), and then immediately starts the washing programme. 

4.  Press the "0" button (off button) and then press the start button to launch the self-

cleaning programme for complete flushing of the machine. 


Summary of Contents for DV 120.2

Page 1: ...from 2004 11 Update 2020 03 www meiko global com Operating instructions DV 270 2 Universal warewashing machine Translation of the Original operating instructions Read operating instructions before usi...

Page 2: ...el 14 7 2 Preparation for washing and rinsing 15 7 3 Automatic dosing 16 7 4 Operation during washing and rinsing cycle 16 8 Shutting down the dishwasher 17 9 Care and maintenance 17 9 1 Care general...

Page 3: ...Maintenance 40 17 1 Basic safety measures during normal operation 40 17 2 Dosing units 40 17 3 Maintenance plan 41 18 Dismantling and disposal 42 18 1 Disposal of packaging materials 42 18 2 Dismantl...

Page 4: ...stantly working on the further development of all its models We would therefore ask you to understand that because of this we must reserve the right to make modifications at any time to any items cove...

Page 5: ...s MEIKO exclusively authorises authorised service partners for commissioning inductions repairs maintenance assembly and installation of the corresponding product groups within MEIKO devices 1 3 Descr...

Page 6: ...water Prohibits the use of a high pressure hose Danger of explosion Indicates a potential explosion hazard Non potable water The water is not for drinking Health can be endangered by drinking Danger o...

Page 7: ...as well as with the safety information provided in them IMPORTANT the installation is only operated in perfect operationally efficient condition all safe guards and cladding panels are installed and...

Page 8: ...is imperative the entire machine is switched off completely via the on site power disconnection device and that it is secured against reactivation by using appropriate measures Only specialist person...

Page 9: ...njurious to health The manufacturers hazard instructions on the original packaging and in the safety data sheets must be observed IMPORTANT At the end of operation the machine is to be switched off co...

Page 10: ...on the packing The appliance must be moved with great care Unpack the machine In order to ensure safe shipping the installation parts are placed on a special four sided wooden frame The washing machin...

Page 11: ...the electrical part of the machine may only be undertaken by specialist person nel The customer must guarantee the following points relating to the connection The correct voltage and type of current...

Page 12: ...s the stainless steel heat exchanger available as an option must be used IMPORTANT The minimum flow pressure of the clean water supply upstream of the solenoid valve must be 0 6 bar if water softening...

Page 13: ...the quantity of detergent and rinse agent depend on the product used The relevant chemical supplier can install the correct setting 6 Settings for initial commissioning by the service engi neer 6 1 C...

Page 14: ...rohibited The same applies when cleaning the washing machines 7 1 Operating panel Illustration 1 Operating panel Program start key Program is running appliance is switched on Program is running Off ke...

Page 15: ...d 7 2 Preparation for washing and rinsing The preparatory work described below must be carried out before each operation Open the hood In case of automatic hood opening Open the hood using the hood op...

Page 16: ...strike the items directly and the wash times would have to be unnecessarily prolonged Short wash times with baskets which are not overloaded are much more economical Some fundamental points must be ob...

Page 17: ...imise the need for cleaning care and mainte nance However for a reliable safe and permanent function of the appliance and in the interest of hygiene and cleanliness a correct care and maintenance is n...

Page 18: ...The tank heating element may still be hot after the tank has been emptied There is therefore the danger of burns when the machine is cleaned manually IMPORTANT The machine switch cabinet and other ele...

Page 19: ...ed by unsuitable operat ing staff or if it is not used acc to it s purpose Liability We accept no responsibility for damage of the appliance and other objects caused by op erating faults resp non obse...

Page 20: ...rature falls when the programme begins depending on the washware The time needed to reach the set disinfection parameters could exceed the set pro gramme time IMPORTANT High washing temperatures and l...

Page 21: ...ine The dosing unit is self priming The dosing takes place during each filling cycle The correct dosing results in a smooth even water film In case of overdosing there are bubble and stripe formations...

Page 22: ...icular times check water softener for regeneration This must not carried out during the dishwashing operation Water pre treatment defective or not carried out Different water type depending on the wat...

Page 23: ...enced person Persons Trained operating personnel Trained in house techni cian Trained in house technician or instal lation engineer Activity Installation and assembly Commissioning Operation use Clean...

Page 24: ...econd gives access to the entire range of functions viewing and modification In the short programming instructions accompanying every machine in the series this is described in condensed form For cont...

Page 25: ...2 will be displayed If you enter all the digits correctly you will arrive at the chosen level either service config uration or machine data 15 3 Service level The list of service parameters can be fou...

Page 26: ...he accept key Now the dosage pump will be activated and the remaining running time will be indicated You can leave this level by pressing the 0 key The ventilation will be interrupted off 15 3 3 Venti...

Page 27: ...y to move forwards or the III key to move backwards or the accept key to make a selection You are now at the current level You can leave this level by pressing the 0 key 15 3 5 Viewing modifying param...

Page 28: ...15 3 7 Viewing modifying output status according to code entered Indication this display by pressing the accept key Viewing Now the first output will be shown with status Press the I key to move forwa...

Page 29: ...echnology level By entering code 40000 read only or 40044 read enter the user can access the new 4th parameter level summarizing all the dosing technology parameters P104 P105 P218 P219 P224 P225 P321...

Page 30: ...nerations de pends on the hardness of the water 107 Beep ON OFF Parameters 0 1 1 Switch on off acoustic ready mes sage 108 Mode Clear display Parameters 0 1 Clear display 0 via INFO 420 520 1 display...

Page 31: ...70 2D FV 40 2TL TopClean60 6 FV 130 2 TL FV 250 2 TL DV 270 2 TL 7 DV 80 2 TL DV 200 2 TL 8 DV 120 2 TL DV 125 2 TL DV 200 2 TL PW Attention Only assignment list and machine sequences change no param...

Page 32: ...ump energize as pres sure increasing pump 3 Detergent pump wash pump energize as wash pump 4 Option detergent pump using negative pressure dosing only DV 80 2 and DV 200 2 240 Detergent pump activatio...

Page 33: ...33 44 9625762 Par No Configuration options Use as value range Unit Factory setting Note 348 Desinfection tem perature Parameters 0 900 sec 0 Only with disinfection machine no 5 9 in parameter 201...

Page 34: ...2 0 255 Without function none Ou 1 0 1 Booster Pump No leak water Ou 2 0 1 Swivel wash arm No leak water Ou 3 0 1 Drain pump No leak water Ou 4 0 1 Rinse aid dosage pump No leak water Ou 5 0 1 Deterge...

Page 35: ...451 480 1 21 85 91 120 0 22 85 151 180 0 23 85 211 240 0 24 85 331 360 0 25 85 451 480 0 26 85 91 120 1 27 85 151 180 1 28 85 211 240 1 29 85 331 360 1 30 85 451 480 1 31 80 91 120 0 32 80 151 180 0 3...

Page 36: ...am sequence will begin The information display can also be deleted by pressing the Off key Information indicator extract Info No Description Possible cause 120 Emergency program active Restricted wash...

Page 37: ...dosing unit is not closing Table 2 Information displays 16 2 Error messages and troubleshooting Figure 3 Error messages Error messages will disappear automatically when the fault has been rectified Er...

Page 38: ...contactor defective performance switch loosened No signal from ON OFF circuit boards 210 Temperature sensor short circuit Check sensor cable plug contacts Replace sensor Install sensor correctly 211...

Page 39: ...lysis disruptedTank level analysis disrupted Check tank level Level sensor air catch check hose 307 Tank level sensor defective Connection plug loosened Sensor defective Replace input output circuit b...

Page 40: ...in the possession of the person conducting the maintenance or repair work Failure to observe these precautions can result in severe physical injury or damage to property IMPORTANT Before carrying out...

Page 41: ...e and produces correct spray pattern Check that system is watertight 4 Housing and mounting parts Check housing tank sheet metal cover hood doors and cover ing of machine base for damage and correct o...

Page 42: ...contain substances that are harmful to health and the environment and were required for the function and safety of the old device Please do not dispose of your old device in residual waste Instead co...

Page 43: ...if chemicals or water containing chemicals wash water are swallowed Pos null Demontag e Entsorgung der M aschine 16 mod_1580470326186_6 docx 202288 1 Where appropriate rinse machine components contai...

Page 44: ...Valid from 2004 11 Update 2020 03 MEIKO Maschinenbau GmbH Co KG Englerstra e 3 77652 Offenburg Germany www meiko global com info meiko global com Design and construction subject to change without prio...

Reviews: