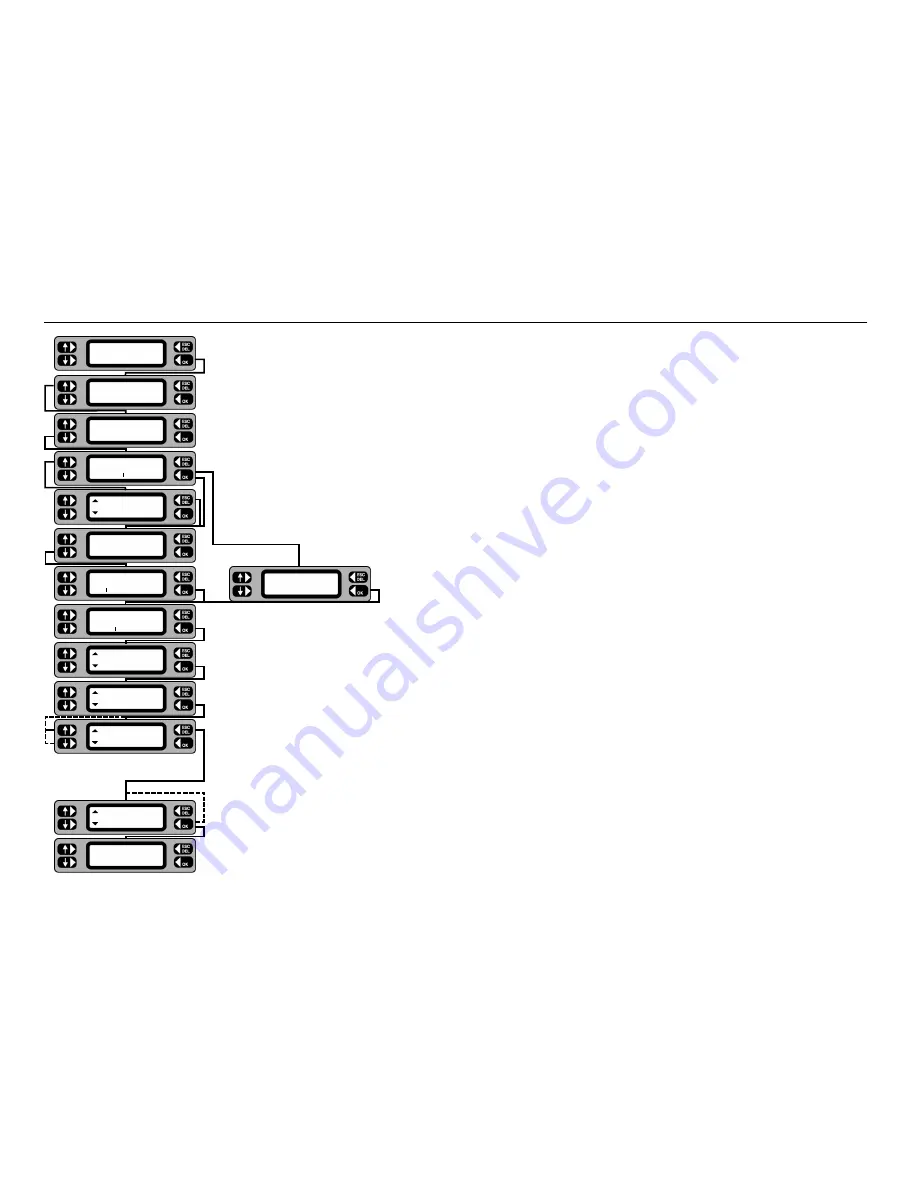
22
1
From the Main screen, press
MENU
.
2
From the Menu screen, press
ASSET
.
3
From the Assets menu, press
GROUPS
.
4
To add, enter the new group code and press
OK
.
To edit or erase, either enter the group code and press
OK
, or press
LIST
and scroll through the
groups. When the required group is displayed, press the
MORE
key, followed by
EDIT
or
ERASE
as required.
If erasing, press
OK
on the confirmation screen to proceed with the erase.
5
Type in/edit the description of the group (10 characters max.) and press the
OK
key.
6
Select 230 Volt or 110 Volt assets by using the up/down Keys. Complete the selection using the
OK
key.
7
Press the up/down keys to change to the required Insulation Class. Continue by pressing the
OK
key.
8
Operate the up/down keys to scroll through the available tests for the group. The
OK
key toggles the test on and
off, a
3
indicating that the test is enabled. Note:- Earth Bond/Continuity tests are available for Class 1 items only.
When all required tests have been included, press the
EXIT
key.
If a Bond test has been selected an additional screen allows selection of the test current.
9
For each test limit, toggle the up/down keys until the required setting is displayed, then press the
OK
key to save
the setting.
10 To save the new group to the memory, press the
YES
key. To cancel press the
NO
key.
Adding, editing or erasing a Group
TESTS QUICK-CHECK
COMMS
MENU
TESTS QUICK-CHECK
COMMS
MENU
TESTS QUICK-CHECK
COMMS
MENU
TESTS QUICK-CHECK
COMMS
MENU
TESTS QUICK-CHECK
COMMS
MENU
Voltage
230V
Group name
DRILLS
Group code
DRL
ERASE Group
EDIT DRL ADD
Group MORE
DRL
LIST
Group
ASSETS
GROUPS
REPORTS
ASSET
SETTINGS
CLIENT
Tests EXIT
Insulation
Insulation Class
Class 2
Insulation limits
>0.5M
Ω
Save group to memory
NO
YES
Add as a new group?
NO
YES
3


