


23
5-4.
Chart program mode
5-4-1.
Chart registration method.
5-4-1.1.
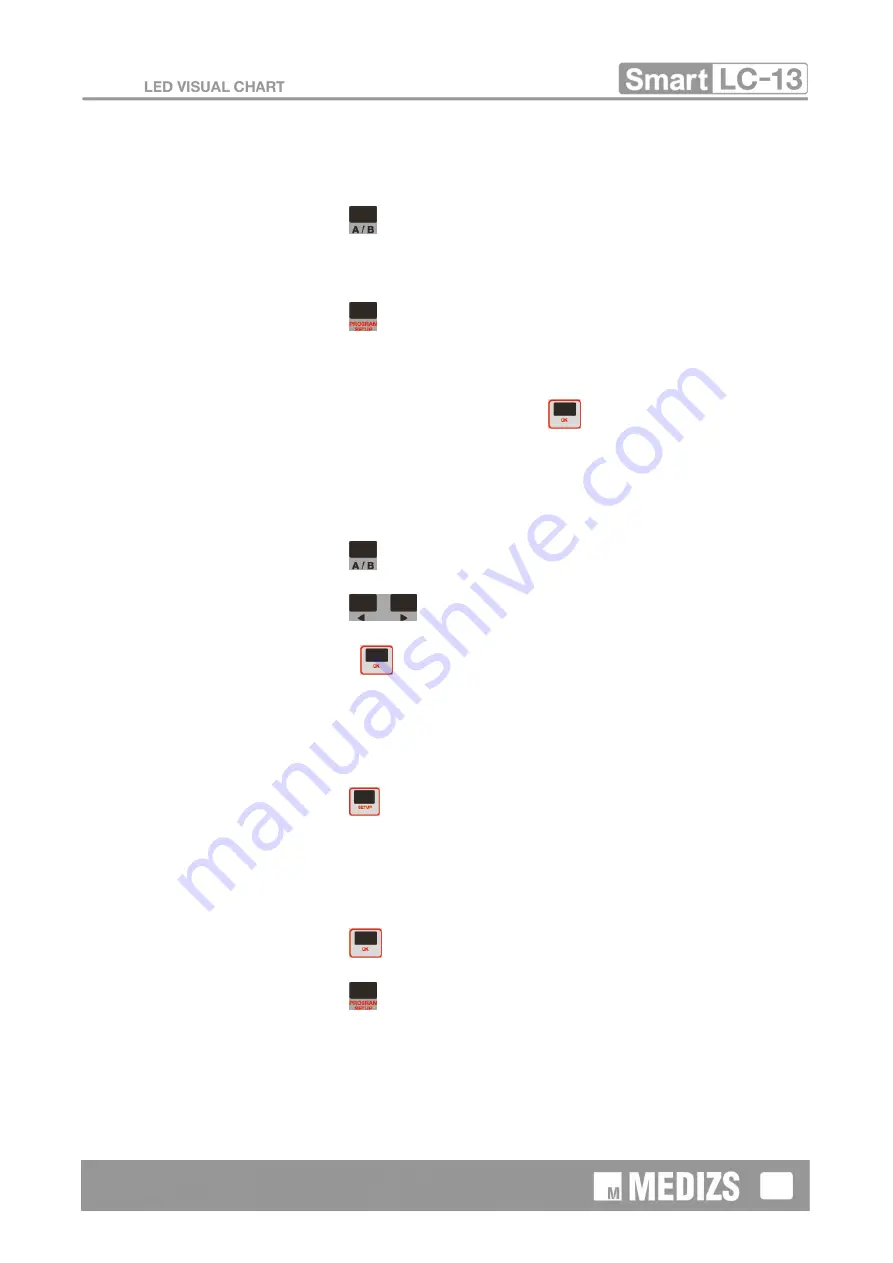
Press the
button, and select mode.(A~E)
5-4-1.2.
Select chart you want.
5-4-1.3.
Press the
button, add the currently chart’s information.
5-4-1.4.
Repeat the above procedure to register the chart’s information.
5-4-1.5.
Registration is complete, next press the
button.
5-4-2.
Show the program mode chart.
5-4-2.1.
Press the
button, and select mode.(A~E)
5-4-2.2.
Press the
, it is show in regular sequence.
5-4-2.3.
If press the
button, this mode is end.
5-4-3.
Preview & Delete charts.
5-4-3.1.
Press the
button.
5-4-3.2.
Go to the Chart Program tab.
5-4-3.3.
You can see the chart list.
5-4-3.4.
Press the
button to enter the mode you want to delete.
5-4-3.5.
Press the
button, popup the delete message.
5-4-3.6.
If select the ‘OK’, it will be deleted and you select the ‘CANCEL’ it will be cancel.
Summary of Contents for Smart LC-13
Page 27: ...27 5 5 10 Red Green Image If you click the button you can choose red green picture...
Page 30: ...30 5 6 4 Setup Set Screen saving time Beep sound and Screen brightness...
Page 31: ...31 6 Chart type Charts applied into LC 13 are as below...
Page 32: ...32...
Page 33: ...33...
Page 34: ...34...


