background image


C

C

O

O

M

M

M

M

A

A

N

N

D

D

S

S


20 

4.


With the buttons [

6

/

7

] select the word [

Music

], if 

you want to delete music files, or select [

Voice

] to 

delete your recorded files. 

5.


Press the menu button [

8

]. 

6.


With the buttons [

6

/

7

] select the file you want to 

delete. 

7.


Press the volume buttons [

11

/

12

] to toggle the 

confirmation from NO to YES and vice versa.  

8.


Press the button [

1

] to delete the file. The display 

will briefly state „

File Deleted

”. 

9.


If you want to delete more files repeat the steps 4 - 8. 

10.


Press the menu button [

8

]. 

11.


To leave the menu, select the word [

Exit

] with the 

buttons [

6

/

7

]. 

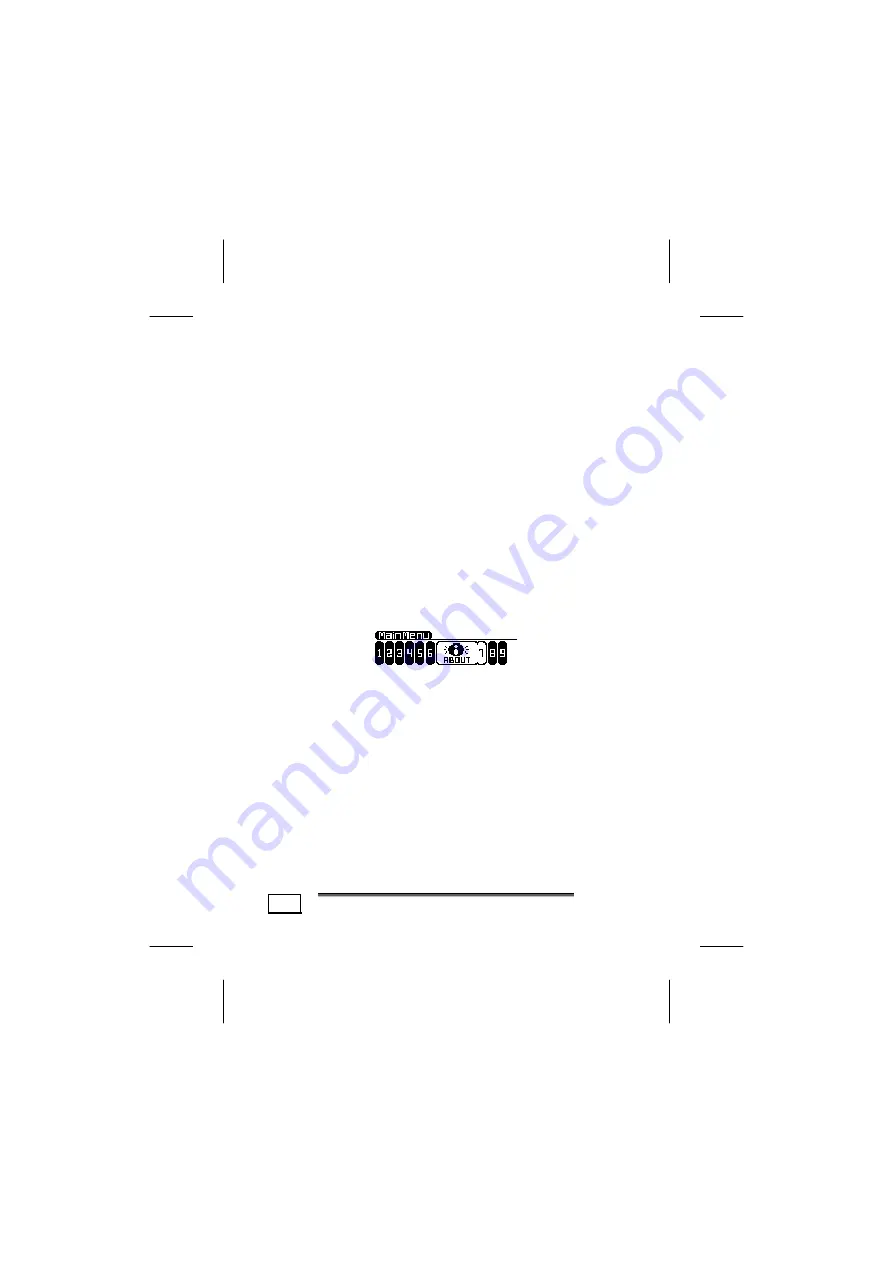
A

BOUT


This sub menu will display the firmware release version 
and the amount of memory installed on the MP3 Player. 

Summary of Contents for MD 80255

Page 1: ...BOX 7 System requirements 7 PRODUCT OVERVIEW 8 LCD Display Information 10 GETTING STARTED 11 Inserting Battery 11 Battery status 11 Resetting the MP3 Player 12 Connecting the Earphones 12 COMMANDS 13 Turning on off the MP3 Player 13 Volume Adjustment 13 Playback Pause Stop 13 Track selection 14 Selection and repetition of track segments 14 Menu Settings 14 Viewing the Menu 14 Menu Hierarchy 15 Hol...

Page 2: ...Removing a Card 22 CONNECTING TO YOUR COMPUTER 23 Connection to the Computer 23 Installation of the Driver 23 PC MP3 Player File Exchange 23 Memory Drive Funtion 24 Firmware Update 24 CUSTOMER SERVICE 25 Solutions for Common problems 25 Is Further Assistance Necessary 26 Warranty 27 Limitation of Warranty 27 Limits of Liability 28 Local Law 28 Making Copies of This Manual 28 ...

Page 3: ...se of any problems address exclusively to your local authorised service centre DATA SECURITY You must guard against the loss of your important data by making backup cop ies You can backup your data onto CDR CDRW floppy disk USB memory drive or other media such as ZIP drives It depends upon how much data you want to backup IF you do this and something happens to the hard drive in your computer you ...

Page 4: ...ut the supervision of an adult children are not able to evaluate any possible and real dangers After transportation of the product wait until there is a suitable environmental temperature before put ting it into operation In case of significant thermal variations or damp it is possible that the forming of condensation can occur which can cause short cir cuits Before transportation replace the cove...

Page 5: ...be maintained or cleaned Be careful that the product does not get dirty Do not use any solvents or spray corrosive cleansers If abso lutely necessary clean the product casing with a damp cloth BATTERY HANDLING Batteries may contain combustible materials Misusing them may cause battery leakage heat explosion or ignition bringing about injury or damage to the product or YOU Please observe strictly t...

Page 6: ...BATTERY with a new battery of the same type INSULATE THE TERMINAL parts with tape or the like when storing or at disposal of the batteries DO NOT throw drained batteries in with the do mestic rubbish Respect the environment and dis pose of them in the specific containers for sepa rate collection If necessary turn to your reseller or to our service centre Thank you LEGAL CAUTION The MP3 Player can ...

Page 7: ...ase note that some WMA encoder programs could use DRM Digital Rights Management software This DRM software is meant to stop unlicensed unauthorised encoding and copying of music files Please use Windows Media Player version 7 0 and up for converting your audio files into WMA files and copy ing these WMA files to your portable devices WMA files that are converted with Windows Media Player ver sion ...

Page 8: ...uld allow to do this You can transfer copy the converted WMA file on to your portable device but in case the license file would not be transferred the portable device would stop the playback of the audio file you would like to lis ten to For further information please refer also do http www microsoft com windows windowsmedia dr m default aspx ...

Page 9: ... Any claim for missing parts will only be accepted within 7 days from date of pur chase Included in your product box is the following MP3 Player USB computer connection cable Stereo Earphones Carry Pouch and Strap Driver CD ROM for Windows 98SE 1 Battery type AAA Warranty card This user manual SYSTEM REQUIREMENTS Connection USB Socket USB 1 1 2 0 CD ROM for installation Operating System Microsoft ...

Page 10: ...P PR RO OD DU UC CT T O OV VE ER RV VI IE EW W 8 P PR RO OD DU UC CT T O OV VE ER RV VI IE EW W Display 1 2 3 4 3 6 7 8 9 5 10 11 13 12 14 ...

Page 11: ... 3 Stereo Earphones Audio Out Stereo 12 4 SD MMC Memory Card Slot 22 5 Backlight key 19 6 Previous Track Fast Rewind 14 7 Next Track Fast Forward 14 8 Menu key 14 9 A B Loop key 14 10 Fastening eye Please attacch the carrying strap here 11 Volume up key 13 12 Volume down key 13 13 Internal speaker 12 14 Battery compartment 11 ...

Page 12: ...D E F G H I J K L Ref Description Page A Battery Status 11 B Mode MP3 Voice 15 C Equalizer 17 D Volume Level 13 E Key Hold 15 F Play Mode 17 G Current Track Position 14 H Operating Status 17 I Current Track Number 14 J Amount of Tracks 14 K A B Loop Status 14 L Track Information 14 ...

Page 13: ... small cover on the back of the MP3 Player Insert the battery observe the polarity Close the bat tery compartment It is recommended to use alkaline batteries NiMH bat teries or batteries of higher capacity are also suitable Please observe the safety advice on batter ies page 3 BATTERY STATUS The battery status is shown on the display A Battery empty Ö Battery Ö Battery in good the device weak cond...

Page 14: ...2 Remove the battery and insert it again 3 Turn on your MP3 Player CONNECTING THE EARPHONES Stereo earphones are included Insert the earphone plug into one of the appropriate sockets 3 of your MP3 Player Either socket can be used Caution Listening to music at a very high vol ume can cause permanent damage to your hear ing Before starting playback adjust the volume to the lowest level then start th...

Page 15: ... seconds VOLUME ADJUSTMENT To adjust the volume press the appropriate buttons 12 Vol 11 Vol The display D will show the recent adjustment PLAYBACK PAUSE STOP After turning on the MP3 Player press briefly the but ton 1 to playback a track To pause the playback press the button 1 again briefly To start the playback again press the button 1 again When the button 1 is pressed for one second the playba...

Page 16: ...iefly the button 9 On the display K A lights up 2 Definition of the segment end Press again the button 9 On the display K A B lights up and the segment so selected is re peated endlessly until you press the button 9 again MENU SETTINGS VIEWING THE MENU To bring up the menu and to be able to modify the mode of operation and the default settings proceed as follows 1 Turn on the MP3 Player 2 Press th...

Page 17: ...et 1 Press the menu button 8 2 Press the button 1 appears on the display E and the device ignores any given command To stop the hold function repeat the steps 1 to 2 PLAYLIST This mode enables the player to playback the music stored on the device 1 Press the menu button 8 2 With the buttons 6 7 select the word Playlist 3 The display will show the actual track With the buttons 6 7 select the desire...

Page 18: ... buttons 6 7 select the word Music 3 Press the menu button 8 to confirm The display H will show MP3 VOICE The voice mode enables the player to playback the re corded audio stored on the device 1 Press the menu button 8 2 With the buttons 6 7 select the word Voice 3 Press the menu button 8 to take this mode over The display H will show a microphone SETTINGS This sub menu has the following options ...

Page 19: ...normal rock jazz classic pop user 7 Press the menu button 8 8 With the buttons 6 7 select the word Exit to go back to the main menu or press the menu but ton 8 for some seconds to leave the main menu 9 The display H will show the selected setting for the equalizer PLAYMODE Normal All the files will be played in the se quence in which they where saved stored the playback stops after the last file R...

Page 20: ...AST This option is to set the contrast of the display POWER SAVING When no track is played and no button is touched the MP3 player will shut down automatically after 1 10 minutes The option disable will turn off this power saving function REC SET It is possible to select the desired resolution of the re cording It is possible to choose between 8000 and 48000 Hz The higher the value is the better t...

Page 21: ...our of the backlight Red Green Yellow Blue Violet Light Blue White or Random EXIT Terminates the settings menu and goes back to the main menu ERASE Use this option to delete files on your MP3 Player without connecting it to a computer To delete a file proceed as follows 1 Press the menu button 8 2 With the buttons 6 7 select the word Erase 3 Press the menu button 8 ...

Page 22: ...e 7 Press the volume buttons 11 12 to toggle the confirmation from NO to YES and vice versa 8 Press the button 1 to delete the file The display will briefly state File Deleted 9 If you want to delete more files repeat the steps 4 8 10 Press the menu button 8 11 To leave the menu select the word Exit with the buttons 6 7 ABOUT This sub menu will display the firmware release version and the amount o...

Page 23: ...t the word Record 3 Press the menu button 8 again to start recording Point the microphone next to the earphone socket at the audio source 4 Press the menu button 8 again to stop the re cording session 5 If you want to perform more recordings repeat step 3 to 4 The recorded files will be saved in the subfolder Voice and named V00x WAV where the x stands for a sequential number ...

Page 24: ...ing system to get more information about for matting and file formats The Memory card will be recognised as an addi tional removable device if the MP3 Player is con nected to your computer Accordingly it will be assigned a new drive letter INSERT A CARD 1 Turn the MP3 Player off 2 Insert the card as shown above until it fits perfectly in the slot 3 Turn the MP3 Player on REMOVING A CARD 1 Turn the...

Page 25: ... DRIVER ONLY Windows 98SE Windows ME 2000 XP does not need any additional driver 1 A request to indicate the driver location will be made to the user Select the folder DRIVER on the CDROM and confirm PC MP3 PLAYER FILE EXCHANGE The new driver enables file movement from PC to MP3 Player it will therefore be possible to copy your favourite tracks onto the MP3 Player or transfer other files to the MP...

Page 26: ...ccount that the MP3 Player only shows files with the extension wav mp3 or wma FIRMWARE UPDATE The CDROM that is supplied with the device contains a program that allows the updating of the operating soft ware firmware of the MP3 Player The updating of the MP3 Player software is not strictly necessary This is a task that you should only perform when you encounter problems and the service centre hotl...

Page 27: ...ed on In Windows Control Panel check if the MP3 Player is installed correctly Try installing the USB controller again Remove any other USB peripherals as a test In the MP3 Player the files are not shown cor rectly The MP3 Player does not display the name of the file but its own coded information with an ID tag This information can be modified with special programs not included The MP3 Player does ...

Page 28: ...ggestions listed above are not enough to re solve the problem then contact us The following in formation will help us to help you resolve your problem Configuration of the computer Any additional peripherals you may have connected Any messages that appear on the MP3 Player dis play Any Windows programs that were being used when the problem arose Solutions you have tried to resolve the problem If y...

Page 29: ...r supported by the supplier or operation outside the manufacturer s specifications Any part of this device repaired or exchanged by a valid service rep resentative will be covered under the original warranty period Back up all programs and data before shipping this device for repair under the warranty agreement Do not leave any media in the disk drives Products shipped without accessories will be ...

Page 30: ...ther rights that vary from jurisdiction to jurisdiction To the extent this war ranty statement is inconsistent with local law certain disclaimers and limitations of this statement may not apply to the customer MAKING COPIES OF THIS MANUAL This manual contains information protected by law All rights are reserved Copyright law prohibits duplicating this information in mechanical electronic or any ot...

Reviews: