4
5
terminals. Always remove weak or dead batteries from the product.
• Remove the batteries if the product will be stored for an extended
period of time. Batteries should only be changed by an adult.
Unscrew the battery cover with a Phillips head screwdriver (not
included) and lift away from the back of the unit. Remove the dead
batteries. Be sure to insert the new batteries correctly according
to the (+) and (–) symbols depicted on the battery compartment.
Replace the battery cover and tighten the screw securely before
further use.
•
WARNING:
Battery acid and leakage can cause personal injury
and cause damage to your MagicPad™ and surrounding objects.
If a battery leaks, thoroughly wash the affected skin and consult a
doctor. Ensure that you keep battery acid away from the eyes, ears,
nose and mouth. Immediately wash any clothing or other surface
that comes into contact with leaked battery acid.
• Leaking batteries may make “fizzing” sounds.
• The battery terminals must never be short-circuited.
Care & cleaning instructions:
• A cleaning cloth is included for touch-ups and cleaning. This can
be used either when dry or damp. We recommend dampening the
cloth for best results.
• Please do not use any additional agitative cleaning agents. These
can damage the surface.
• Your MagicPad™ is not water resistant. Do not immerse it in water.
• After cleaning, allow the screen to completely dry before drawing.
Using your cleaning cloth:
• Bunch up your MagicPad™ cleaning cloth and wipe across the
screen to erase your work.
• Erasing works that have been on the screen for a long time may
require more pressure or dampening the cloth.
• To clean your MagicPad™ cleaning cloth, wash by hand with soap
and warm water. Lay flat to dry.
Installing & replacing batteries:
CAUTION: BATTERIES MUST BE INSTALLED BY AN ADULT ONLY.
REQUIREMENTS: 3 AAA BATTERIES (not Included)
1.
Using a Phillips head screwdriver (not included), loosen the
screw on the battery door and remove from the back of your
MagicPad™ (See Fig. 1).
2.
Insert 3 AAA batteries using the correct polarity (See Fig. 2).
3.
Replace battery cover and tighten the screw.
Ideal for:
• Your shopping list
• Dinner menus
• Weekly calendars
• Light-hearted reminders
• Remembering important activities
• Birthday wish-lists
• Creating countdowns
• Leaving humorous notes and quotes
Illumination modes:
• Turn the MagicPad™ on by pressing the activation button located on
the bottom of the pad (See Fig. 3).
• Each time you press the activation button, you will get a different
glow effect. Follow this by turning your MagicPad™ off.
• When you have finished drawing, turn off by pressing the activation
button (See Fig. 3).
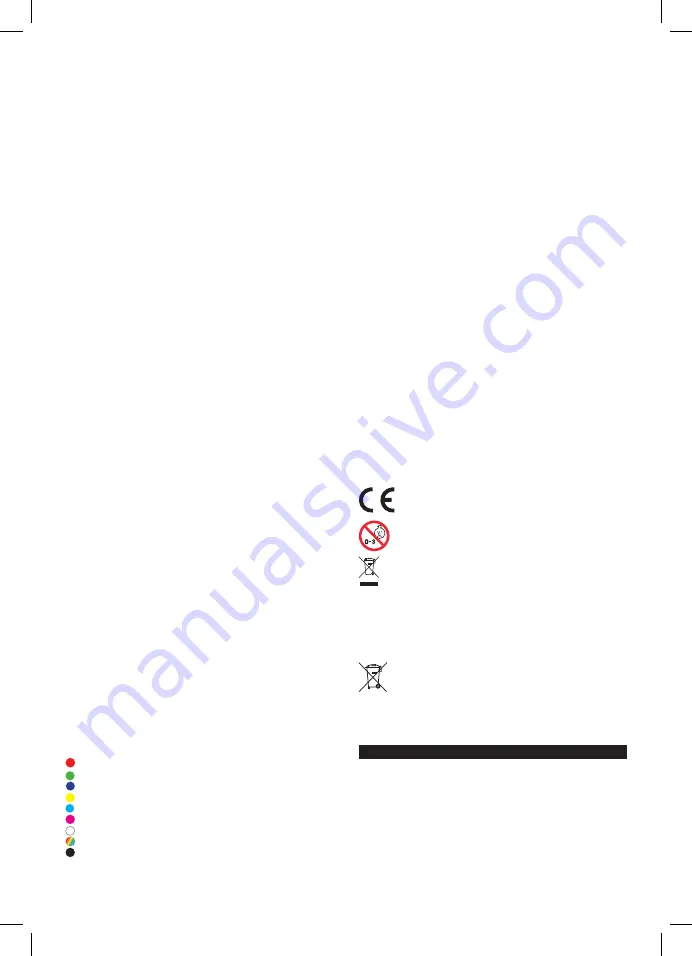
Pressing the activation button:
1x
screen illuminates RED
3x
screen illuminates GREEN
5x
screen illuminates BLUE
7x
screen illuminates YELLOW
9x
screen illuminates AQUA
11x
screen illuminates PINK
13x
screen illuminates WHITE
15x
screen rotates through all colours
Screen will power OFF*
* Your MagicPad™ has an auto-shutdown feature, and will
automatically power off after 20 minutes.
Using stencil sheets:
Select from three types of stencil sheets: You can LEARN, PLAY, or
DRAW.
• Place the selected stencil sheet behind the clear panel insert (see Fig. 4)
with the design side facing outwards.
• Place your MagicPad™ flat on a hard surface.
NOTE:
We do not recommend drawing while the stand is extended.
• Using the MagicPad™ neon pens, trace over the lines of the stencil
sheets on the transparent insert.
• Remove the stencil sheet and turn on the MagicPad™ light feature
by pressing the activation button (See Fig. 3).
NOTE:
We recommend retaining the poly-bag your stencil sheets were
packaged in for storage.
For the best GLOW effect:
• Darken the room.
• Use multiple colours on the drawing board.
• Slide the black glow boost card behind your design to give your art
a brighter glow (See Fig. 5).
Marker storage:
• Place the caps on the neon pens and place them in their storage
areas on the rear side of the MagicPad™ (See Fig. 6).
Display options:
There are multiple ways you can display your MagicPad™ creations,
such as:
1.
Using the suction cups
• Your MagicPad™ can hang on the fridge, your bedroom door, walls
& more!
• Press the suction cups firmly against a hard, smooth surface (non-
porous) of your choice to hang your MagicPad™ (See Fig 7).
2.
Using the stand
Fold out the stand on the rear side of your MagicPad™, then place
your creation on any hard surface (see Fig. 8).
This product complies with the European directives.
CAUTION!
Not suitable for children under 3 years. Small
parts. Choking hazard.
Do not dispose this product at the end of its service life through
normal domestic waste. It has to be disposed through a
collection agency that recycles electric and electronic devices.
This is pointed out by the symbol on the product, in the
instruction manual, and on the packaging. Please inquire about local
collection agencies that may be operated by your distributor or your
municipal administration. By recycling, making use of the materials, or
other forms of recycling old units you are making an important
contribution to protecting our environment.
Batteries are not part of your household waste and must be
taken to an authorized collection point.
MORE PENS CAN BE ORDERED VIA WWW.MEDIASHOP.TV
Made in China
FR
ATTENTION ! NE CONVIENT PAS AUX ENFANTS DE MOINS DE 3
ANS. PIÈCES DE PETITE TAILLE. RISQUE DE SUFFOCATION.
Avertissement relatif aux taches :
Les stylets néon de la tablette MagicPad™ contiennent des colorants
pouvant tacher irrémédiablement les tissus, vêtements et textiles.
Tenez les stylets éloignés des tapisseries, des murs peints ou vierges,
des bois vernis ou non vernis, des surfaces en vinyle et cuir, des
revêtements de sol et autres matériaux non lavables.
M19767_MagicPad_Manual_A5_20190722_BS.indd 4
22.07.19 09:33


