background image

3

EN

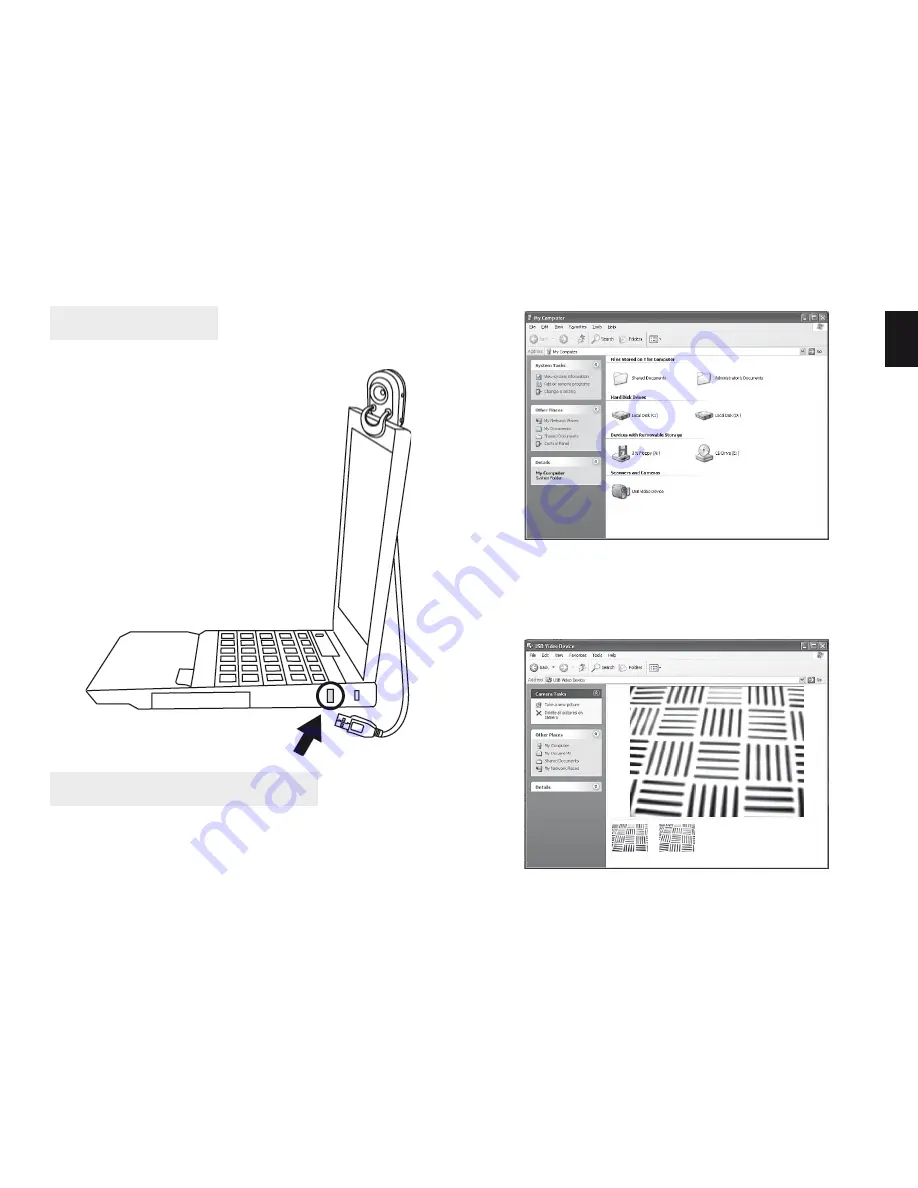
3.  The focus will adjust automatically according to the 

subject moving.

4.  Click “Take a new picture” for snapshot.

Auto Focusing and Snapshot

1. Click “My Computer”
2.  Click “USB Video Device” from Scanners and Cam-

era.

Set up PC camera

You can mount the PC camera on 
your laptop as diagram shows below.

Plug the PC camera into the USB 2.0 
port of PC or laptop properly.

The focus will be adjusted 
automatically according to the 
subject moving.

Summary of Contents for AUTOPIX MT4018

Page 1: ...AUTOPIX User s Guide MT4018 PC Camera for Teleconferencing Video Surveillance...

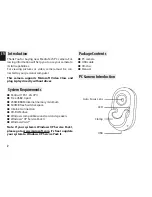
Page 2: ...thout driver Package Contents PC camera USB cable CD disc Manual PC Camera Introduction System Requirements Pentium P4 1 2G CPU Free USB2 0 port 256MB RAM internal memory minimum 500MB free hard disk...

Page 3: ...to Focusing and Snapshot 1 Click My Computer 2 Click USB Video Device from Scanners and Cam era Set up PC camera You can mount the PC camera on your laptop as diagram shows below Plug the PC camera in...

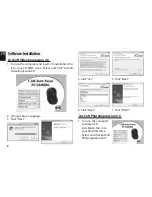
Page 4: ...c into your CD ROM drive Select and click ArcSoft VideoImpression2 0 2 Choose Setup Language 3 Click Next 4 Click Yes 5 Click Next ArcSoft PhotoImpression 5 0 1 Turn on the computer and insert CD inst...

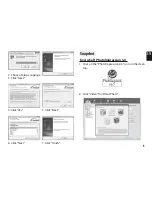
Page 5: ...ose Setup Language 3 Click Next Snapshot by ArcSoft PhotoImpression 5 0 1 Click on the PhotoImpression 2 0 icon on the desk top 4 Click Yes 5 Click Next 6 Click Next 7 Click Finish 2 Click Video from...

Page 6: ...4 Click Capture for capture image and the picture is saved LiveVideo Playing ArcSoft VideoImpression 2 0 1 Click on the VideoImpression 2 0 icon on the desk top 2 Click Create a New Video 3 Click Cap...

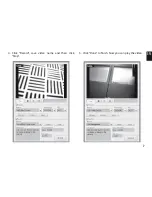
Page 7: ...7 EN 4 Click Record save video name and then click Stop 5 Click Done to nish Now you can play the video...

Page 8: ...e 1280x1024 pixels CMOS F2 8 f 4 02mm auto focus lens Auto Auto 1280x1024 pixels 8 10fps 640x480 pixels 30fps Auto focus 7cm to in nity 50cm to in nity USB2 0 AVI Built in microphone 1 3mega 640x480 3...

Reviews: