9) Press “Menu” button
10) Select the “Add to Video Wall” icon
11) Press “Enter” and confirmation icon will confirm that the folder has been added to the Video Wall.
12) Repeat this process to add more shortcuts to the Video Wall
13) If you are using a NAS device to store your content then you will need to create a Shortcut before
linking the folders to the Video Wall
a Navigate to Media Library and select “My Shortcuts”
b Press the "Menu" button on the remote and select “Add”
e Fill in the "User Name", "Password" and "IP Address" of your NAS
Device and select "ok"
f Now select the shortcut and navigate to the Folder that you want to add
to the Video Wall and follow steps from point 8
14) Go To Mede8er Home Page
15) Select “Video Wall”
16) “Video Wall” page will open
17) A Default Folder icon displaying a folder image will be added to the next
available window
18) Focus on the folder that has just been added
6
19) The Path of the folder will be shown on the top of the page
20) The folder name will be shown at the bottom of the page
21) Press the “Menu” button for options
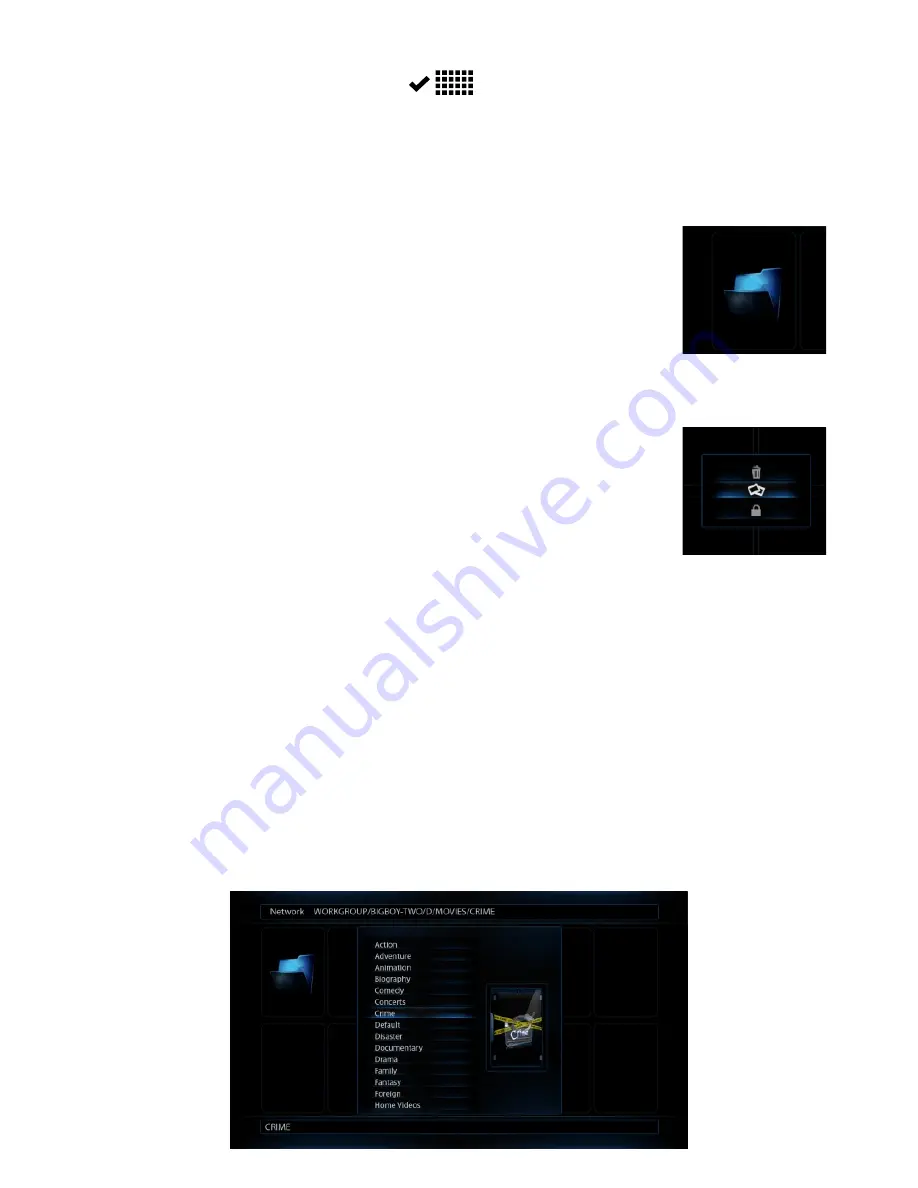
22) You now have the option to Remove, Lock or apply Genre Cover art to the Shortcut.
23) To apply Genre Cover art just select this option and a new screen will open with a drop down list
of available Genre Covers. Choose the Cover and press “Enter” and the cover will be assigned to the
Shortcut on the Video Wall.
24) To apply custom artwork for the Genre covers you must create artwork in PNG/JPG format to
pixel size of 156 x 233 pixels. Create a new folder in the root of your Local Hard Drive or USB Stick
called “videowall” and copy your images to this folder. The Mede8er will now allow you to use your
own custom images for the Genre links on the Video Wall.
Page2


