background image

15

Please note:

In petrol models, only Midgrade Gasoline (Premium Unleaded) and Normal Gasoline (Standard Unleaded) 
fuel prices are available in the UK. If neither of these are selected, no fuel prices will be shown.

ACTIVATING LIVE WEATHER UPDATES

1.   Select 

Navigation

 from the Home screen or push the 

NAV

 button

2.  Open the bottom menu and select 

Settings

3.  Select 

Connected Settings

4.  Ensure 

Auto Download Weather

 is selected.

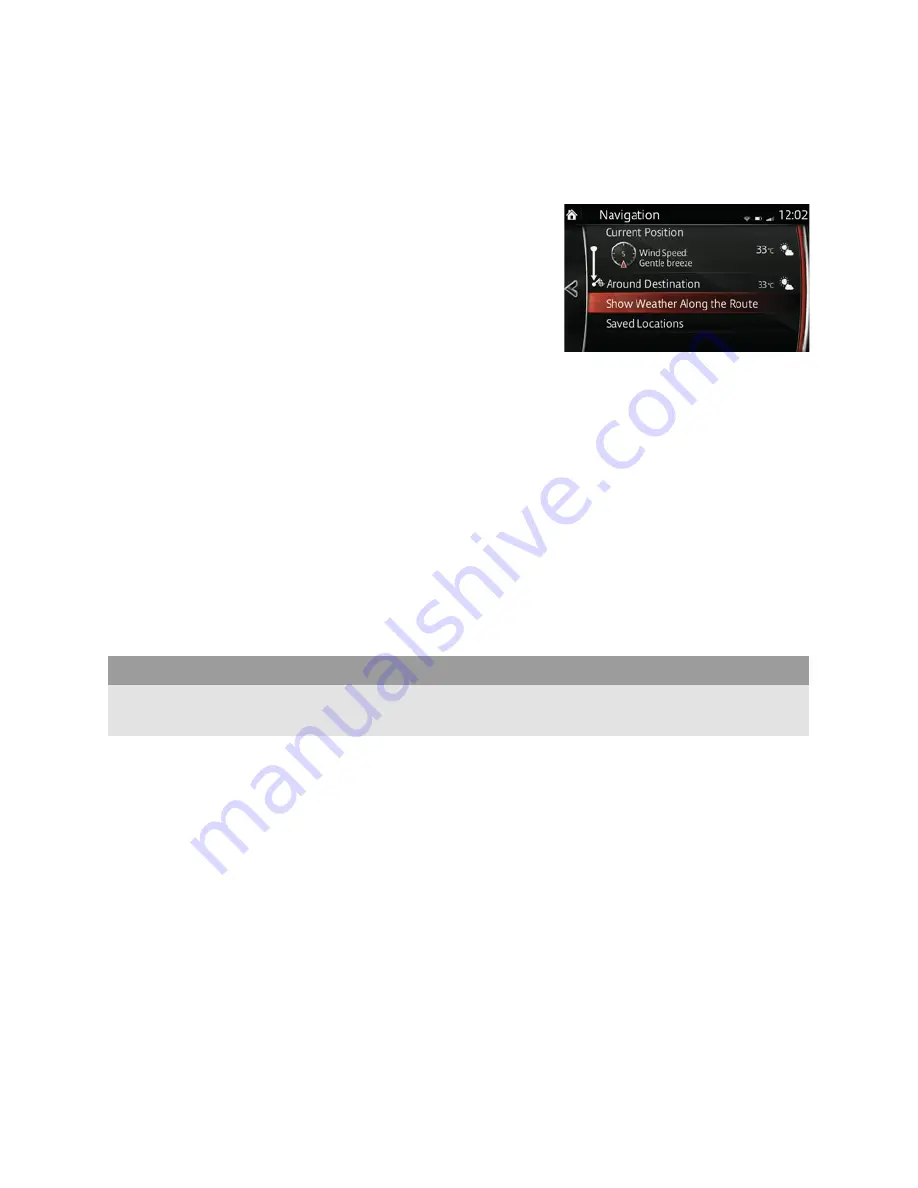
Live weather will now be visible when setting a route or by accessing the Weather option within 
the navigation information menu by pressing the 

i

 button on the navigation bottom menu and 

selecting 

Weather

. You will then have the option to search for weather along your route, at your 

destination or in a specific town.

ACTIVATING LIVE FUEL PRICES

1.  Select 

Navigation

 from the Home screen or push the 

NAV

 button

2.  Open the bottom menu and select 

Settings

3.  Select 

Connected Settings

4.  In the 

Download Fuel Types

 section select up to two fuel types.

Fuel prices will now be accessible within the navigation information menu by pressing the 

i

 button 

on the navigation bottom menu and then selecting 

Fuel Prices

. You will then have the option to 

search along your route, around your destination or in a specific town.

PURCHASING A CONNECTED SERVICES SUBSCRIPTION

After the 60-day free trial has ended, a subscription will be required to continue using Connected 
Services:

1.    Ensure you have registered at 

mazda.co.uk/mzd-connect/navigation

 and downloaded the 

Mazda Toolbox

 application as per the instructions on page 8 of this guide

2.   With the 

Mazda Toolbox

 application running, insert your SD card into your computer’s SD card 

slot or SD card reader

3.    Click 

Shop

 on the left-hand menu

4.   Connected Services subscription options will be shown. Select the desired subscription by 

clicking the respective icon and then 

Add to cart

5.   Click 

Go to Checkout

 to confirm, then 

Checkout

 and then 

Verify Your Order

 to enter or 

confirm your billing address

6.   Click 

Payment

 to select your payment method and enter your payment details

7.    Once payment has been made, your subscription is added to your SD card and you should see 

a screen stating “

Your device is up to date

”. You can then remove the SD card from your 

computer and install back into the car.

To view your purchase, click 

Home

 on the left-hand menu and then 

Transaction History

Summary of Contents for MZD-CONNECT

Page 1: ...1 CONNECTIVITY QUICK START GUIDE MZD CONNECT...

Page 2: ...garding device compatibility CONTROLLING THE SYSTEM There are three ways to control the system 1 Using the 7 colour touch screen 2 Using the Multimedia Commander 3 Using the steering wheel mounted con...

Page 3: ...say Tutorial or Help for more information The system responds to a large number of commands that perform simple operations such as calling a contact in your phone book For example Call Matt at home wo...

Page 4: ...vigation menu where navigation is not fitted a GPS location screen will be displayed Volume turn to adjust volume Push down to mute audio Favourites access your stored favourites 50 radio stations acr...

Page 5: ...s the Communication menu or you could access one of your favourite contacts from the Favourites menu see next page 2 To make a call via the Communication menu select Contacts and scroll to the desired...

Page 6: ...ites button on the Multimedia Commander 3 Select Communication Favourites by moving the commander to the right or if using the touch screen by selecting the Communication button within the favourites...

Page 7: ...rtainment from the Home screen 3 Press the Entertainment button on screen to access the source menu 4 Select Stitcher 5 Stitcher menu screen will be shown select one of your playlists If another audio...

Page 8: ...t navigation and login to the site using your chosen username and password by clicking Login at the top of the page 5 Select the MZD Connect system by clicking Choose 6 Click Download Toolbox to the l...

Page 9: ...he car UPDATING YOUR MAPS INSTALLING THE SD CARD INTO THE CAR 1 Ensure the car s ignition is OFF 2 Lift the flap covering the SD card slot 3 Gently push the SD card in and when it clicks and remains i...

Page 10: ...l an existing way point or route Places Nearby To find places nearby Route Options To display the route details and full length of route Edit or cancel pick alternatives or avoid parts of the route Vi...

Page 11: ...Route selected by default Shortest Route Most Economical Route Easiest Route Once a choice of route has been made press back to view the route screen and press Start to begin navigation SETTING UP YOU...

Page 12: ...time 1 Push the NAV button on the commander or touch screen 2 Open the bottom menu and select Information by pressing the i button on the bottom menu 3 Select Traffic 4 Select Historical Speed Overvie...

Page 13: ...ilable Wi Fi hotspot CONNECTING THE CAR TO A WI FI HOTSPOT 1 Select Settings from the Home screen 2 Select Devices from the top menu 3 Select Network Management 4 Ensure Wi Fi connectivity is turned o...

Page 14: ...o a destination You can also view current traffic conditions by pressing the i button on the navigation bottom menu and selecting Traffic Select Current Traffic Overview to view the traffic conditions...

Page 15: ...on the navigation bottom menu and then selecting Fuel Prices You will then have the option to search along your route around your destination or in a specific town PURCHASING A CONNECTED SERVICES SUBS...

Page 16: ...menu see above select Navigation and tick the box to display turn by turn navigation instructions This will then show the next turn and distance on the head up display whenever a route is set 2 To de...

Reviews: