INSTALLATION
4 – 19
4
Mounting Drive in System
Turn the computer OFF, disconnect the power cord and remove the cover. Refer to the computer user’s
manual for information on removing the cover.
Each system manufacturer uses different types of cases, including desktop, mini-tower, full tower and other
special configurations. As a result, there are many different possible mounting locations that could be used.
In a typical system case, there are specific 3.5 inch and 5.25 inch bays available for storage devices. When a 3.5
inch mounting bay is available, mounting brackets and rails are not required. If a 5.25 inch mounting bay is
used, mounting brackets (and possibly rails) will be required to mount the Maxtor hard drive in the system
case. Refer to the system manufacturers user’s manual or contact the system manufacturer directly for additional
information.
NOTE:
Some computer manufacturers have system cases that require custom mounting brackets and/or rails to
physically mount a hard drive. If the ANSI-standard brackets and rails provided in the Maxtor Hard Drive Kit
cannot be used in your system case, you will need to obtain custom brackets and rails from your system
manufacturer.
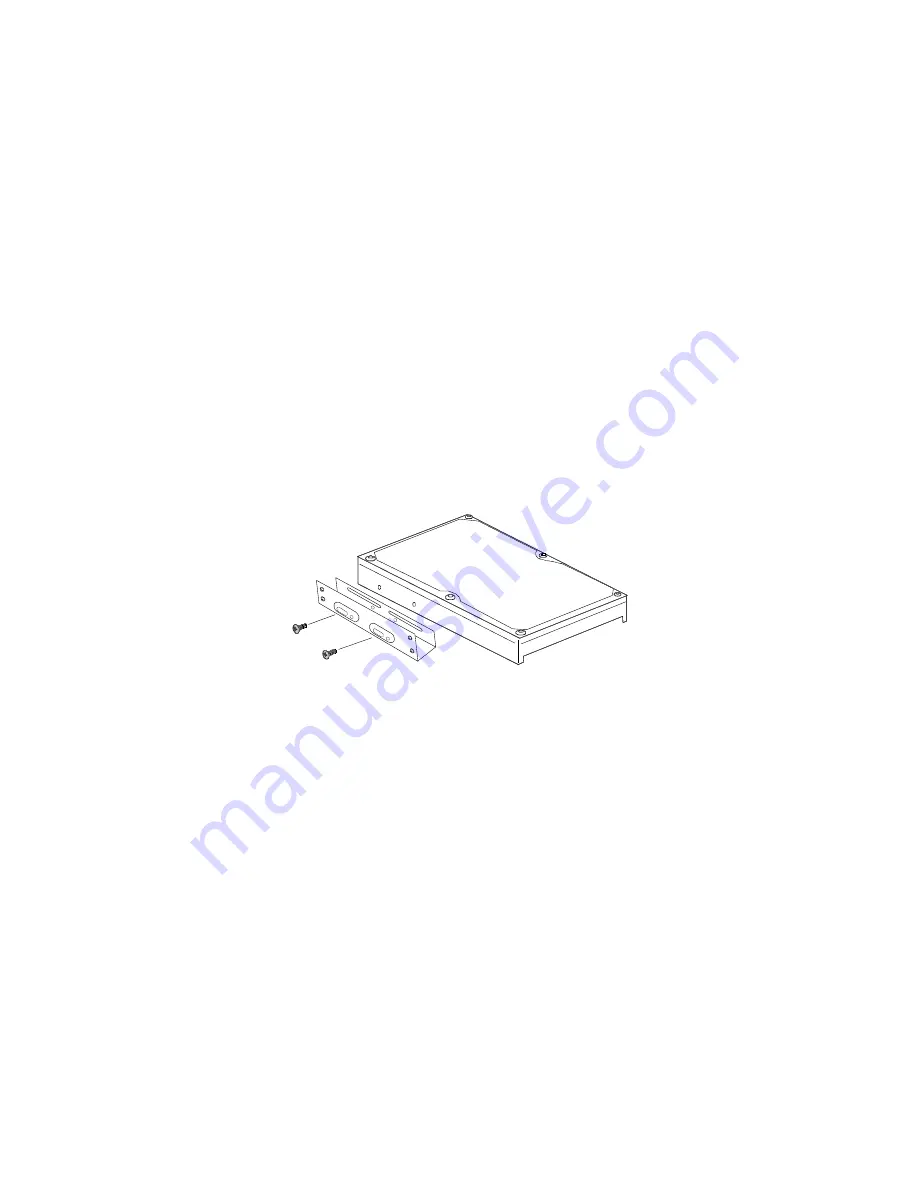
Installing 5.25-inch Mounting Brackets and Rails
If the Maxtor hard drive is being mounted in a 5.25 inch drive bay, the following figure shows how to attach
the brackets and/or rails to the drive. If the drive is being installed in a 3.5 inch bay which requires the use of
rails, they may be installed directly on the drive without brackets.
Installing in Drive Bay
After the hard drive is prepared with mounting brackets/rails, if required, and the jumpers are set correctly,
the drive can be mounted in a drive bay and secured. Note: The computer system the Maxtor hard drive is
being installed in may use standard or a unique mounting and placement method. Refer to the computer
user’s manual or contact the system manufacturer for detailed mounting instructions for that specific system.


