background image

33

34

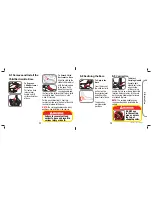
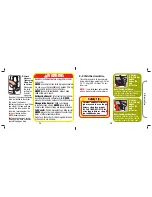
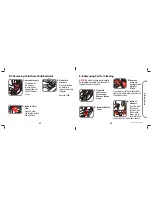
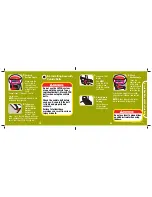
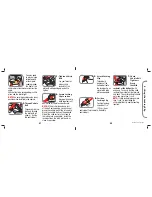
Locking 

Latch 

Plate

Sliding 

Latch 

Plate

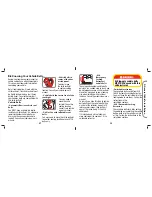
Vehicle Latch Plates

• Check the Latch Plates on Your 
Lap and Shoulder Belt

Grasp the 
tongue 
portion of the 
latch plate 
(the part that 
goes inside 
the buckle) 
and pull 
straight out, 
inline with 

the vehicle lap belt.  If the latch plate 
does not slide up and down the vehicle 
belt, you have a locking latch plate.  You 
should not need to use a locking clip. 
Consult your vehicle owner’s manual.

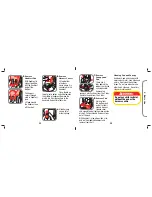
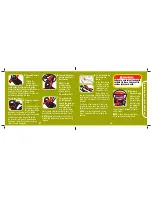
If the latch plate slides up and down on 
the vehicle belt, and you have an ELR 
retractor, you 

MUST

 use the base or use 

D. General Vehicle Installation

a locking clip to install the child restraint.  
You may not need to use the base or 
a locking clip with a switchable or ALR 
retractor. Consult your vehicle owner’s 
manual.

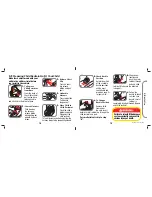
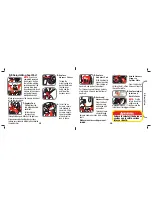
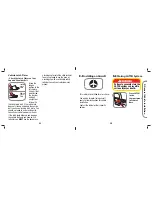
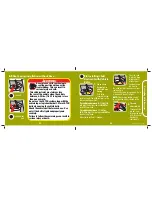
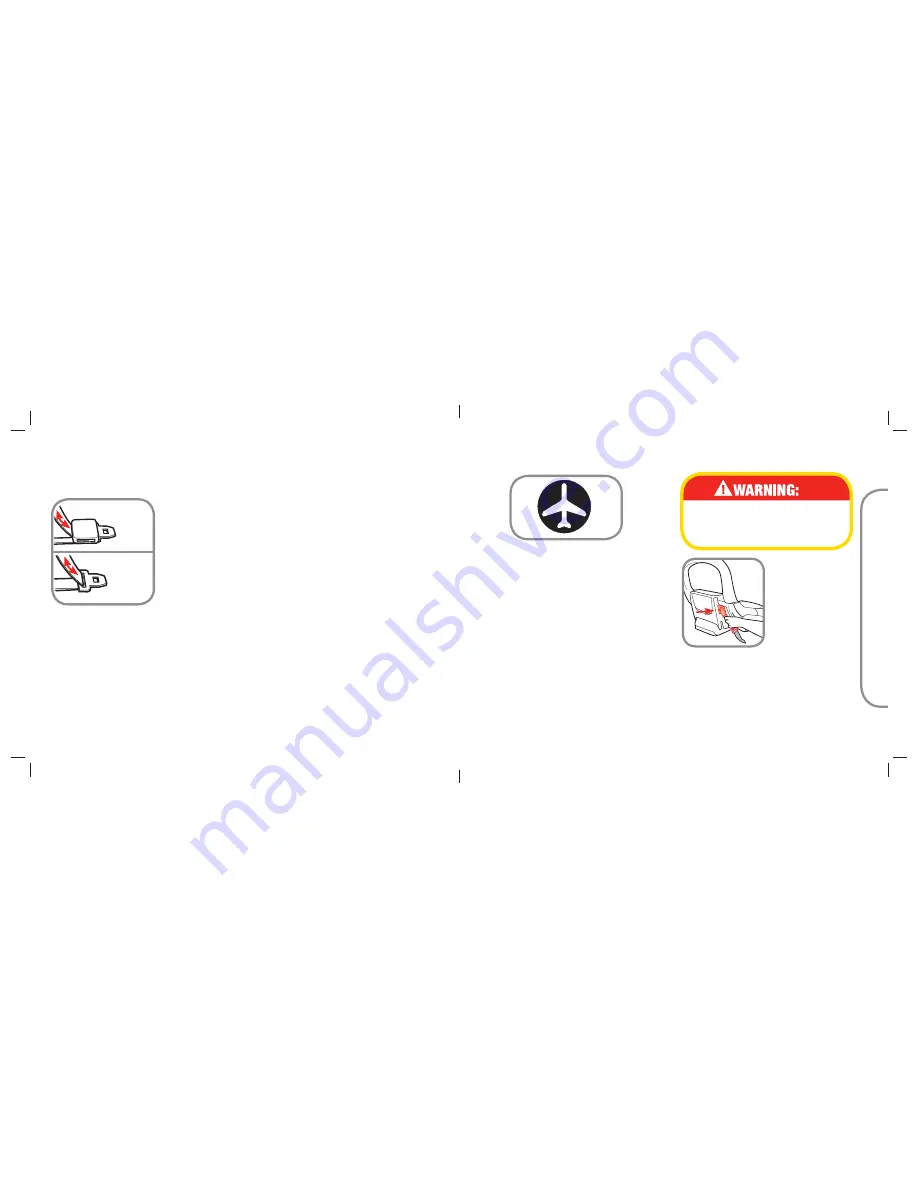
This restraint is certified for aircraft use. 

Use only on forward-facing aircraft 
seats. Follow instructions for vehicle 
installation.

Contact the airline for their specific 
policies. 

 D-5 

Installing on Aircraft

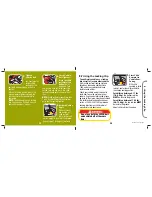
 D-6 

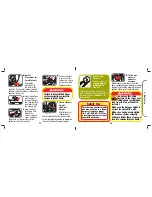
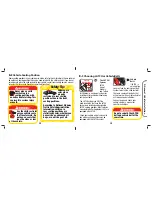
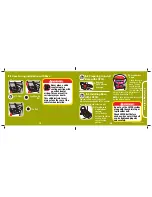
Storing LATCH System

Failure to securely store the 
LATCH system can result in 
serious injury or death.

Store LATCH 
in the 
Compartment 
in Front of 
Base

Summary of Contents for Prezi

Page 1: ...rezi Infant Car Seat KEEP INSTRUCTIONS FOR FUTURE USE Read all instructions before using this child restraint Failure to follow the warnings on the labels and in the instruction manual can result in s...

Page 2: ...g Your Vehicle Belts D 5 Installing on Aircraft D 6 Storing LATCH System 1 B Safety Information Pages 9 10 B 1 Vehicle Seating Position B 2 Installation in Vehicle B 3 Child Restraint Use A Before You...

Page 3: ...k of the plastic shell there is an expiration date for use of this child restraint Do not use this child restraint after the expiration date A 1 Thank You Para recibir las instrucciones en espa ol lla...

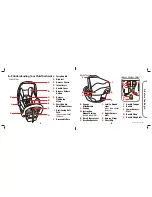
Page 4: ...en used without the base J Removable Base A B C D E F G H I J Back View K L N M P O K Canopy Attachments L Canopy M Instruction Manual Storage behind rubber trim N Base Release Lever O Base Recline Le...

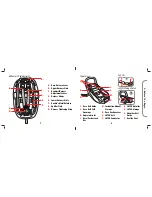
Page 5: ...Slots F Buckle s Metal Retainer G Splitter Plate H Harness Tightening Strap Top of Base I J K L M O N I Base Belt Guide J Base Belt Path Openings K Angle Indicator L Base Carrier Lock Bar M Instructio...

Page 6: ...an unsecured child restraint could injure occupants Do not use a child restraint that has been in a crash You must get a new child restraint B 3 Child Restraint Use This child restraint must only be u...

Page 7: ...e Rotate up or down to desired location Release levers Make sure both carrying handle adjuster levers are locked in place NOTE The carrying handle can be in any position when installed in the vehicle...

Page 8: ...nches 74 cm tall or less NOTE If your child does not meet this criteria do not use this child restraint 4 30 lbs 1 8 13 6 kg and 29 inches 74 cm tall or less Rear Facing with base Child and child rest...

Page 9: ...est clip release button and pull apart 3 C Basic Use Unbuckle Harness Press red button Pull buckle tongues out 4 Place Child in Child Restraint Place the child s bottom and back flat against the child...

Page 10: ...adrest Height With child in the child restraint check the location of the harness slots Follow the guidelines below to determine the correct harness headrest height 7 To Change Harness Headrest Locati...

Page 11: ...uckle tongue into buckle until you hear a click Remember to always pull up on harness straps to make sure buckle is locked 19 20 C 6 Securing Child in Child Restraint Position Harness Straps Over the...

Page 12: ...ess From the front of the child restraint pull the harness straps out of the slots in the shell and out of the harness covers Remove Harness Straps from Splitter Plate From the back of the child restr...

Page 13: ...position pull the headrest pad off the bottom Pull harness covers through slots in headrest pad Lift pad around the headrest and off the shell Cleaning Pad and Canopy Hand wash pad and canopy with wa...

Page 14: ...covers harness slots and the shell Make sure harness straps are not twisted 4 a 2 1 Attach Harness Straps to Splitter Plate From the back of child restraint attach harness straps to the splitter plate...

Page 15: ...ight VehicleSeat Belts Consult your vehicle owner s manual for vehicle belt use Safety Tip To avoid your child being seriously burned take the following precautions 1 Park in the shade or where sun do...

Page 16: ...dren in rear seating positions are statistically safer whether you have air bags advanced air bags or no air bags at all The LATCH System LATCH Lower Anchors and Tethers for CHildren is a universal sy...

Page 17: ...need to move the child restraint to another seating location or use LATCH belts only ELR Emergency Locking Retractor vehicle belts These lap and shoulder vehicle belts only lock in a sudden stop or cr...

Page 18: ...s up and down on the vehicle belt and you have an ELR retractor you MUST use the base or use D General Vehicle Installation a locking clip to install the child restraint You may not need to use the ba...

Page 19: ...ts Place Base in Vehicle Rear Facing Center the base between the vehicle anchors in the chosen seating position 1 continued on next page Do not use the LATCH system along with the vehicle lap or lap s...

Page 20: ...1 inch NOTE If base moves more than 1 inch try reinstalling the base or try another seating location 5 E Installing Base with LATCH continued on next page 6 ToAttachChild Restraintto Base Align the s...

Page 21: ...injury or death E Installing Base with Vehicle Belts Place ball in the zone of your infant s weight 11 30 lbs 4 9 14 kg 4 11 lbs 1 8 4 9 kg Place ball in the zone of your infant s weight 11 30 lbs 4...

Page 22: ...e than 1 inch NOTE If base moves more than 1 inch try reinstalling the base or try another seating location E Installing Base with Vehicle Belts 7 8 To Attach Child Restraint to Base Align the slots o...

Page 23: ...resraint center the child restraint in the chosen seating position For children between 4 11 lbs 1 8 4 9 kg the bottom red line MUST be level to the ground For children between 11 30 lbs 4 9 13 6 kg...

Page 24: ...cturer are okay to use E 7 Using the Locking Clip Do not use both the LATCH belt and vehicle belt at the same time Recheck Recline Angle Make sure level line on side of child restraint that matches yo...

Page 25: ...plate end as close as possible 4 Attach Locking Clip Thread both portions of the vehicle belt onto the locking clip as close to the latch plate as possible 5 E Using the Locking Clip Thread Vehicle Be...

Page 26: ...r Card All outside of U S and Canada MUST use credit card Replacement Parts Order Form Ship To Please Print _______________ Name ___________________________ Address _________________________ City ____...

Page 27: ...ia Indiana Missouri South Carolina and Texas residents add applicable sales tax Grand Total _______ No shipping and handling on instructions for quantities under 6 Add 50 for each instruction over 6 t...

Page 28: ...and remedies as set forth are exclusive and in lieu of all others oral or written expressed or implied In no event will DJG or the dealer selling this product be liable to you for any damages includin...

Reviews: