background image

9

ENGLISH

 Warning

■  To prevent the lens from falling off, after attaching the lens, check that it 

is securely mounted and that the lens does not move. If the projector falls 

or topples over, it could result in injury or damage to the projector and the 

surrounding things.

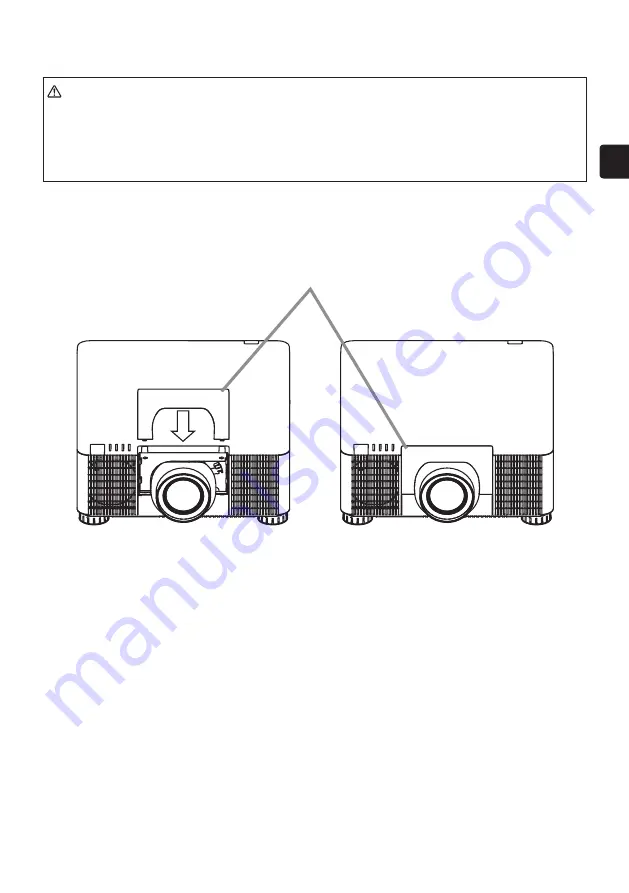
3.  Attaching the front cover 

Insert the front cover into the projector body.

Lens Installation Procedure (continued)

Front cover 

(upper part)

Summary of Contents for LL-905

Page 1: ...n This symbol indicates that there is a possibility of physical injury or damage to equipment if the operation is not followed correctly These symbols indicate the types of precautions that must follo...

Page 2: ...ause some distortion of the image on the screen depending on the zoom position Distortion may appear on screen if the keystone correction trapezoidal distortion correction is overly adjusted Keystone...

Page 3: ...Do not stare at operating lamp May be harmful to the eyes GROUPE DE RISQUE 2 ATTENTION Rayonnements optiques potentiellement dangereux mis par ce produit Ne regardez pas la lampe en fonctionnement Peu...

Page 4: ...When attaching take care so that dust does not enter inside or stick to the connector Continued use with dust inside may result in fire or electric shock If the projector is mounted on a ceiling ask t...

Page 5: ...lens UL 906 Lens caps front and rear Optional Lens User s Manual Specifications Model USL 901A SL 902 SD 903 Zoom Focus Motorized Lens shift position Vertical 50 22 60 22 Horizontal 10 10 F number 1...

Page 6: ...further details refer to your projector s User s Manual or to our website Installing and removing the lens When replacing or removing the lens move the lens shift position back to the center in advanc...

Page 7: ...7 ENGLISH 2 Install the lens 1 Remove the lens cap Then turn the lens groove upward and install the lens into the projector Lens Installation Procedure continued Lens cap rear Lens cap front groove...

Page 8: ...n attaching the lens as this may lead to malfunction Do not touch the connector of the lens or subject it to impact as this may lead to malfunction 2 Install the lens continued 2 Support the lens and...

Page 9: ...urely mounted and that the lens does not move If the projector falls or topples over it could result in injury or damage to the projector and the surrounding things 3 Attaching the front cover Insert...

Page 10: ...t cover from the projector Lens Removal Procedure 1 Return the lens shift to the center position 1 Press the LENS SHIFT button The LENS SHIFT dialog will appear 2 Select CENTERING on OSD and press the...

Page 11: ...n and remove the lens from the projector You can move the lever while the upper plate touches lower one Caution Avoid hitting the surface of the lens on the projector when removing the lens as this ma...

Page 12: ...Removal Procedure continued 5 Attaching the mount cap and the front cover Insert the mount cap and the front cover into the projector body Note Insert the mount cap to prevent any substance getting in...

Page 13: ...to use Focus Adjustment 1 Focus adjustment of the image at the center Use the remote control or the control panel of the projector to adjust the focus of the center 2 Focus adjustment of the image at...

Reviews: