background image


Setup


Operation:


3. Slide Show Interval


Change the speed of the slideshow. 

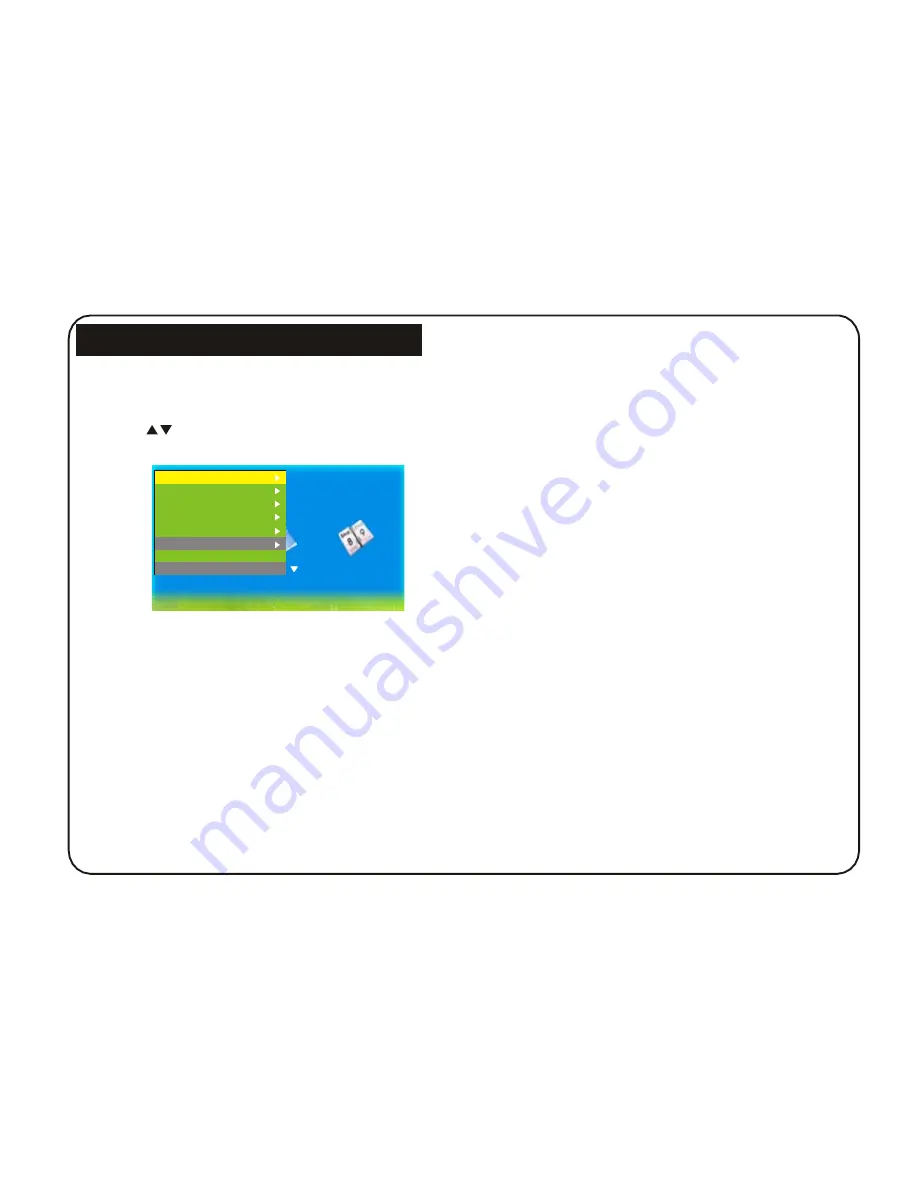
In any menu, press SETUP key to go into the SETUP 
interface (

Fig 6

). 

From 1 seconds to 3 hours. 

Press 

key to choose the selection item. 

Do this by  pressing   

ST

 button. 

Use the ENTER button to change the setting. 

4. Split Slide Show


Allows user to change the four screen display from 
On to Off. 

Image Size


Slide Show Effect 

Slide Show Interval 

Split Slide Show 

Music Play Mode


5. Music Play Mode


To set the music play repeat mode. There are 4 
options: Single Repeat, Circular, No Repeat and 
Single. 

Music AS Alarm


6. Music AS Alarm


Start Slide Show


Calendar


Rotate


Allow the alarm to be set up as the music selected. 


(Only can run when the music is playing) 


7. Start Slide Show


Start slide  show. 

Fig 6


8. Rotate


Rotate Photos 90 degrees Clockwise. 

1. Image Size


(Effective when preview pictures on full screen) 

Allows how the images are displayed on the photo 
frame. Choose  between: Auto  Fit, Optimal 

9. Zoom


To  zoom  in  and  out  on   files. 

or Full. 

(Effective when preview pictures on full screen) 


10. Save Picture


2. Slide Show Effect


To copy


pictures from memory cards into 

Set different effects   to the image slideshow. There 
are 8 options :Random, Split Horizontal in, Split 
Horizontal out, Jalousie, Split Vertical in, Split 
Vertical out, Radiation, Surround. 

the built-in flash. 

(Effective when preview pictures on full screen) 

11. Delete File


Allow user to delete pictures from the built-in flash. 


(Effective when preview pictures on full screen) 

Summary of Contents for DPF101

Page 1: ...Digital Photo Frame USER MANUAL MultiMediaCard JPEG PLAYER...

Page 2: ...rtant Safety Precautions 3 Remote Controller Function Buttons 4 Installing and replacing the Remote Control Battery 5 Player Overview 6 Play Photo File 7 Play Video File 7 Play Music File 8 Play Photo...

Page 3: ...e the Multimedia Digital Photo Frame if conditions could allow condensation to occur or damage may result Cleaning the LCD Screen Treat the screen gently The screen on the multimedia Digital Photo Fra...

Page 4: ...from being walked on or pinch particularly at plugs convenience receptacles and the point where they exit from the apparatus Only use attachments accessories specified by the manufacturer Unplug this...

Page 5: ...BUTTON Down cursor selection 7 VOL BUTTON Used to adjust the volume 8 ZOOM BUTTON Used to zoom into the image Used to select multiple files in photo menu 9 ROTATE BUTTON Picture rotate 90 clockwise 10...

Page 6: ...arity 1 Do not leave dead batteries in the remote control 2 If you do not use the remote controlfor a long period of time remove the battery Note 1 Point the remote control directly at the digital fra...

Page 7: ...ntothe DPF 9 ON OFF Used to power onand off theDigital Photo Frame 12 1 ENTER BUTTON Used to confirm options and 10 SD MMC MS CARD The socket for DPFplayer to Pause or Play connect the SD MMC or MS me...

Page 8: ...o or music DPF screen will display as Fig 1 Fig 3 Pictures will be played automatically when you plug the memory cards or the USB Drive Press MENU key to return to Photo menu Fig 2 Enter picture playi...

Page 9: ...USB Drive automatically when you plug the memory cards or the USB Drive Press MENU key toreturn to Select Mode Press MENU key to return to Photo menu Enter the music playing mode by selecting Music i...

Page 10: ...o be set up as the music selected Only can run when the music is playing 7 Start Slide Show Start slide show Fig 6 8 Rotate Rotate Photos 90 degrees Clockwise 1 Image Size Effective when preview pictu...

Page 11: ...st To change the contrast of the LCD screen 17 Color To change the color of the LCD screen Fig 7 18 Tint Allow user to setup date and time of the system Fig 7 To change the tint of the LCD screen Oper...

Page 12: ...format is supported by the player The color is light or no color Display too bright or too dark Please adjust the color setup Please adjust the brightness or contrast in the setup menu The picture ca...

Page 13: ...t100 240V Output 5V 2A Built in Memory 16MB NOR Flash not full capacity can be used forphoto storage subject tothe sharing of internal software Environmental operating ranges Operating Temperature 0 5...

Reviews: