


Full Color Card Printer
68
Filter Cleaning
If the filter becomes clogged, then dirt may enter the printer. It is recommended that the filter be
cleaned monthly.
Be sure to turn off the printer before cleaning the rollers.
Read the cautions in "Before Cleaning" on page 56.
1
Turn off the power.
2
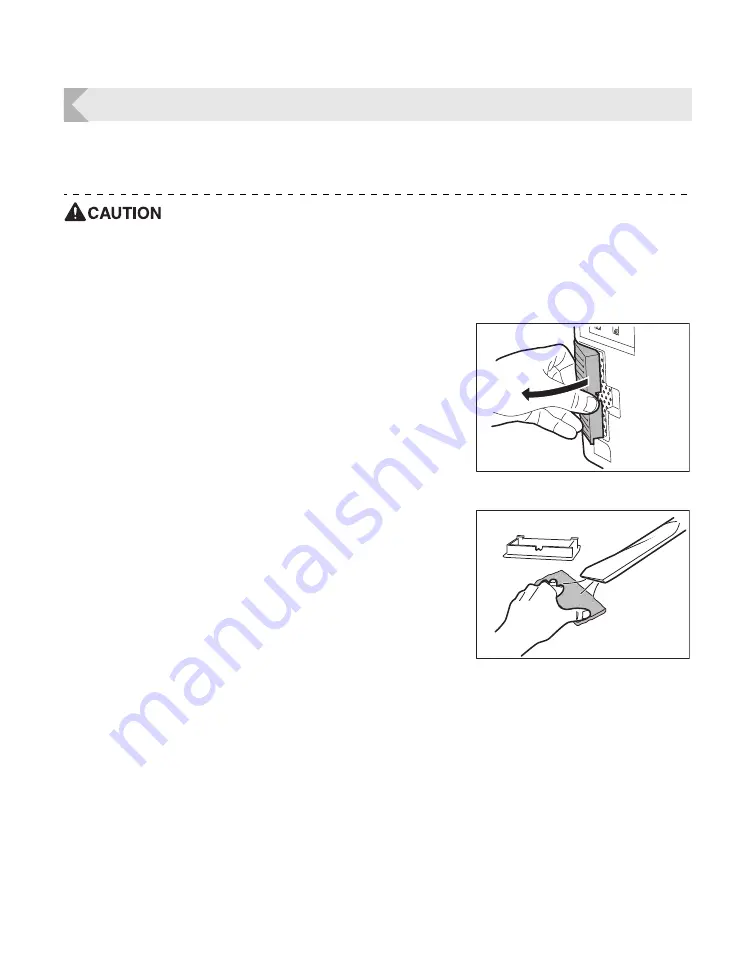
Remove the filter cover on the rear of
the printer.
• Hold the handle with your fingers, and pull.
3
Use a vacuum cleaner or similar to
remove dirt that is adhered to the filter.
• Remove the filter from the filter cover.
• Hold the filter down with your fingers in order that it is
not sucked into the vacuum cleaner.
4
Attach the filter cover to the printer.
• Attach the filter to the filter cover.
Operating Manual MC660
Matica Technologies
Summary of Contents for MC660
Page 48: ...Operating Manual MC660...


