18
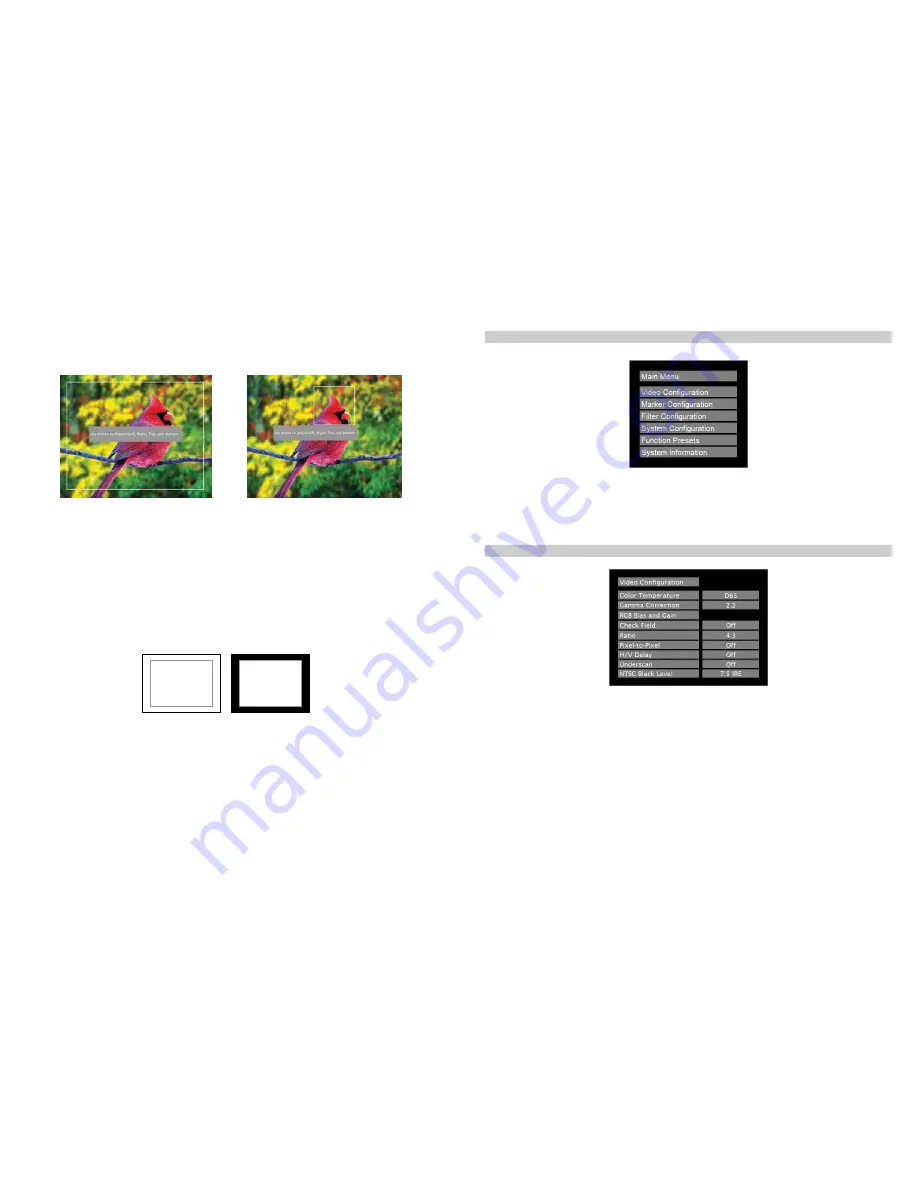
2. Use the BRIGHT, COLOR, TINT and CONTRAST knobs to move the LEFT, RIGHT, TOP and BOTTOM
borders of the safe area to your desired position. When you have reached the desired location for the borders,
press the MENU button. If you began the marker adjustment using one of the predefined safe areas and made
an adjustment, the marker selection will automatically convert to the User marker setting.
■
Marker Background
Use this setting to choose how selected markers are displayed on the screen. :
• 0%
The marker is superimposed on the complete image.
• 25%
Image area beyond the marker is shown at 25% intensity.
• 50%
Image area beyond the marker is shown at 50% intensity.
• 75%
Image area beyond the marker is shown at 75% intensity.
• 100%
Image area beyond the marker is shown at 100% intensity (black).
Example (80% Marker in 4:3 Mode):
Normal Background
Black Background
11
Main Menu and Navigation
Access the main menu by pushing and holding the MENU button on the front panel of the monitor.
•Step through menu items using the
▲
and
▼
buttons.
•Choose a submenu or select a menu item by pressing SELECT.
•Return to the previous menu by pressing MENU.
•Exit the main menu by pressing MENU. The menu will automatically time out after 15 seconds.
Video Configuration Submenu
■
Color Temperature
Use this setting to choose one of three color temperature presets:
• D55 (5500K)
• D65 (6500K)
• D93 (9300K)
• USER (Adjustable Color Bias and Gain)
• Linear (No processing is applied to the panel)
■
Gamma Correction
Use the Gamma Correction setting to adjust the value of the gamma applied to incoming video signals. The default
gamma value is 2.2. Gamma correction represents the relationship between the pixel levels from your incoming video
Main Menu
Video Configuration Submenu


