Power On and Off
Press the power button for more than 3 seconds to turn the MX-G20 MKII on.
Press the power button for more than 3 seconds to turn the MX-G20 MKII off.
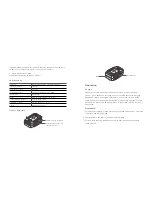
LED Status
Setup Guide
1. Turn the camera off.
2. Press the power button for more than 3 seconds to turn on the GPS receiver.
The LED on the GPS receiver will blink green, indicating that it is searching
for satellites. When a steady satellite signal is captured, the LED will stop
blinking.
It takes about 60 seconds to start the receiver up when cold, 15 seconds if
you just shut it down then restart, and 1 second to wake it up. For successful
positioning, you must be outdoors with good weather and a sky unobstructed
by tall buildings.
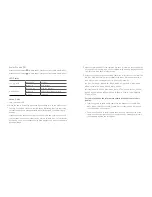
3. Mount the MX-G20 MKII to the camera’s hot shoe, or secure it to your camera’s
neck strap or neck strap lug with the supplied strap and clip, leaving the shoe
free for use with a flash or other device.
4. Select the correct camera connecting cable (N1 or N3) for your camera. The
MX-G20 MKII GPS receiver is compatible with Nikon DSLR cameras with a
GPS setup menu including but not limited to the following:
N1 (Ten-Pin) Cable: Nikon D2X, D2XS, D2HS, D3-series, D4, D4S, D200
D300-series, D700,D800, D800E, D810, D810a
N3(Flat) Cable: Nikon Df, D90, D600, D610, D750, D3100, D3200, D3300,
D5000, D5100, D5200, D5300, D5500, D7000, D7100, D7200, COOLPIX
P7800, P7700
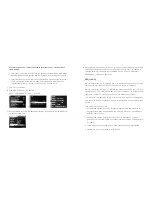
For cameras with a ten-pin remote terminal on the front of their
bodies:
• Insert the end of the N1 USB cable into the data port of the MX-G20
MKII. When inserting the cable, please be sure that the end is oriented
correctly and do not use force.
• The pins on the end of the N1 cable should line up with the holes of the
ten-pin remote terminal on the your camera’s body, please gently insert
the cable and tighten the locking nut.
Charging Mode
Blinking Red
Charging
Solid Green
Fully charged
Working Mode
Blinking Green
Acquiring satellites
Solid Green
Satellite connection successful
Solid Red
Low battery


