


To set up motion detection options
When the motion detection function of the selected Marmitek IP
camera is enabled, you can set the
Motion Options
by selecting
Alarm
,
Recording
,
Send e-Mail
, and
Trigger Out
under
SETTING > Motion Configuration
.
z
Alarm:
Select
Beep
or
Music
to alert you for the motion
detected. When you select
Music
, you can customize the
sound by clicking
Browse
and then selecting your favorite
music (*.wav or *.mp3 file) in the computer.
z
Recording:
Select this option to enable the camera to
record by motion detected.
z
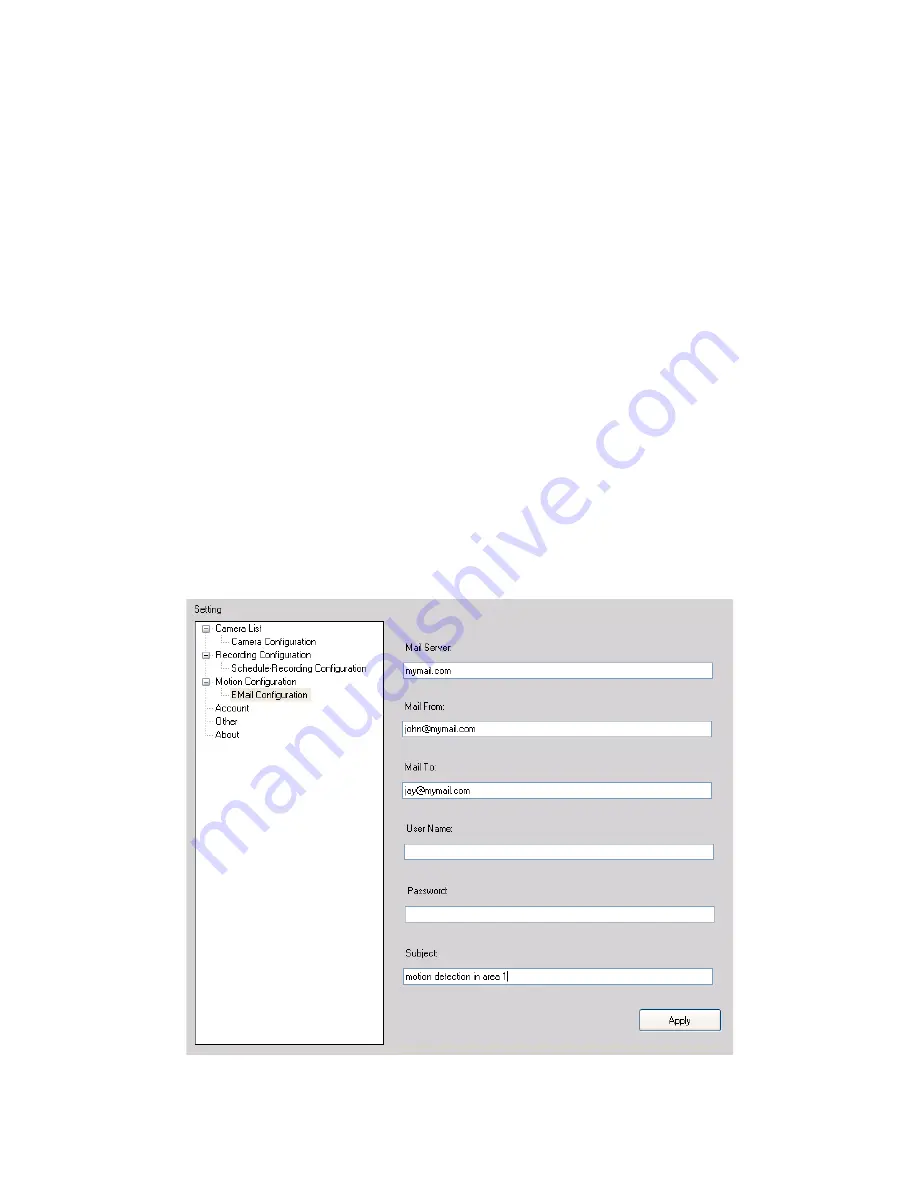
Send e-Mail:
Select this option so that the system will be
able to send an email to the specified receiver. Once the
option is selected, you have to complete the required
information in
SETTING > Motion Configuration > EMail
Configuration
.
SOFTWARE USER GUIDE
- 21 -
Summary of Contents for IP EYE ANYWHERE 10 - SOFTWARE ULTRAVIEW
Page 25: ......


