


11
1. Use
/
button to select what you want to
adjust in the Picture menu.
2. Press
/
button to Adjust.
3. When you are satisfied with your adjustment, press
MENU
button.
Picture Mode
Select the type of picture which best corresponds to your viewing requirements by selecting Picture Mode in
Picture
menu. You may select the picture mode directly by pressing the
PICTURE
button on the remote
control.
Contrast
Adjust the contrast of the picture.
Brightness
Adjust the brightness of the picture.
Colour
Adjust the colour of the picture.
NOTE: This option is invalid in PC mode, and it will be shown in gray.
Sharpness
Select sharpness mode of the picture.
Colour Temperature(in VGA mode)
Select an optimum color temperature mode to suit your eyes for viewing among Normal, Warm and Cold.
DNR
If the broadcast signal received is weak, you can select the DNR option to reduce the video noise level
between Off, Low, Mid and High.
In this manual, the OSD (On Screen Display) may be different from your TV's because it is just
example to help the TV operation.
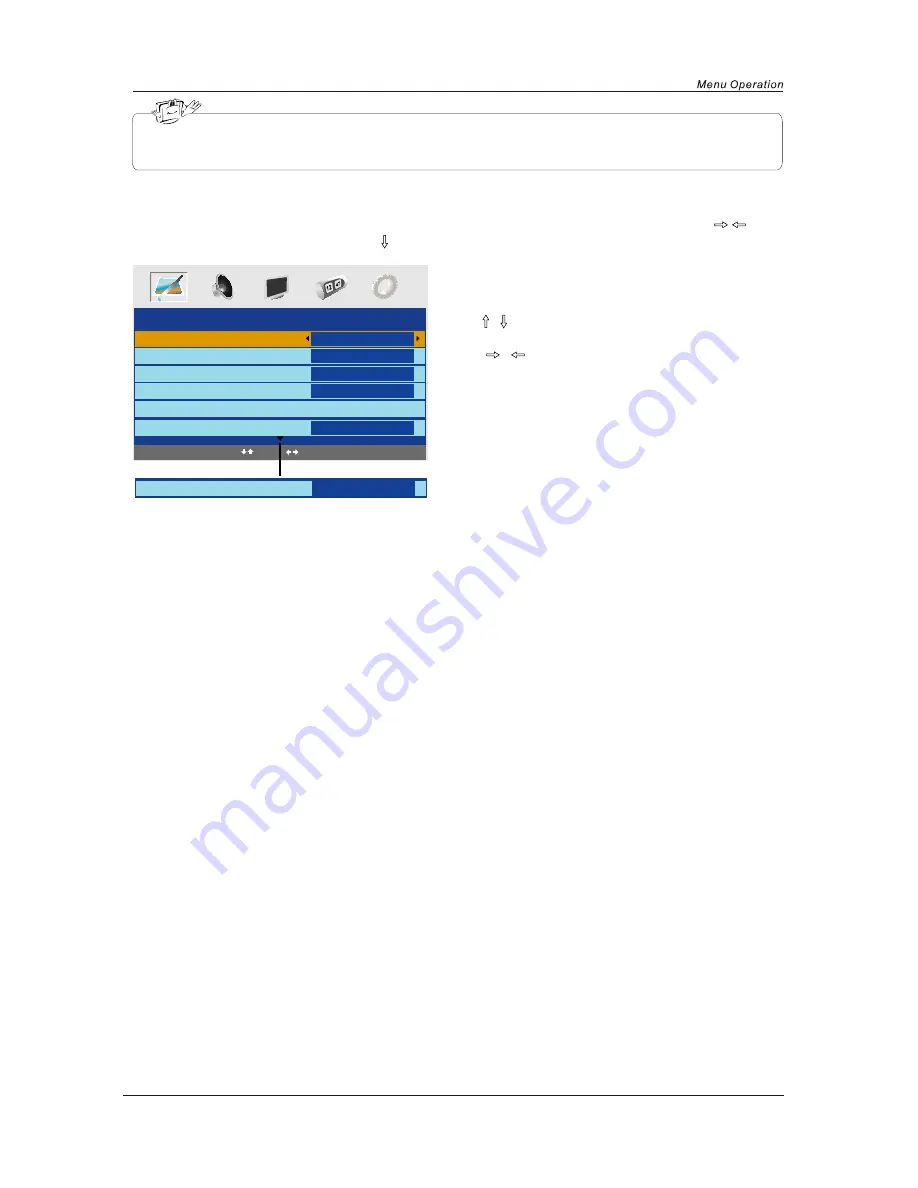
PICTURE menu options
PICTURE
Picture Mode
Contrast
Brightness
Colour
Sharpness
Personal
50
50
50
Normal
Off
Normal
Select
Adjust
Colour temperature
DNR
Press the MENU button on the top of your tv or the MENU button on the remote control then use
/
button to select the picture menu, press
to enter the menu. (see picture below).


