background image

48

ENGLISH

For Proper and Long Use of
This Unit

Do not move the unit during playback

During playback, the disc rotates at high speed. Do NOT lift
or move the unit during playback. Doing so may damage the
disc.

When moving the unit

When changing places of installation or packing the unit for
moving, be sure to remove the disc and return the disc table
to its original position in the player. Then, press Power switch
to turn off, then disconnect the power cord. Moving this unit
with the disc loaded may result in damage to this unit.

Installation

• Select a stable place to the side of a TV set or stereo

system to be connected to the unit.

• When using the unit with a stereo system, install the

speakers a little bit away from the TV.

• Do NOT install the unit on top of a TV or color monitor. Install

the unit away from equipment that may be affected by
magnetism, such as a cassette deck.

• Do NOT place objects on top of the unit.

Avoid installing in a place that is:

• Exposed to direct sunlight
• Exposed to humidity or where ventilation is poor
• Extremely hot or cold
• Exposed to vibration
• Exposed to dust
• Exposed to oily smoke, steam or heat (for example, a

kitchen)

Do not block vents

Do NOT use the player on top of a long-fibered carpet, bed
or sofa, and do not cover it with a cloth, etc. This will prevent
heat radiation and could result in damage.

Avoid heat

Do NOT place the unit on equipment which generates heat,
such as an amplifier.
When installing the unit in a rack, place it on the lowest shelf
possible (however, not where it is exposed to dust) and
separated from the amplifier to avoid the heat generated by
the amplifier or other audio equipment.

CAUTION: WHEN PLACING THE UNIT IN A
STEREO RACK WITH GLASS DOORS

Be sure there is ample space between the unit and the
glass doors when opening the disc table using the remote
control. If the disc table opens against strong resistance,
such as a closed glass door, damage to the unit may
result.

Condensation

Moisture may form in the operating section of the player if the
player is brought from cool surroundings into a warm room or
if the temperature of the room rises suddenly. When this
happens, the player’s performance will be impaired.
To prevent this, let the player stand in its new surroundings for
about an hour before switching it on, or make sure that the
room temperature rises gradually.
Condensation may also form
during the summer if the
player is exposed to the
breeze from an air
conditioner. In such cases,
change the location of the
player.

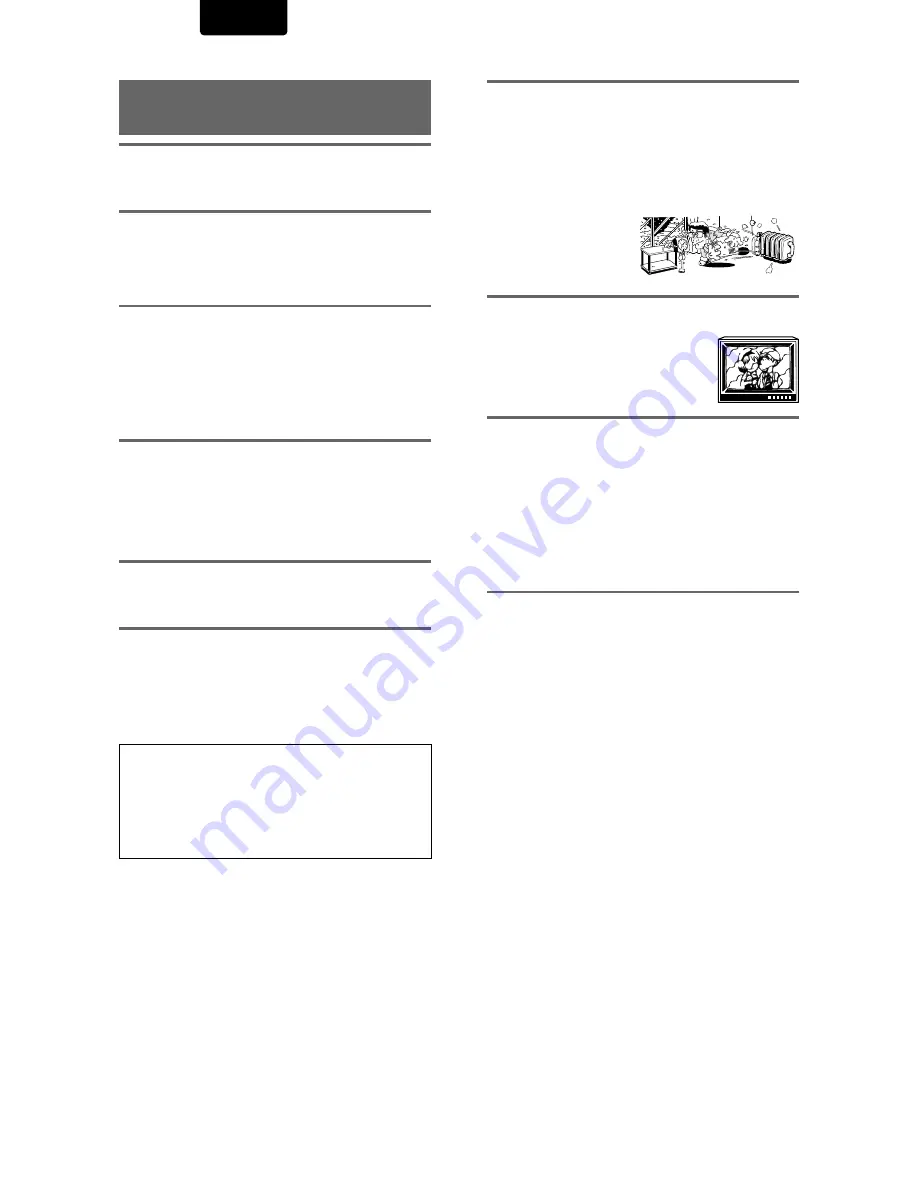
Switch POWER to turn off when not using the unit

Depending on the strength of the TV or radio broadcast
signal, having the TV or radio on while
power to the unit is on may result in stripes
on the TV screen or noise. However, this is
not a malfunction of this unit or the TV or
radio. In such a case, switch the power of
the unit to turn off.

Power-cord caution

Handle the power cord by the plug. Do not pull out the plug
by tugging the cord and never touch the power cord when
your hands are wet as this could cause a short circuit or
electric shock. Do not place the unit, a piece of furniture, etc.,
on the power cord, or pinch the cord. Never make a knot in
the cord or tie it with other cords. The power cords should be
routed in such a way that they are not likely to be stepped on.
A damaged power cord can cause a fire or give you an
electrical shock. Check the power cord once in a while. When
you find it damaged, ask your nearest MARANTZ service
center or your dealer for a replacement.

Cleaning the player

To clean the PLAYER, wipe with a soft, dry cloth. For stubborn
dirt, wet a soft cloth with a mild detergent solution made by
diluting one part detergent to 5 or 6 parts water, wring well,
then wipe off the dirt. Also use a dry cloth to wipe the surface
dry. Do not use volatile liquids such as benzene and thinner
which are harmful to the unit.

Summary of Contents for DV-18mkII

Page 1: ...ng the equipment off and on the user is encouraged to try to correct the interference by one or more of the following measures Reorient or relocate the receiving antenna Increase the separation betwee...

Page 2: ...pin it will only fit into a grounding type power outlet This is a safety feature If you are unable to insert the plug into the outlet contact your electrician to replace your obsolete outlet Do not de...

Page 3: ...e fun and excitement your equipment offers This manufacturer and the Electronic Industries Association s Consumer Electronics Group want you to get the most out of your equipment by playing it at a sa...

Page 4: ...decoder Easy setup and adjustment using on screen menus Press SETUP on the remote control to open the Setup screen and you ll find setting up and adjusting the system easy to do with on screen menus c...

Page 5: ...section starting on page 22 are also used in a number of other functions Learning the procedure for operating these menus will make using this player much easier and more enjoyable Play a disc When a...

Page 6: ...dtrack 25 Setting the TV Screen Size 26 Selecting Picture Quality Appropriate for Program Content 27 Viewing from a Desired Camera Angle Multi Angle 28 Setting the Language Options 29 Setting the on s...

Page 7: ...used up to 17 feet 5 m from the player and within a 30 angle on each side of the sensor Notes Exposing the remote sensor to direct sunlight or strong light may cause faulty operation When using this D...

Page 8: ...OFF button Page 46 0 Open close button Page 18 1 OSD button Page 45 2 REVERSE SEARCH button Page 20 3 FORWARD SEARCH button Page 20 4 PHONES Jack 5 LEVEL volume control FL OFF STAND BY PLAY STOP LEVE...

Page 9: ...ntrol indicator t DTS indicator y DVD indicator u V CD indicator i Camera Angle indicator o CHAPTER TITLE TRACK Repeat indicators 0 LAST MEMO indicator 1 Condition MEMO indicator 2 TITLE number indica...

Page 10: ...Page 19 37 41 CLEAR button Page 38 39 40 AUDIO button Page 30 CONDITION MEMORY button Page 44 DIMMER button Page 10 REPEAT A B button Page 38 Next button Page 19 20 39 Previous button Page 19 20 39 O...

Page 11: ...ons to this unit or when changing connections check that the unit is off by pressing Power Switch and unplug the power cord from the power outlet The analog video output on this player uses copy prote...

Page 12: ...ial cable Use to connect to an AV amplifier or receiver with built in Dolby Digital DTS or MPEG decoder Use a coaxial cable not supplied to connect the DIGITAL OUT coaxial digital output on the player...

Page 13: ...mponent to the REMOTE CONTROL OUT jack of this DVD player Synchronized power on and off Connect with the remote control output jack of a component such as the SR 14 SR 18 SR 19 which is compatible wit...

Page 14: ...4 1 FL OFF STAND BY PLAY STOP LEVEL PHONES OSD DIMMER VIDEO ON OFF PAUSE MAX MIN DVD PLAYER DV 18MkII OPEN CLOSE POWER DIGITAL OUT 1 VCD REMAIN CONDITION TOTAL SURROUND TITLE TRACK AUDIO DVD VIDEO OF...

Page 15: ...screen appears Please note that no settings are changed if RETURN is pressed before the Setup Navigator is finished Audio1 Audio2 General Language Video Setup Navigator Move Exit SETUP Select ENTER Se...

Page 16: ...are numerous options available please refer to the instructions supplied with the component the player is connected to determine what digital audio formats can be decoded If you have made no digital...

Page 17: ...ator procedure described in the previous section or made the necessary settings in the Setup screen menus as outlined in the next section to set up the player to correspond to your home system Having...

Page 18: ...reen Only number buttons are used to make selections on Video CD menu screens When the Video CD has more than one menu pages can be advanced to or returned to with PREV 4 or NEXT To play Video CDs wit...

Page 19: ...eached press PLAY 3 Fast reverse scanning Press and hold REV 1 1 1 1 1 during playback Release REV 1 when you reach the desired location Normal playback resumes When the Scan indicator on the screen c...

Page 20: ...es the disc to return to the beginning when PLAY 3 is pressed again The display shows the disc type DVDs or Video CDs Press PLAY 3 3 3 3 3 Playback starts from the resume position Notes The actual res...

Page 21: ...al Out Change Dolby Digital output mode Adjusting Audio and Video Settings Audio1 Audio2 General Language Video Dolby Digital Out Dolby Digital DTS Out Off 96kHz PCM Out 96kHz 3 48kHz MPEG Out MPEG 3...

Page 22: ...etting up the system or when making adjustments it is convenient to know what settings are applicable to the different disc formats When the settings appear for each menu option the currently selected...

Page 23: ...e DTS output mode Audio1 Audio2 General Language Video MPEG Out PCM Dolby Digital Out DTS Out 96kHz PCM Out Move Exit 96kHz 96kHz 3 48kHz Dolby Digital Off SETUP Change 96 kHz output mode Audio1 Audio...

Page 24: ...age Video Dolby Digital Out DTS Out Off 96kHz PCM Out 96kHz 3 48kHz MPEG Out Move Exit MPEG 3 PCM MPEG Dolby Digital SETUP Change MPEG audio output mode Settings MPEG MPEG 3 3 3 3 3 PCM Factory settin...

Page 25: ...dard TV screen Letter Box setting Wide screen format DVD The Letter box presentation places black bars at the top and bottom portions of the screen to provide the full wide screen presentation of a mo...

Page 26: ...een display on or off If you would rather not have the operation indicators Play Stop Resume etc and other messages displayed on the screen it is possible to turn them off in the On Screen Display set...

Page 27: ...enu described in the section below Turning the angle indicator on and off When a picture recorded in different angles is played back is displayed on the screen This setting lets you see clearly whethe...

Page 28: ...pa ol SETUP Setup player s OSD language Audio1 Language Note The OSD Language setting is factory set to English If you want English to be displayed it is not necessary to adjust this setting Settings...

Page 29: ...e DVD menu screen and then make your selection Audio 1 English Dolby Digital 5 1CH Audio 2 Spanish HELLO HOLA Dolby Digital 5 1CH Changing Audio Type Video CD CD For enjoyment of karaoke or similar fo...

Page 30: ...o display the DVD menu screen and then make your selection HELLO HOLA Subtitle 1 English Subtitle 2 Spanish Selecting a subtitle language preference The subtitle language that you will normally displa...

Page 31: ...lect Other and press ENTER The language selection screen appears 2 Use the cursor buttons 2 2 2 2 2 3 3 3 3 3 to select either List of Languages or Code Audio1 Audio2 General Language Video Setup audi...

Page 32: ...udio language Select Selected Subtitle to display the subtitles in the language set in the Subtitle Language setting Make changes to the Subtitles Off setting in the Setup screen Language menu in the...

Page 33: ...is capable of performing With DVD an even greater number of possibilities and functions are available Note DVDs differ in content and do not all contain the same information Therefore some functions i...

Page 34: ...settings printed on the DVD disc jacket or accompanying documentation If you use the Condition Memory function to save the settings for a particular disc the Parental Lock level is saved as well Beca...

Page 35: ...e direction is engaged In the reverse direction the playback speed cannot be adjusted To return to normal playback When viewing still frames or slow playback pressing PLAY 3 restores normal playback o...

Page 36: ...ble and may stop shortly after being performed In this case the mark is displayed Time search is not possible with CDs When performing DVD time search playback may start from a slightly different time...

Page 37: ...epeatedly You can only perform A B repeat within the same title chapter or track To cancel A B repeat play Press CLEAR Playback continues but the repeat function is canceled Return to a specified loca...

Page 38: ...Press CLEAR This returns you to normal playback of chapters tracks in order from the chapter track currently playing Notes With Video CDs random play is not possible during playback when the menu is...

Page 39: ...se the cursor buttons 5 2 3 to highlight the number to be placed after the new number and then press the number button s of the number to be inserted The new number is inserted before the previously s...

Page 40: ...s of the program To confirm the contents of a program On a CD or Video CD track program press PROGRAM to confirm The program screen displays the current program On a DVD select the program type title...

Page 41: ...mory to On the player will save your program and recall it the next time you use the same DVD When the program memory exceeds 24 programs will be erased in chronological order from the oldest program...

Page 42: ...the Video CD is removed from the player Resuming playback from where LAST MEMORY was pressed 1 Load a disc that has a Last Memory point memorized Some DVDs will start playback automatically when loade...

Page 43: ...memorize new settings Switching of the multi language mode etc is automatic on some discs Memorizing Settings for Often Viewed DVDs Condition Memory DVD You can store in memory settings for DVDs you...

Page 44: ...2 18 1 19 Play Tr Rate 1 1 1 32 8 9 Play Chapter 1 1 1 19 2 18 0 59 Viewing Disc Information DVD Video CD CD Use OSD to get current information about the disc currently loaded You can get information...

Page 45: ...1 0 03 3 32 3 29 Play All 1 2 0 15 6 32 6 15 Video CD with PBC disabled Play All 5 10 20 19 22 57 2 38 Play Track 5 20 19 4 40 2 38 Play Track 5 20 19 4 40 2 02 Display off Disc information Top Row c...

Page 46: ...are commercially available but special care should be exercised in their use since some may cause damage to the lens Never play cracked or warped discs The disc revolves in the player at high speed wh...

Page 47: ...ntrol If the disc table opens against strong resistance such as a closed glass door damage to the unit may result Condensation Moisture may form in the operating section of the player if the player is...

Page 48: ...h kk Greenlandic kl Cambodian km Kannada kn Kashmiri ks Kurdish ku Kirghiz ky Latin la Lingala ln Laothian lo Lithuanian lt Latvian lv Malagasy mg Maori mi Macedonian mk Malayalam ml Mongolian mn Mold...

Page 49: ...en menus may cancel the resume function When making changes in the Setup screen menus is displayed There is a Video CD or CD loaded in the player and the setting that was changed only applies to DVD p...

Page 50: ...s PHONO input terminal Change connection to any input terminal except PHONO The pause mode is engaged Press PLAY 3 to exit the pause mode Stereo amplifier operation is incorrect Check input CD AUX etc...

Page 51: ...ital output jack either coaxial or optical must be connected to the digital input jack of an AV amplifier or Dolby Digital decoder to enjoy the sound of Dolby Digital soundtracks DTS DTS stands for Di...

Page 52: ...number DVD discs are divided into units referred to as titles and titles are divided into chapters Menu screens do not belong to any title A disc which contains a movie may have only one title with ma...

Reviews: