3
Reset
Menu
do
WN
UP
oPeration
Besides the normal left-click, right-click and scroll functions, the numerous fea
-
tures of the Digital Photo Mouse are activated and adjusted using four buttons:
Reset, Menu, Up and down.
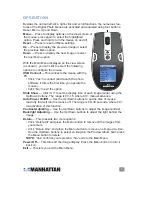
Menu
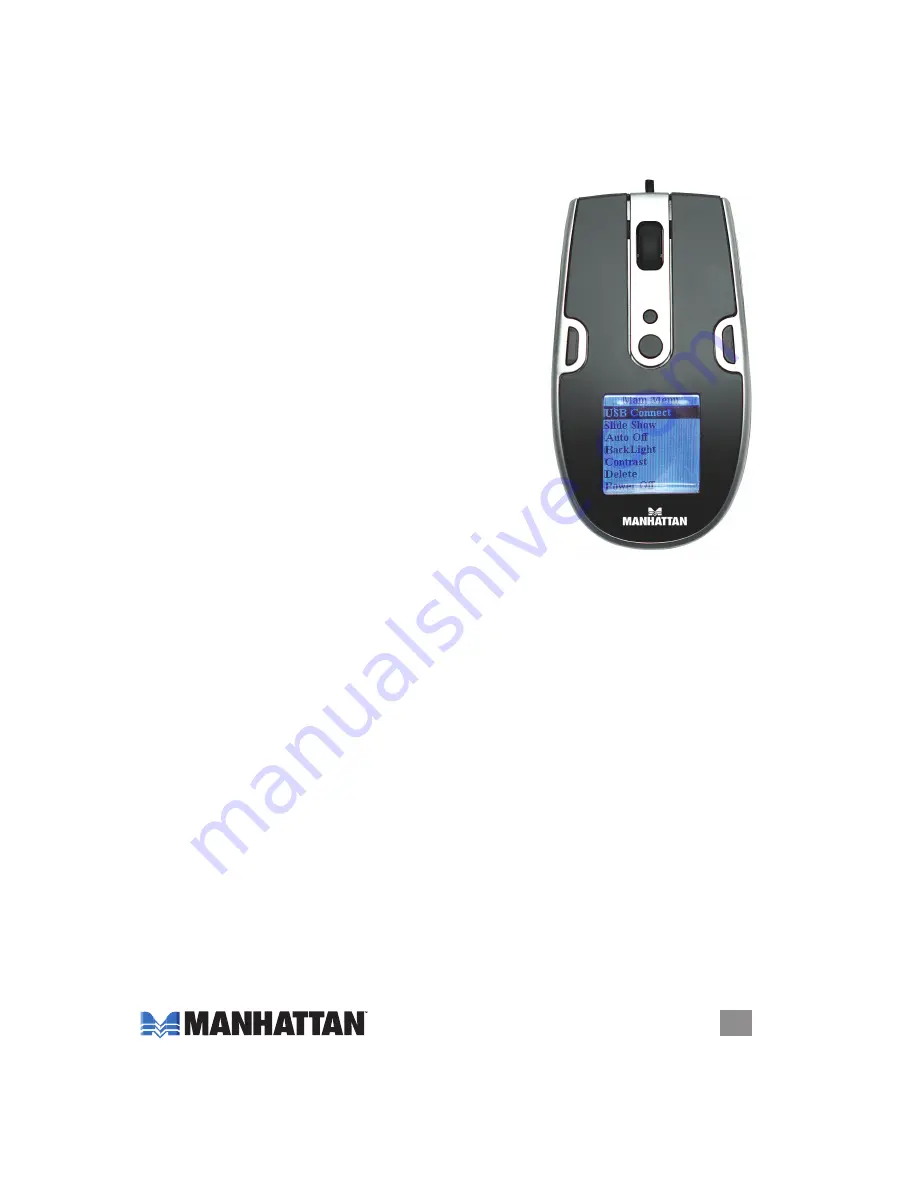
— Press to display options on the view screen of
the mouse; press again to select the highlighted
option. Press and hold to turn the mouse on and off.
Reset
— Press to reset all Menu settings.
Up
— Press to display the previous image or select
the previous Menu option.
Down
— Press to display the next image or select
the next Menu option.
With the Main Menu displayed on the view screen
(as shown), you can click to select the following
options to configure the mouse.
USB Connect
—This connects the mouse with the
PC.
• Click “Yes” to connect (and launch the photo
software if this is the first time you operate the
mouse).
• Click “No” to exit the option.
Slide Show
— Click “On” to set the display time of each image (slide) using the
Up/Down buttons. The range is 00–15, where 00 = manual advance.
Auto Power On/Off
— Use the Up/Down buttons to set the time of mouse
inactivity that will turn the mouse off. The range is 00–30 seconds, where 00 =
de-activation of this function.
Contrast Adjusting
— Use the Up/Down buttons to adjust the image contrast.
Backlight Adjusting
— Use the Up/Down buttons to adjust the light behind the
image.
Delete
— This presents two more options:
• Click “Delete All” and press the Menu button to remove all the images from
your album.
• Click “Delete One” and press the Menu button to remove one image at a time.
Use the Up/Down buttons to select an image in the Preview Album field, press
the Menu button to delete.
NOTE:
“Yes” confirms your selection; “No” exits to the Main Menu.
Power Off
— This turns off the image display. Press the Menu button to turn it
back on.
Exit
— This lets you exit the Main Menu.


