2
> GENERAL INFORMATION
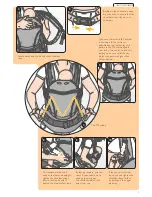
> CONNECTION STRAP
The connection strap can be adjusted
up or down on the webbing of the
shoulder strap. You can also move it
to another position on the webbing
of the shoulder straps. The connection strap should be adjusted
such that you can fasten it on your own at the back of your neck at
a later time.
> OXYGEN SUPPLY
Medical studies have shown that
your child is always supplied with
enough oxygen while being carried
in the manduca carrier. However,
you should take the following into consideration: please be careful
when your child is ill or, in particular, has a cold. Please take care
that your child’s mouth and nose are not covered with fabric or
clothing. The space between your child’s chin and chest should
always be two fingers wide.
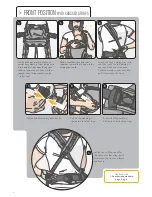
> SHOULDER STRAPS
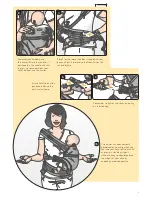
If you want to cross the shoulder
straps of the manduca carrier, you
can fasten the straps before use.
There is a dedicated loop for this
purpose located on the end of the padding. This enables you to
easily slide both shoulder straps to the back.
> Front position with
crossed straps
> VIEWING DIRECTION
The manduca carrier has been designed
such that your child should always be
looking in your direction.
> INFANT SEAT
The elastic straps at the bottom of
the infant seat are solely intended for
keeping the infant seat in place when
not in use!
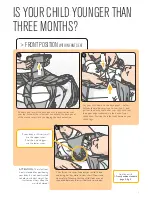
> OPENING THE
BACK EXTENSION
If your child falls asleep in the carrier
while you are wearing him/her in front
and needs more support for his/her head,
then you can unzip the back extension.
To create a balanced position, you can
tighten the shoulder straps by pulling on
the ends of the webbing.
1)
2)
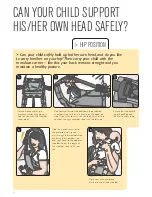
> HEADREST
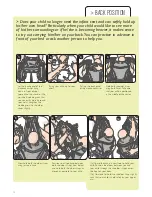
If you are using the manduca carrier to
carry your child on your back, it is best
to take out the headrest before putting
on the carrier. If your child falls asleep,
you can easily reach the elastic loop
behind your back …
… and pull it forward over your shoulder
such that the hood covers your child’s
head.
Attach the loop to the hook on the
shoulder strap.
Now use your other hand to reach for
the second loop and attach this as well.
The hooks on the webbing are adjustable
so that the head of your sleeping child is
well and sturdily positioned.
3)
4)
1)
2)
> LEG POSITION
If your child is still very young,
his/her legs will remain inside the
carrier.
As your child grows and his/her
legs get longer, you will see more
and more of his/her feet and legs
sticking out of the carrier – until
you no longer need the infant seat
because the carrier spans from one
hollow of your child’s knee to the
other. Take care that the feet never
get squeezed between your body and the waist belt.
1)
2)


