Makita XT450T, Instruction Manual
The Makita XT450T is a powerful tool set designed for tackling a variety of tasks. This instruction manual provides essential information and step-by-step guides to maximize the product's potential. Download the manual for free at our website, ensuring easy access to the knowledge needed for optimal performance.
Share
Download


Reviews:
No comments
Related manuals for XT450T

DGP483CSN
Brand: Dyna-Glo Pages: 87

PG 1525
Brand: SEVERIN Pages: 54

Genesis E-330
Brand: Weber Pages: 2

780-0384
Brand: Uberhaus Pages: 47

Bbq One Tower
Brand: Sunday Pages: 46

GBL003
Brand: Alva Pages: 23

KD6002
Brand: Cal Flame Pages: 28

LPAGA/LPG & CG
Brand: Magikitch'n Pages: 16

Quickset
Brand: Char-Broil Pages: 20

Gourmet RAC 500
Brand: EFBE-SCHOTT Pages: 30

TH308268
Brand: Total Pages: 10

D1516
Brand: Davis & Waddell Pages: 8

BILEX730
Brand: Napoleon Pages: 32

LM210-20
Brand: LazyMan Pages: 27

177RG1830RC
Brand: Avantco Equipment Pages: 8

6495
Brand: Cloer Pages: 20

315.277180
Brand: Craftsman Pages: 18
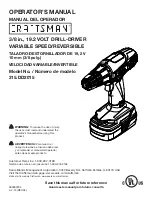
315.DD2015
Brand: Craftsman Pages: 20


