1
INSTRUCTION MANUAL
MANUEL D'INSTRUCTION
MANUAL DE INSTRUCCIONES
IMPORTANT:
Read Before Using.
IMPORTANT:
Lire avant usage.
IMPORTANTE:
Leer antes de usar.
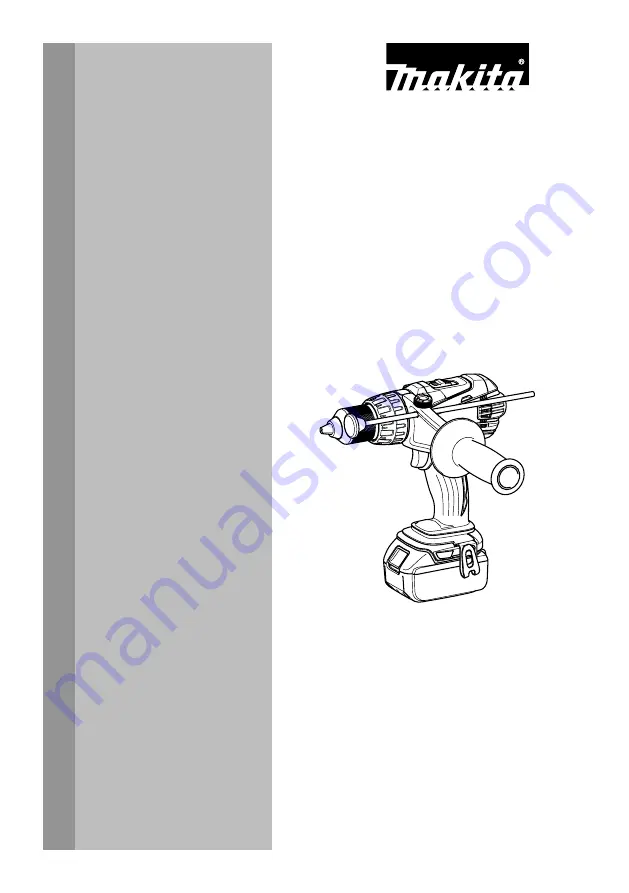
Cordless Hammer Driver Drill
Perceuse Percussion-Visseuse sans
Fil
Rotomartillo Atornillador
Inalámbrico
XPH03
012713


